Archive for April, 2013
Replumbing an improper trap.
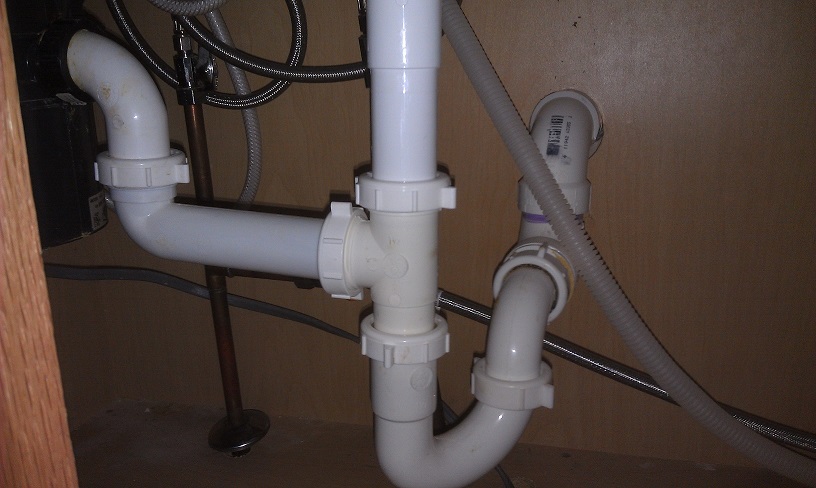
When I was inspecting the home that I recently purchased, I took a look under the kitchen sink and noticed this…
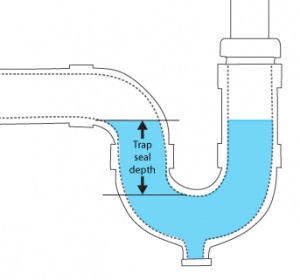
Typically, traps have a trap seal between 2 – 4 inches. This amount of water allows waste water and debris to flow down the drain, while still providing enough force to prevent sewer gases from pushing past. The problem you find with a deeper trap, is that the waste water; and in particular the debris, does not have enough force behind it to escape the trap. This leads to a nasty, dirty, stinkin’, slow flowing trap. Which leads to your wife saying “Dang, this sink stinks!”. If Google Nose BETA worked, I would have saved the smell from when the old trap was removed. Then you’d smell what I’m talking about.
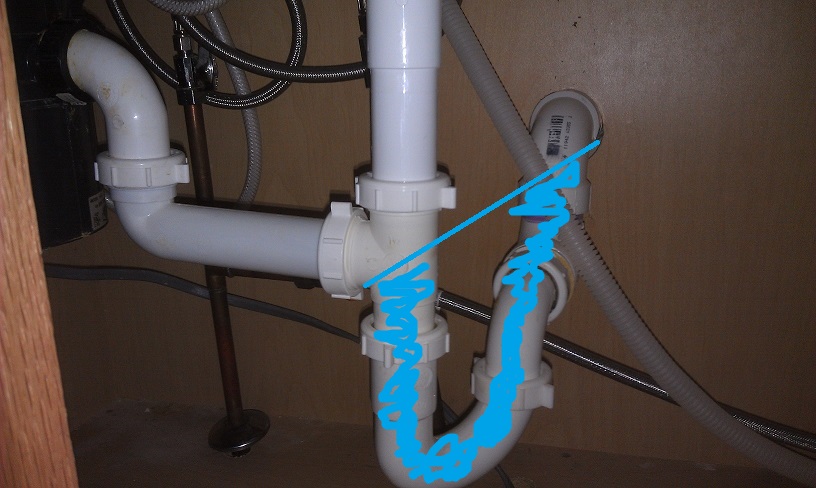
If you take a look back at the first image, you’ll see that the trap seal is simply too large. The entire pipe below the disposal drain line, all the way to the lower dip of the elbow coming out of the wall will be filled with water. Where in a normal situation, only the lower bend of the P-trap will be filled with water.
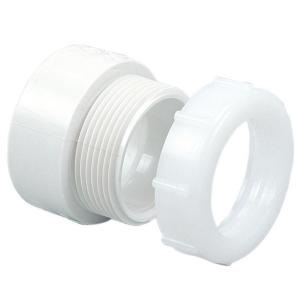
Usually this situation is fixed easily by purchasing the correct fittings, and connecting them in a way that allows proper drainage. In my case, however, some genius glued a downward facing elbow at the outlet connection. As soon as this elbow was glued in place, the fate of this trap was sealed. It would forever be WRONG!
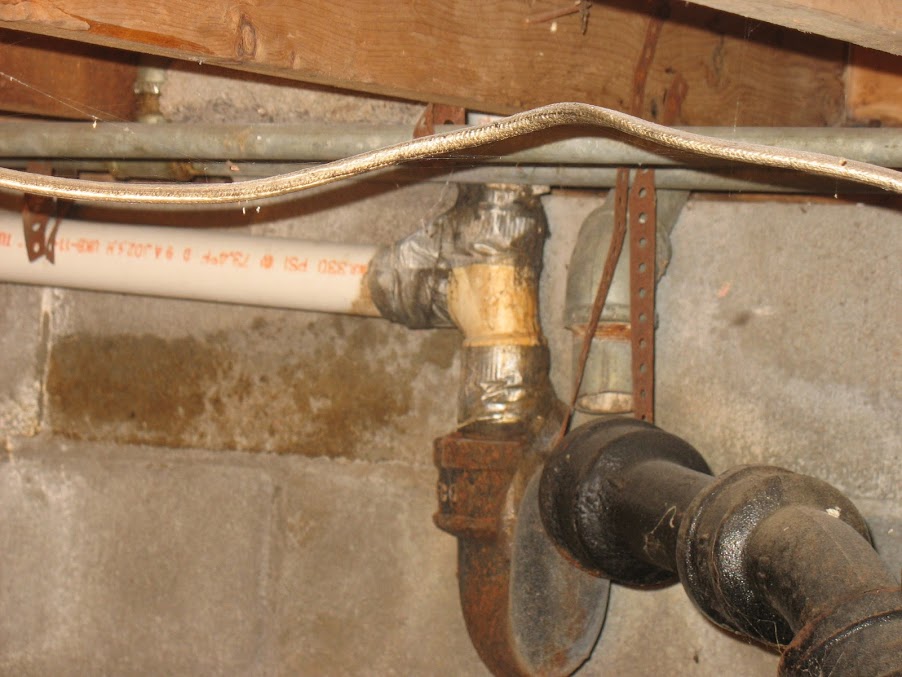
To fix this problem, my only choice was to cut the offending elbow off. Once removed, new pipes could be connected, and a proper trap could be arranged. So I set about cutting the elbow off, as close to the back of the elbow as possible. The idea was to leave enough pipe behind the elbow, to allow me to attach new fittings. Unfortunately; as with most home improvement projects I ran in to problems and, this was not possible.

To leave the maximum amount of pipe, I used a hacksaw blade (removed from the hacksaw) to cut the pipe. If you attempt this, don’t forget to wear a good pair of leather gloves, or to wrap the ends of the blade with duct tape to make makeshift handles.
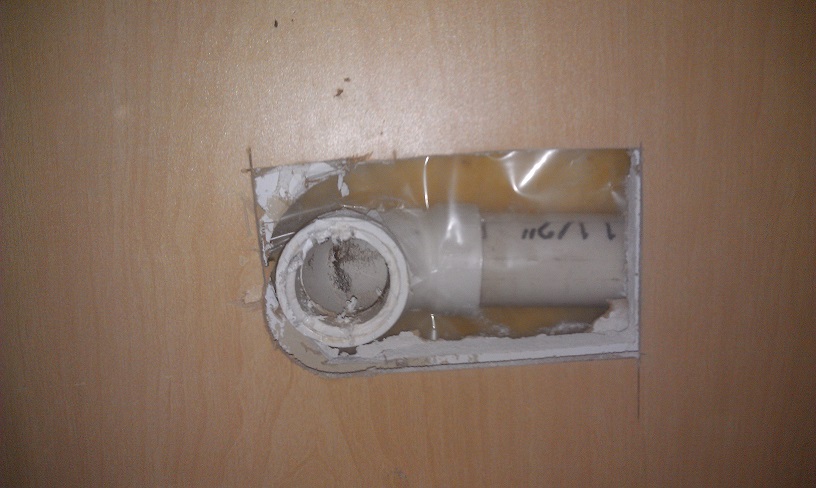
As it turned out the stub was just too short, so there was no way I was going to attach anything to the exposed pipe. My only option was to move back one more fitting, and cut the pipe beyond that. In this situation, this involved opening up the wall a bit. Fortunately I was working under a sink, in a cabinet, so a limited amount of damage was acceptable. I grabbed my trusty Milwaukee multi-tool, and cut a hole in the back of the cabinet and the drywall.
In a lot of instances this fitting will be a tee connecting the sink drain to a drain-waste-vent stack, which may require a bit more damage to the back of the cabinet and wall. In my situation, I was lucky it was a simple elbow.
Using my hacksaw blade. I cut off the tee, glued on a new tee, glued on a short stub, and finally glued on a PVC DWV trap adapter.
Once that was done, it was a simple matter of installing the remaining bits of pipe.
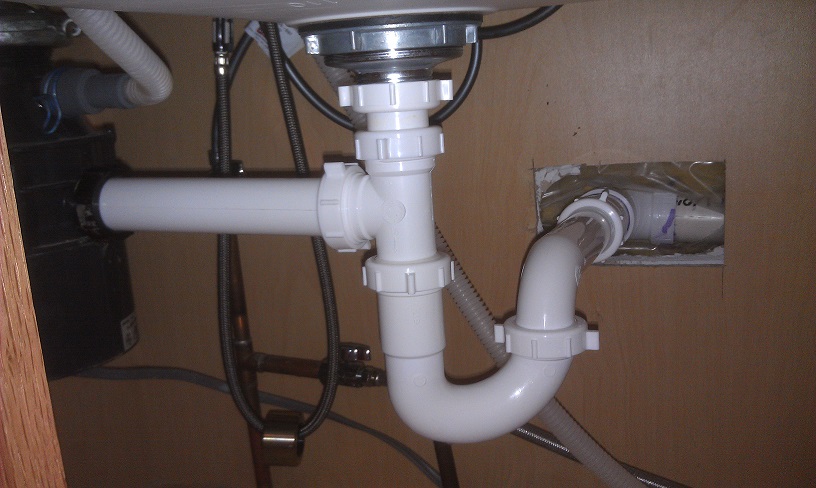
Now my trap is just the right depth, and the waste is flowing as it should.


First-Time DIY: Duct Tape ≠ Plumbing
Hello again everyone! When my wife & I bought our first house, we went right to work remodeling it. We started by refinishing the hardwood floors and updating our shutters to add some curb appeal. After the floor was finished, we moved on to begin remodeling the kitchen. While I don’t have all of my kitchen photos ready for you, I wanted to show you what I found while re-plumbing the kitchen.
Let me just explain that the previous owners turned the laundry room into a laundry/bathroom – adding a shower, sink, and toilet. They decided to have the washing machine and sink share the long drain pipe (left) and that the shower would drain straight down. The only thing holding these pipes together was the duct tape – no primer, no glue – just duct tape.

Long pipe (left) is from washing machine & sink
Corner shower drains straight down
I replaced this incredibly nasty, 3-Way Sanitary Tee (what an oxymoron in this case) with a Flexible 3-Way Sanitary Tee connector. I used silicone sealant on the inside of the connector before tightening it all and on the seams afterwards.
So the lesson here is always use the correct tools for the job … and duct tape doesn’t always fix everything…
What’s the worst “quick fix” you’ve ever run across? Let us know in the comments!

Home Improvement Blog on Google+
Home Improvement Blog on FaceBook
Bloggers Wanted
Latest Articles
Topics
- Electrical (8)
- Introductions (7)
- Plumbing (3)
- Projects (13)
- Repair (4)
- Safety (5)
- Tips and Tricks (5)
- Tool Review (5)
- Tools (6)
- Uncategorized (5)