![]()
So I thought — “hey, you’ve got two replacement windows that need replacing – you should do a blog with a title like ‘The Replacments – Not the movie starring Kenau Reeves (however its spelled)‘”
Then I wrote the title and it looked dumb. Then I tried “The Replacements – Replacing old replacement windows with new replacement windows”… Yuck. “Replacing Replacements With Replacements” didn’t work either.
So I gave up. The title you see is the title you get – boring, isn’t it? Anyway – this is my second window focused article – and this time, it’s double hung!
We have a lot of replacement windows in our house that we didn’t install. I don’t know who did – but whoever did should be taken out and flogged. I’d never seen custom made replacement windows that didn’t properly fit their frames, until we moved in here. Several of our windows don’t lock properly, because the windows aren’t quite perfectly sized, so the lock never lines up. This we’ve lived with for some time – but of late, our windows are starting to fail. The clips holding the windows to the tension rods (the spring loaded bars that keep the windows in position) are failing, and when they fail, NOTHING is holding that window closed, except…
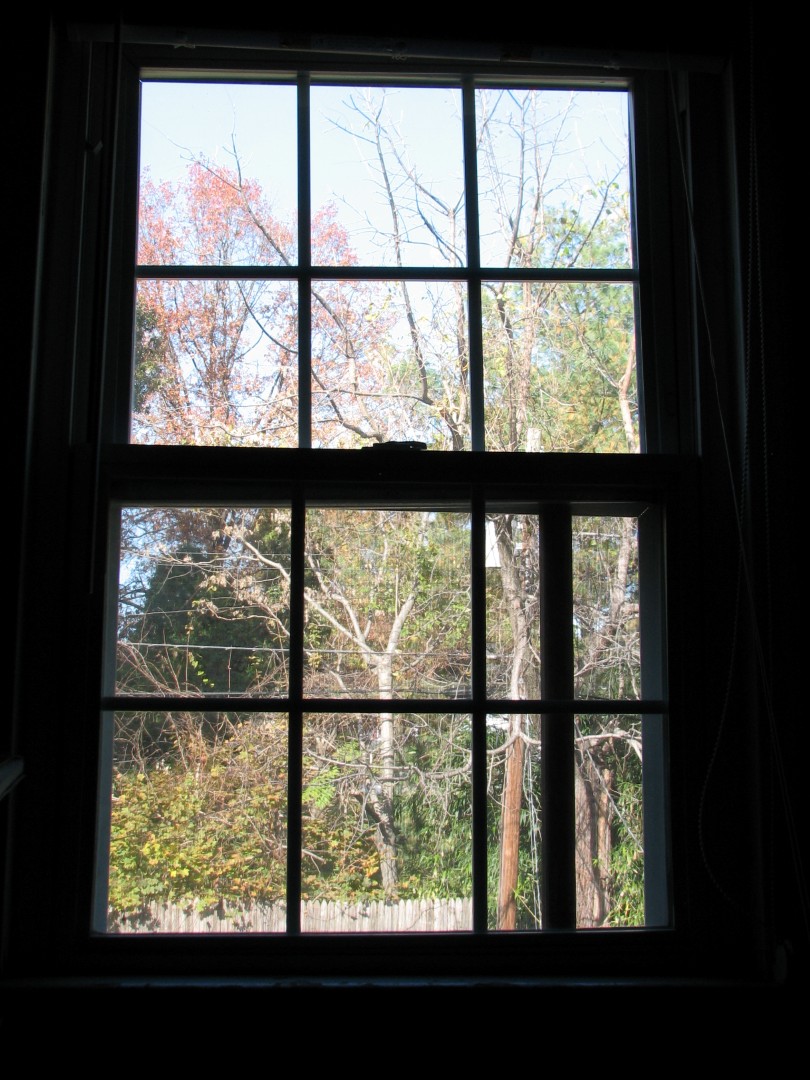
Yep – a piece of wood. Isn’t that awesome?
(By the way – this is our office window. Some genius forgot to take good “before” pictures – the bedroom window featured in the near future in this blog was actually worse…)
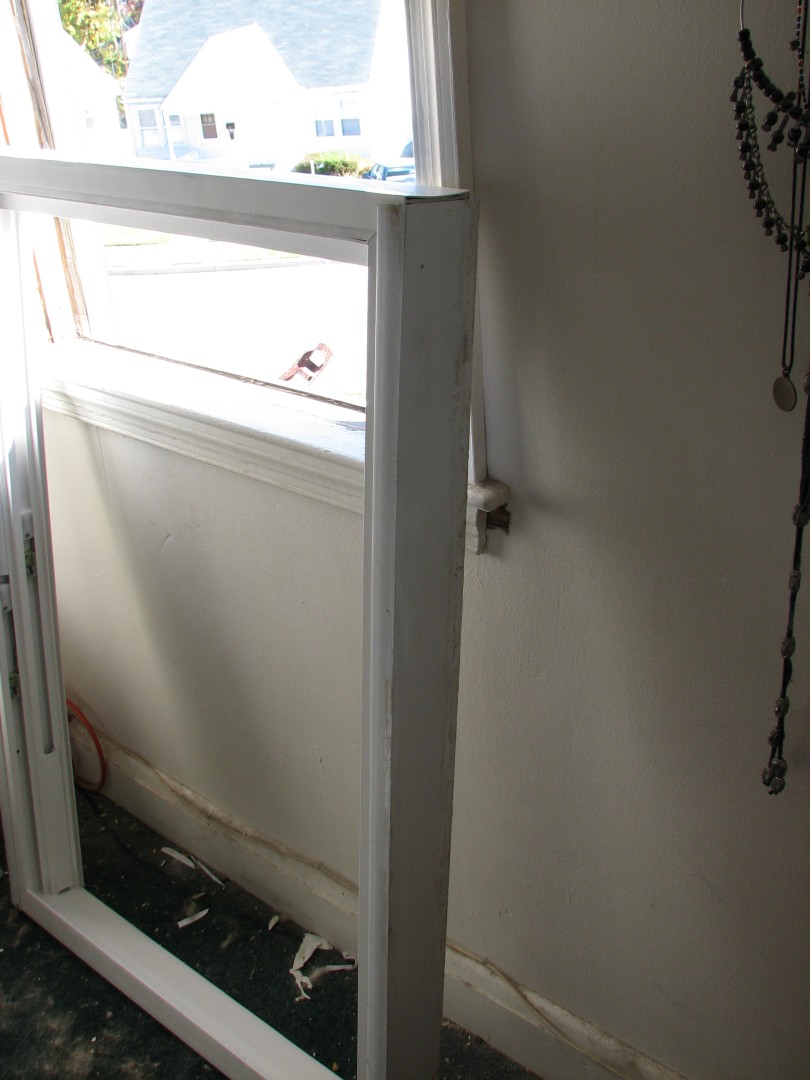
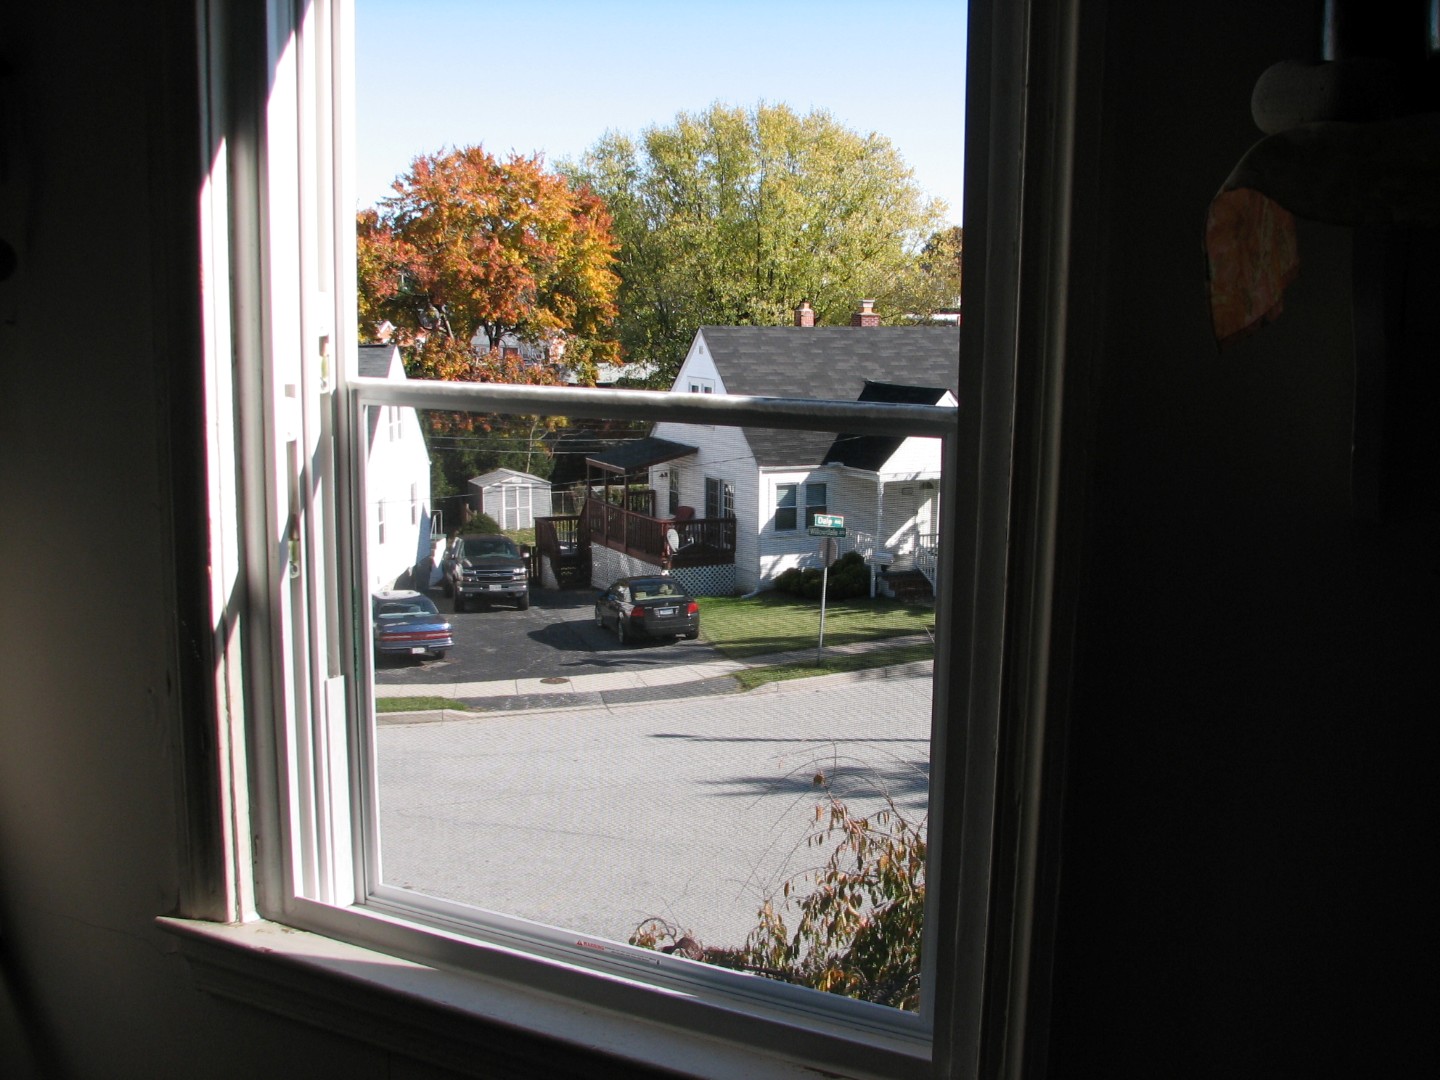
And of course, the window doesn’t exactly sit properly, so the top of the window looks like this:
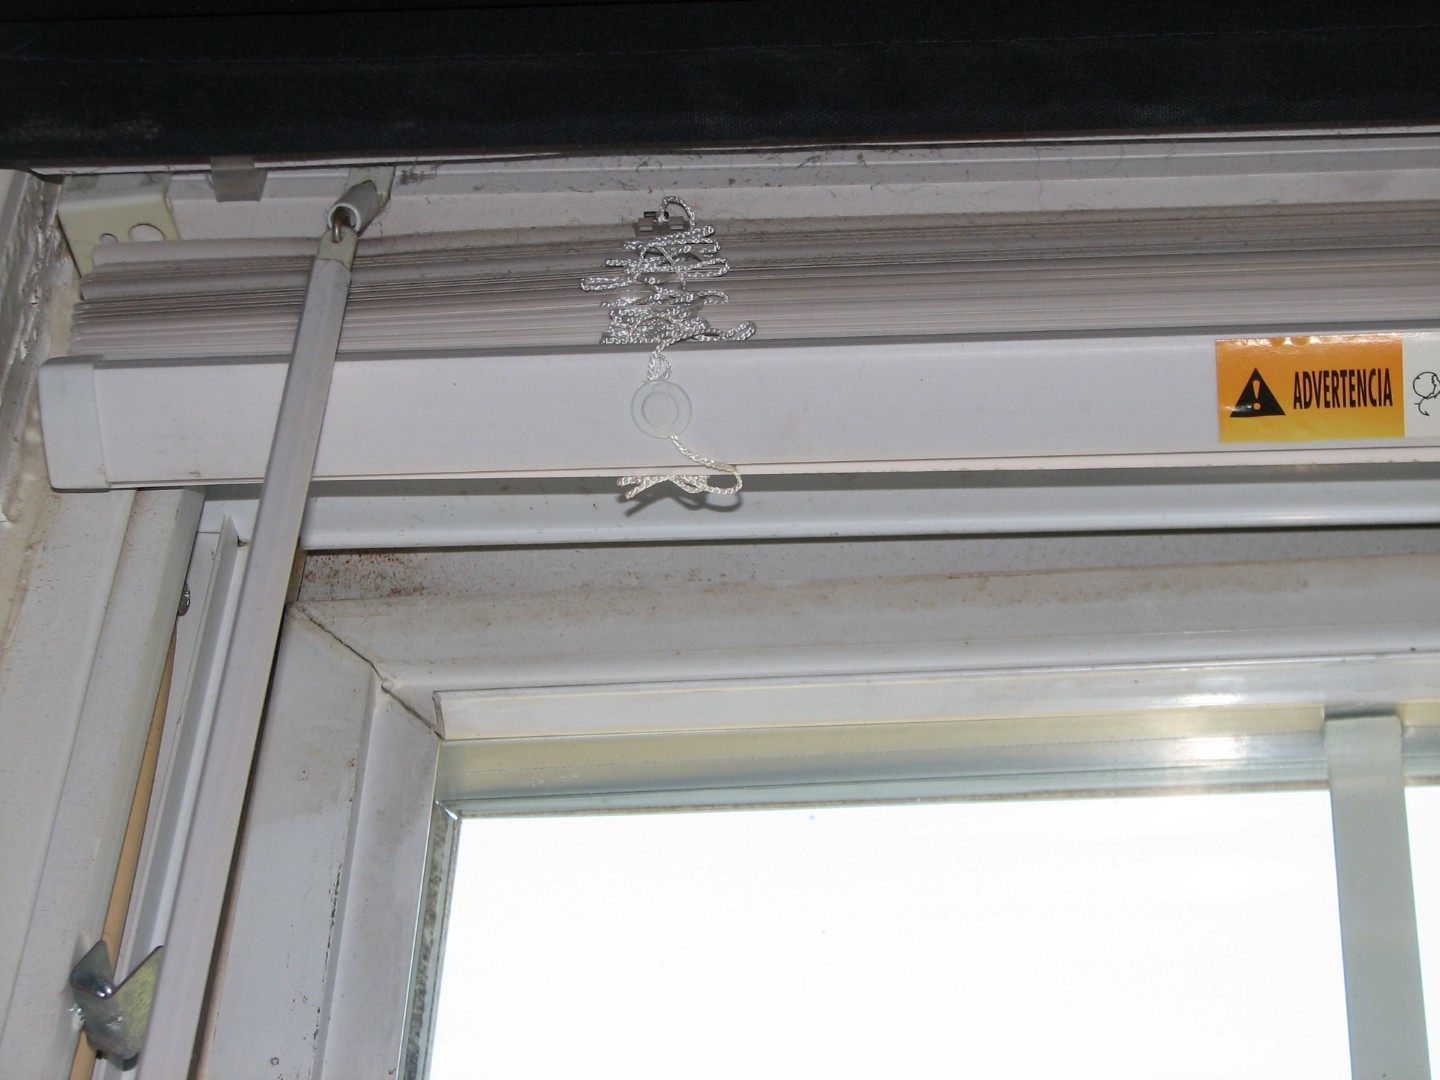
If it isn’t immediately obvious – look below the blinds, and you’ll see the irregular gap between the window pane and the frame. Talk about your heat loss!
Unfortunately, Congress hasn’t approved the “Evil Greebo TARP Bailout” program, so we’ve been limited in how fast we could buy replacement windows, but the GOOD news is, as we are able to bring them in, they go in fast, because we’re replacing replacement windows with new replacement windows.
So – here’s how it went.
First, I had to remove the old window. Our window tension clips have failed, so this was very easy, as all I had to do was remove the supporting wood and the top pane of the window fell to the bottom of the window at the speed of gravity:
By the way – I actually had to stop and go back and re insert the window pane so I could take this picture, because I forgot to start taking pictures right at the beginning of the project. I really wanted to show you just how bad this window was, but I wasn’t about to try and re-hang the dang thing just for a few pictures, so you’ll have to trust me, it was bad.
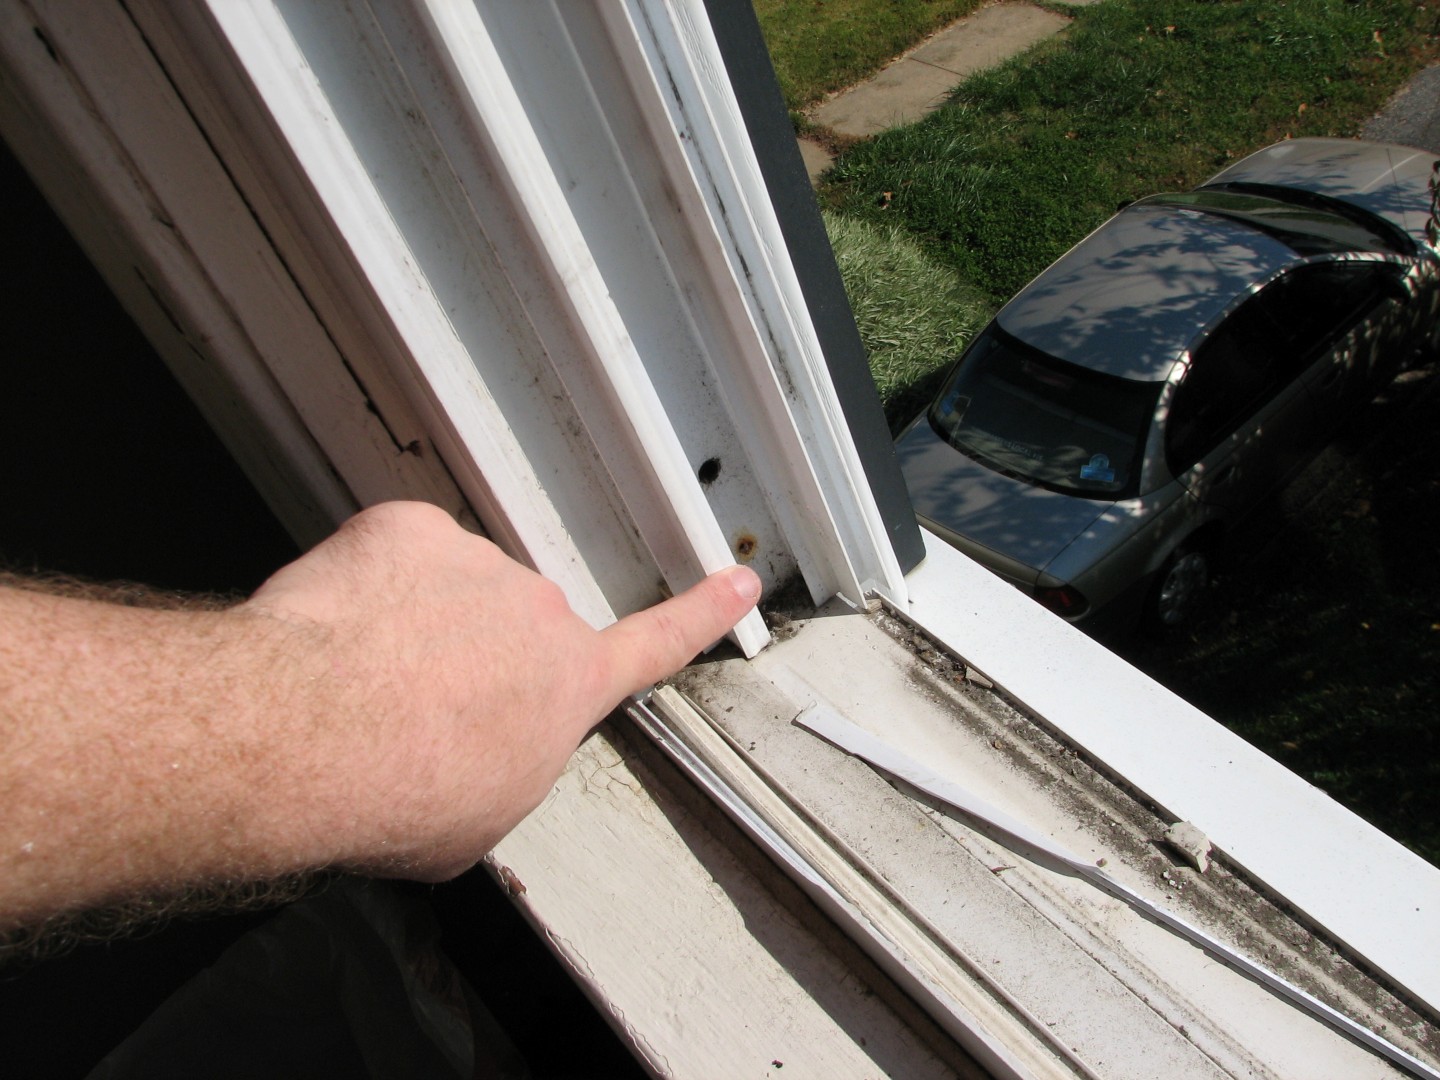
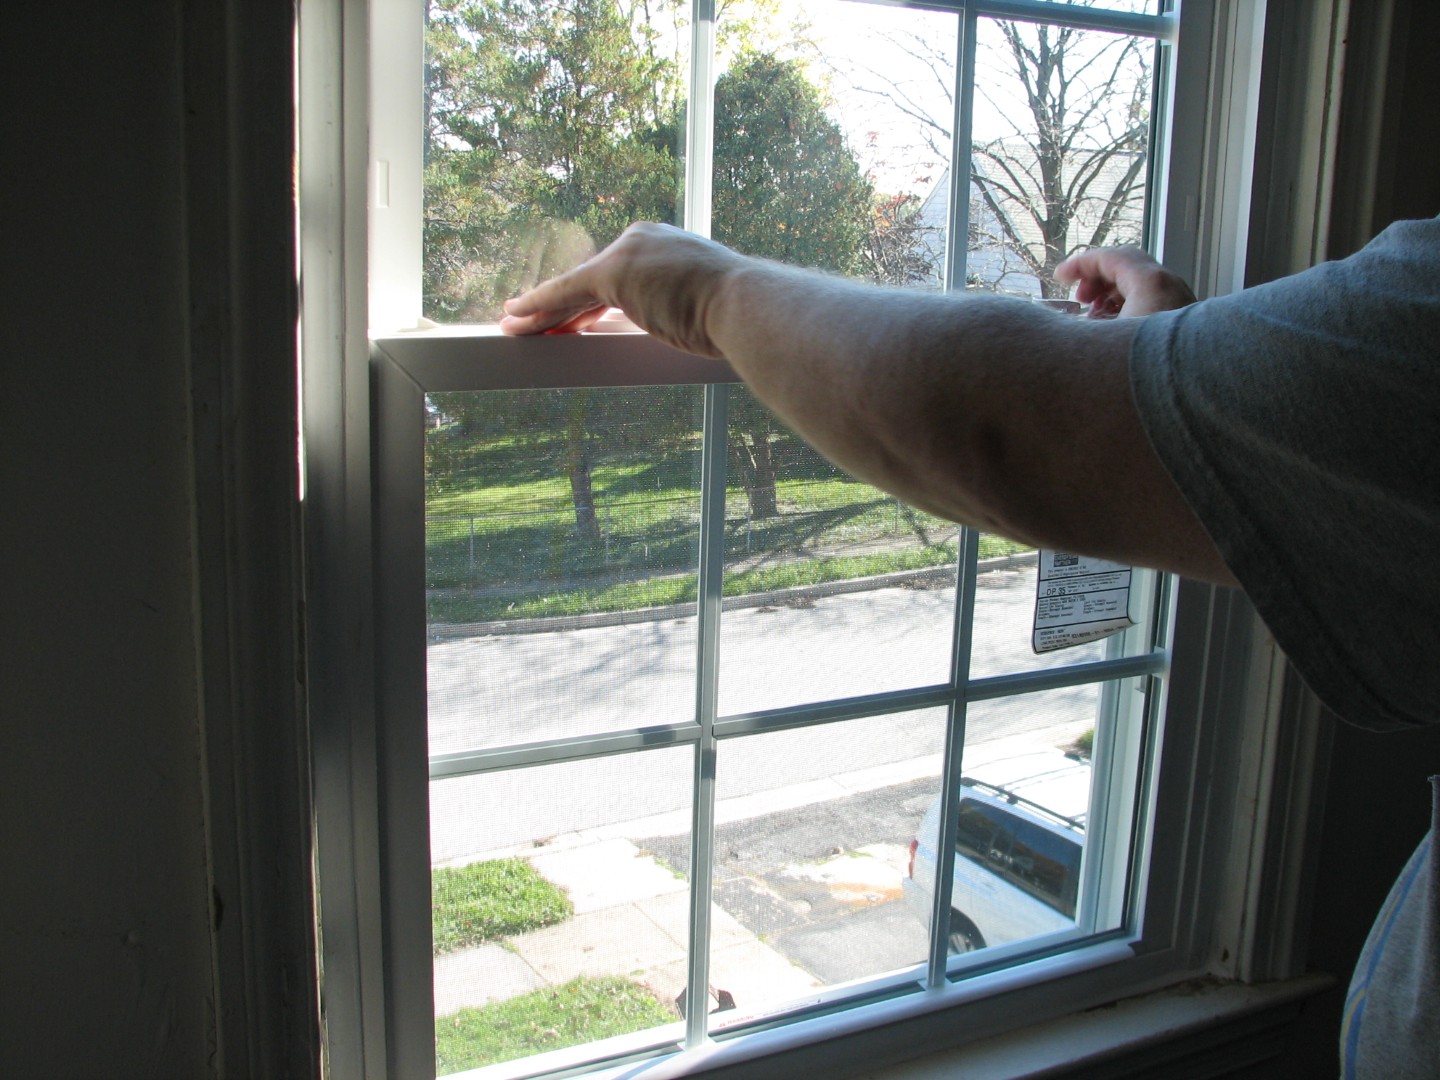
Ok, so how do you remove those panes, you ask? At the top of the pane are two clips. They look different depending on the model, but they’ll be right here:
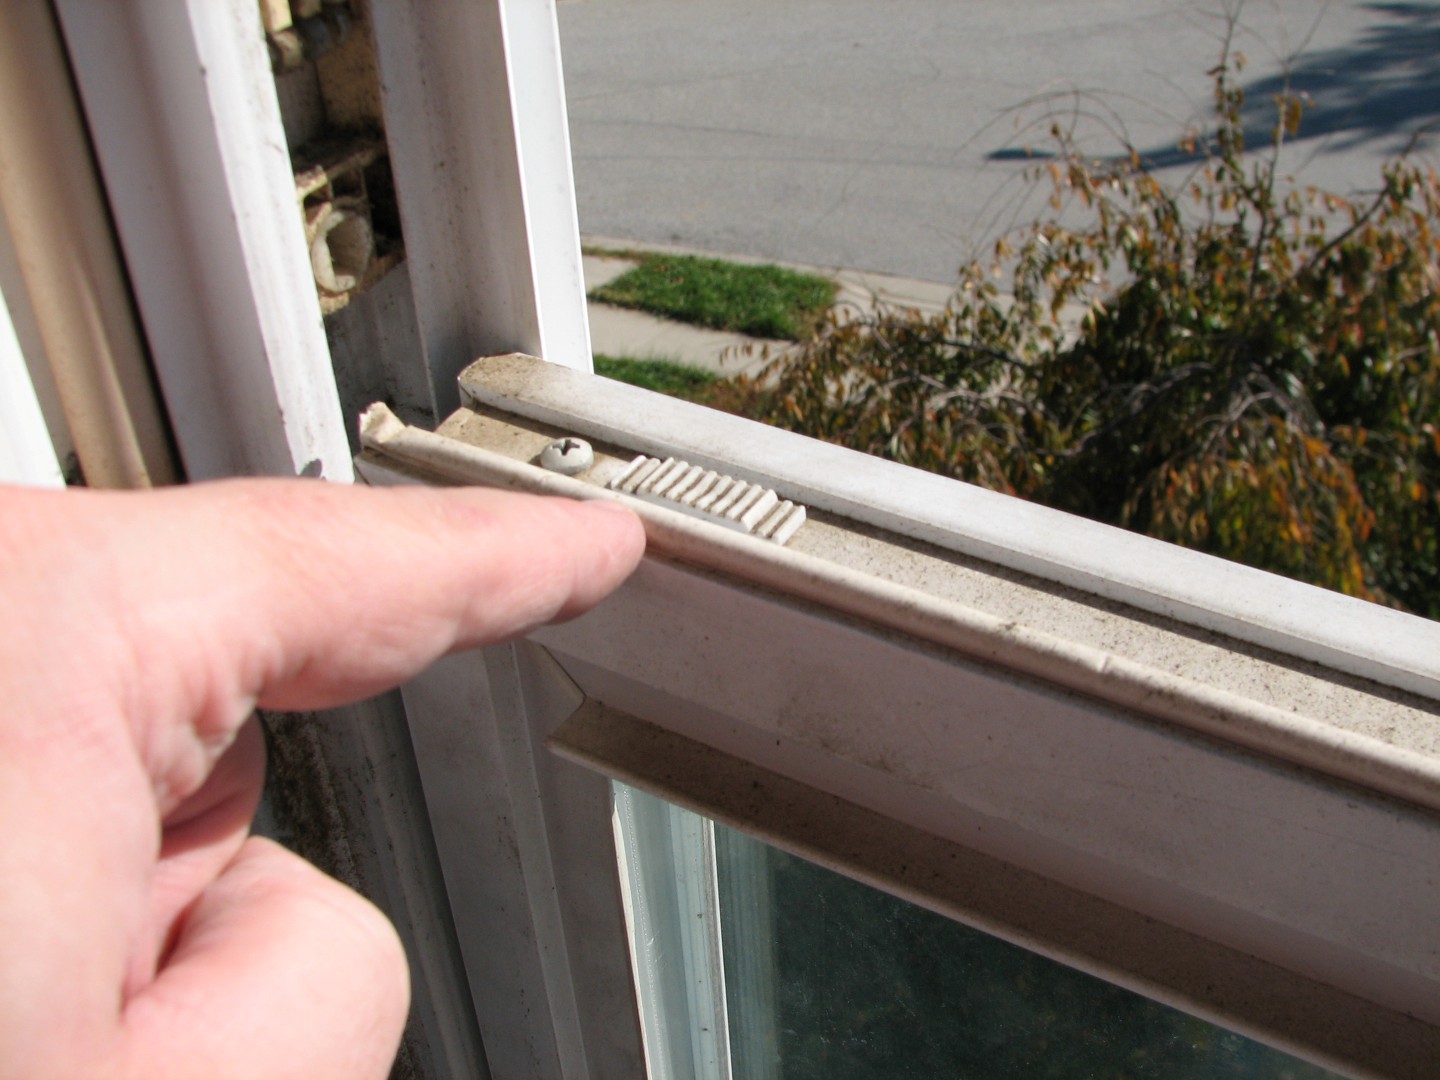
See? Right there by my finger. At the same time, open BOTH clips by sliding them towards the center of the window, and fold the window down towards you like so:
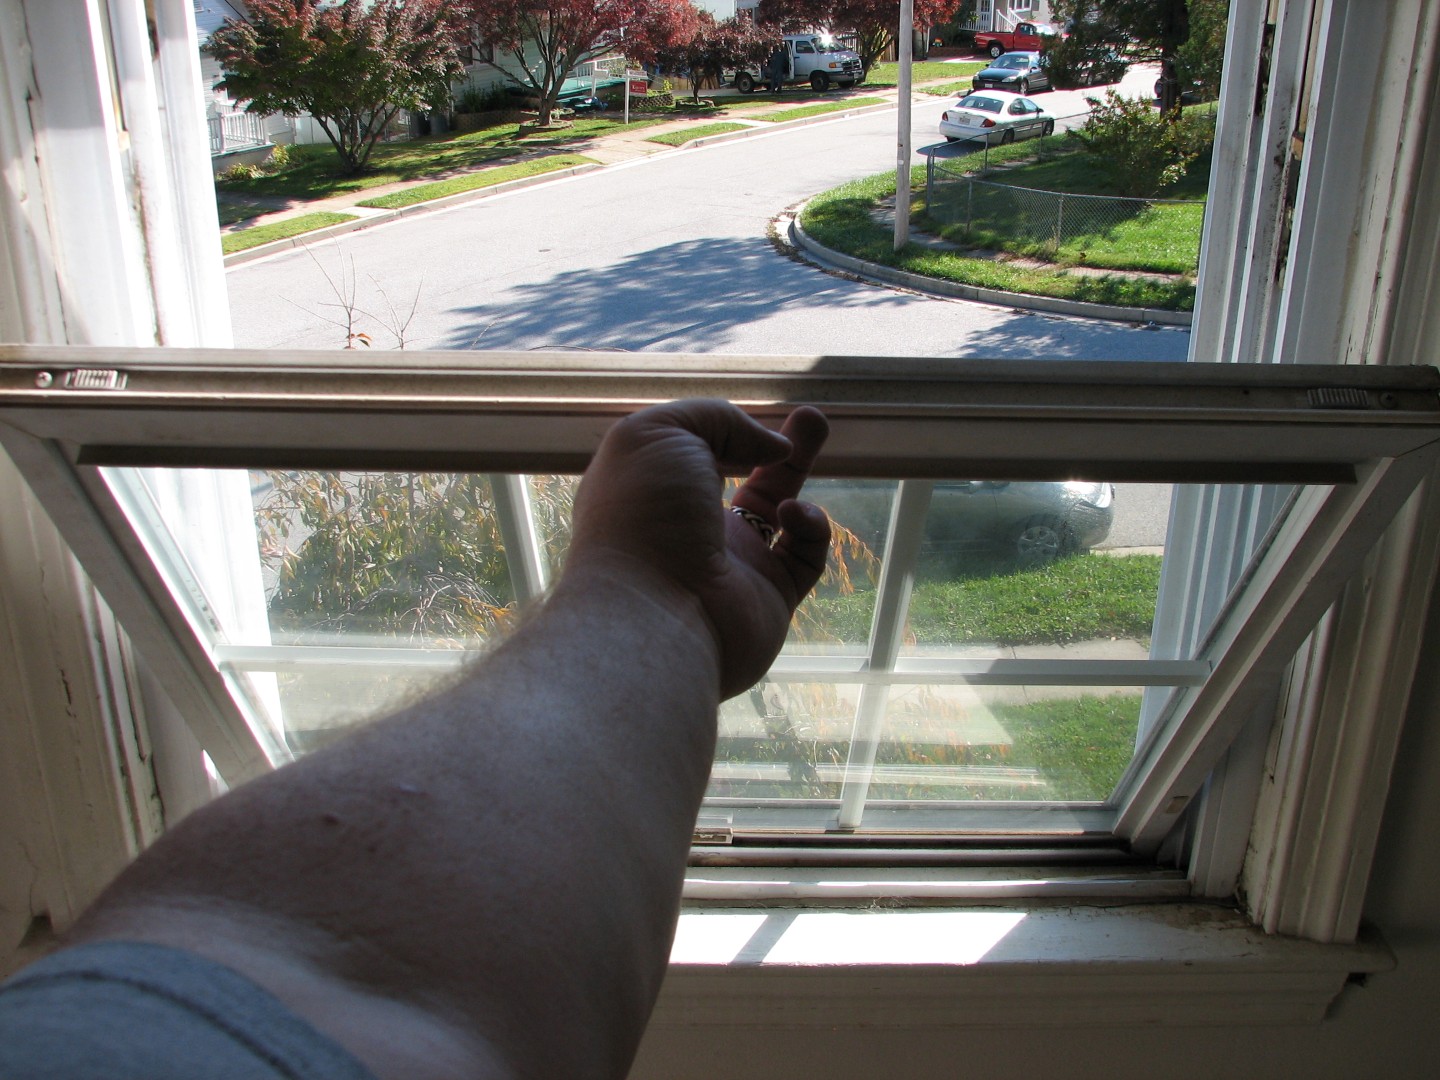
Now, husbands, if you get stuck at this point, ask your wives, because they’ve all done this hundreds of times in order to clean the windows, a task men are incapable of because, well, quite simply, we don’t care if the windows are dirty anyway, too much light blocks out the TV screen.
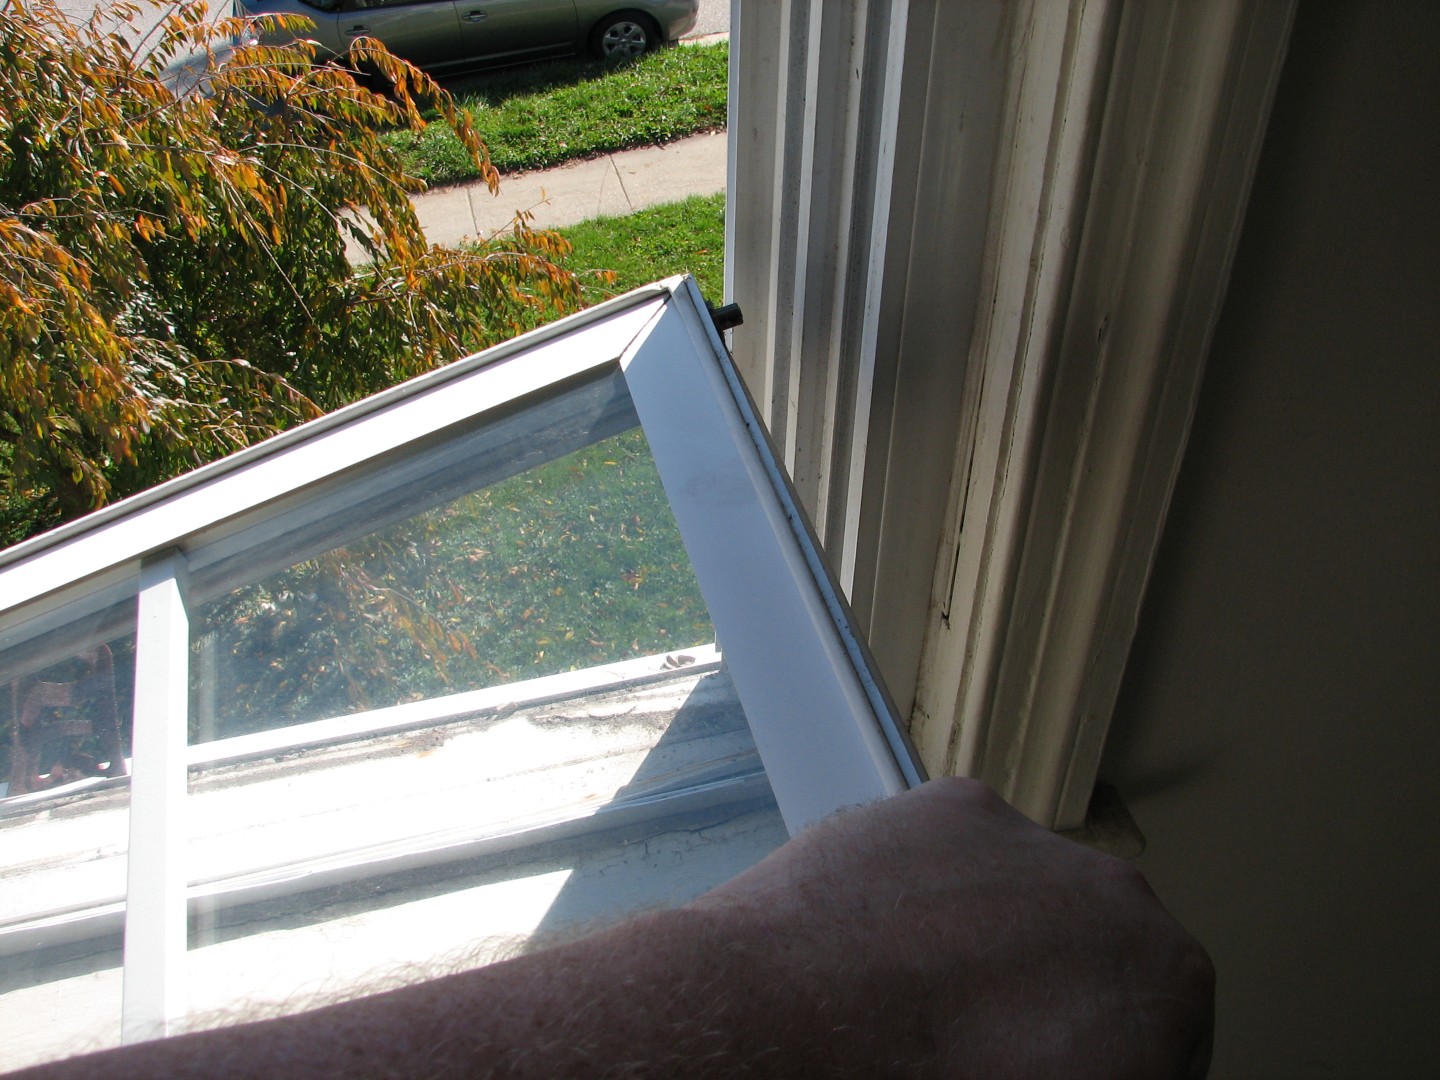
After you fold the window down to a 90 degree angle level with the floor, twist the window so that one corner lifts up and out of it’s clip, and the entire pane should then lift out easily.
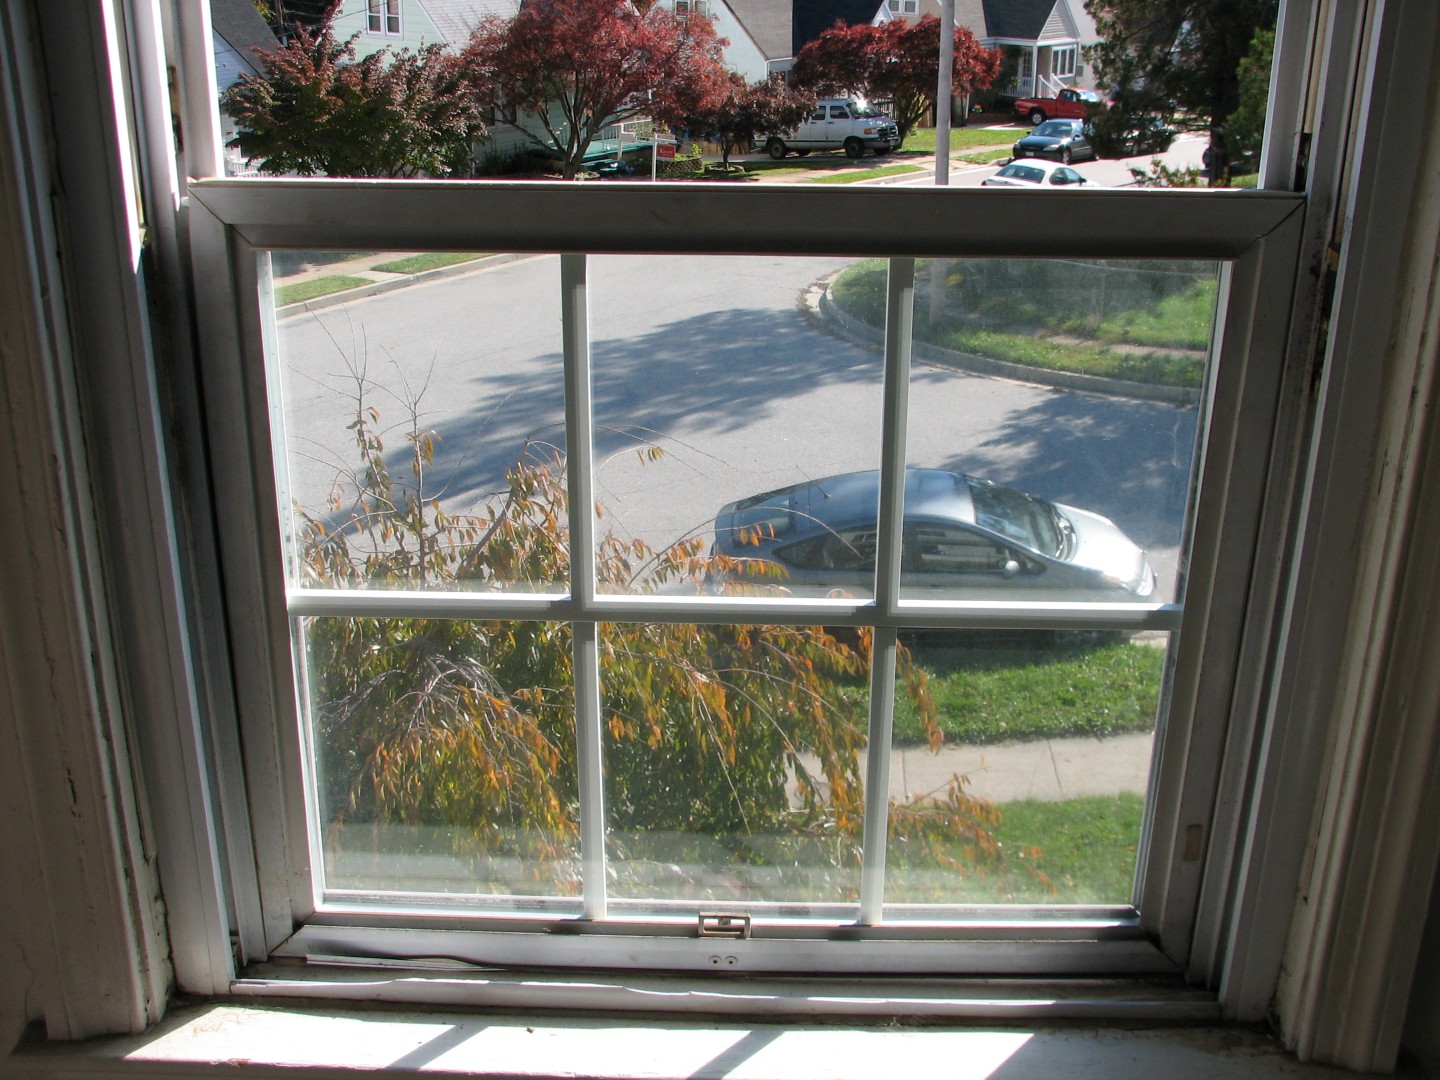
A windowless window:
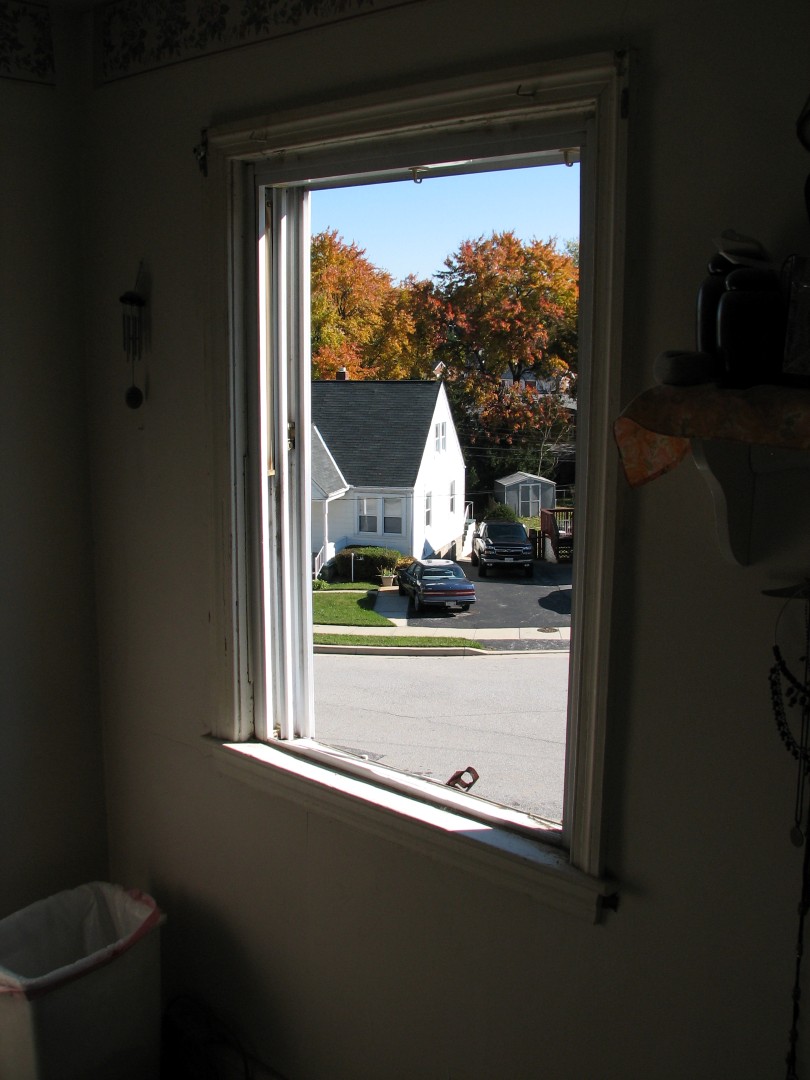
By the way – note how my neighbors windows look so clean and neat? I’m so jealous. On the other hand, I can park properly…
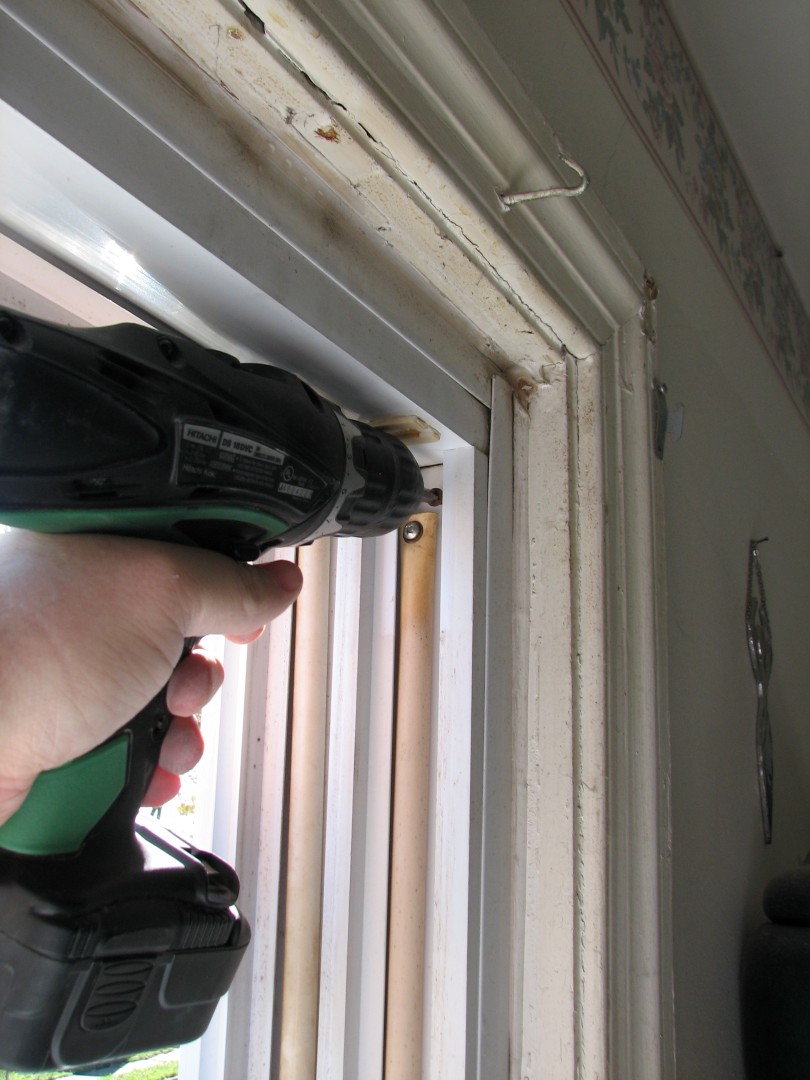
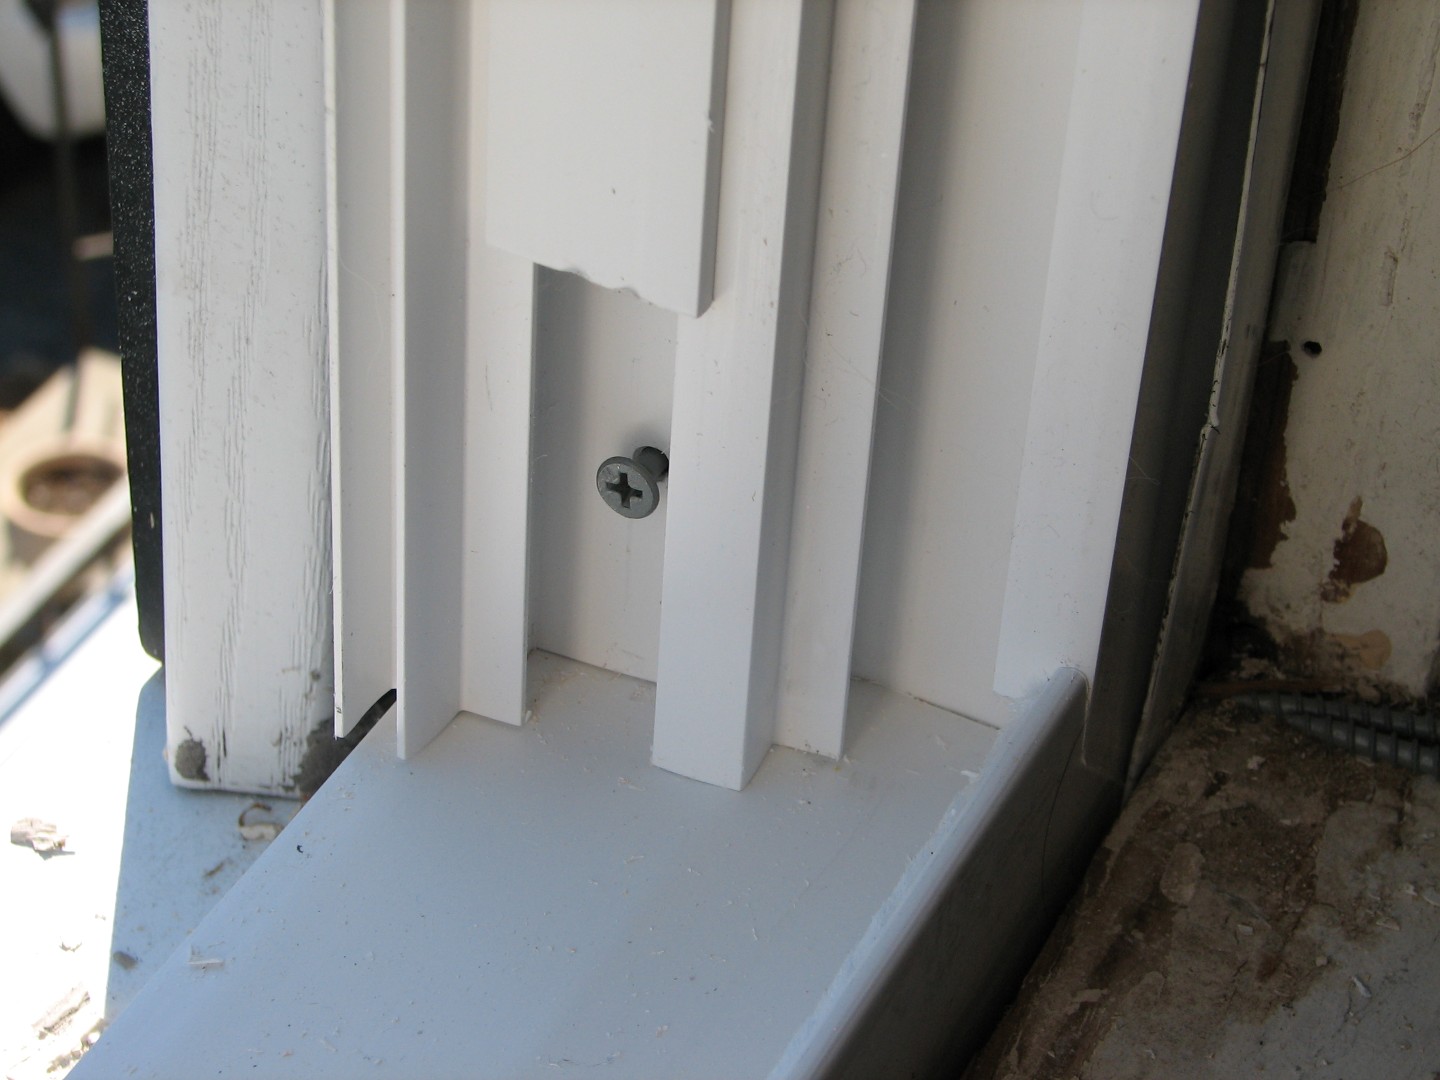
So next up, since I was replacing replacement windows, I needed to remove the old replacement frame. Inside the window tracks themselves, at each of the four corners, are four screws:
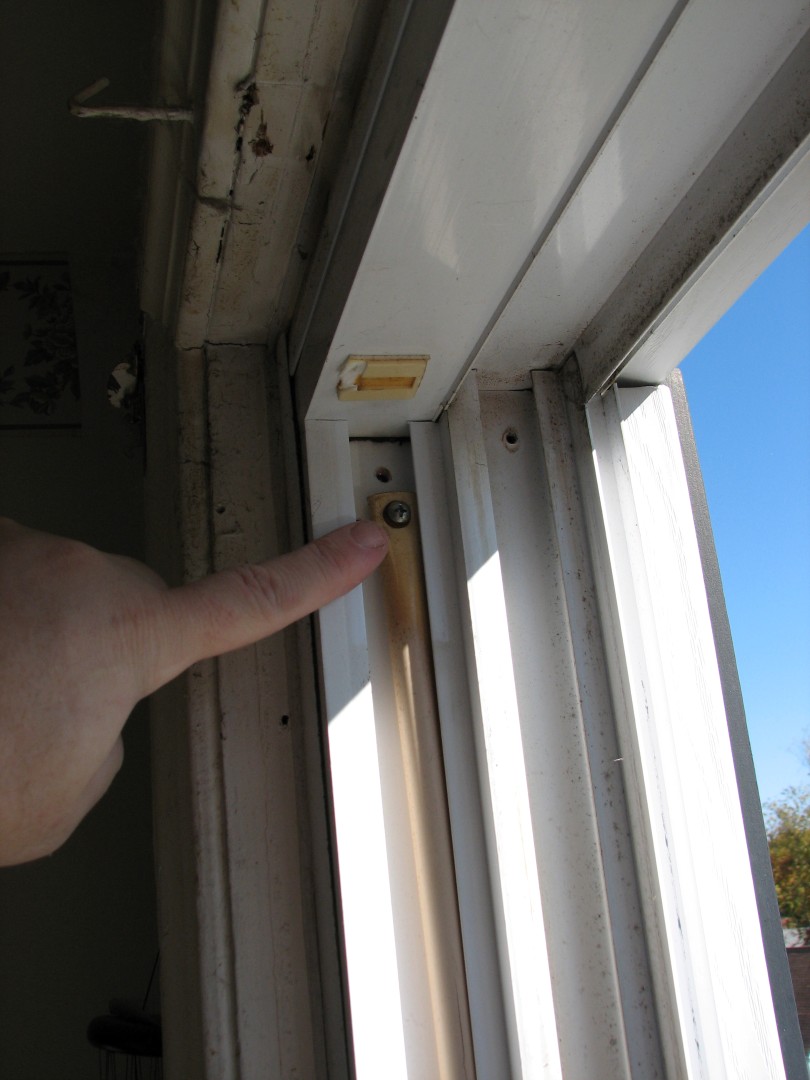
I’m actually pointing at the tension rod in this shot – look at the hole ABOVE my finger – the one with no screw in it but lots of rust stains.
As you can see here, I’ve already removed the rusty screws for your convenience.
Here’s what they look like PRE removal (and by the way, guess at which point in the project I finally said to myself, “Hey, lets take pictures!” – Here’s a hint – this is window #2 of the day…I’m such a genius…)
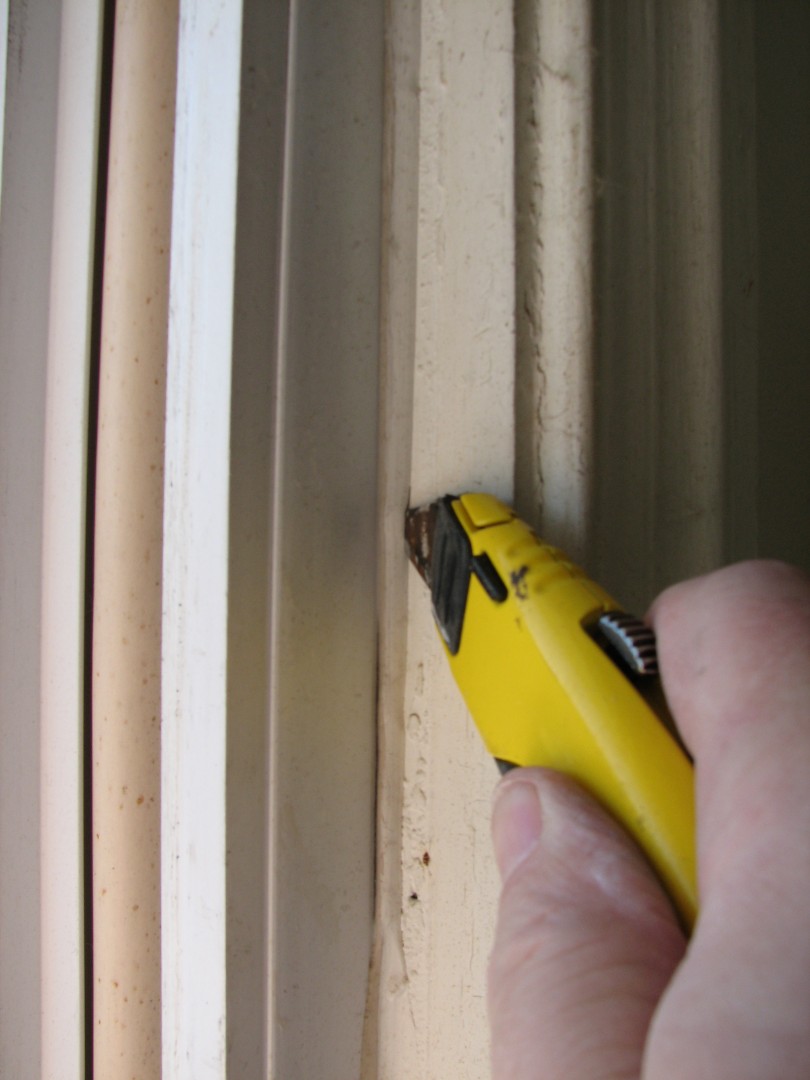
I removed the screws, and then well, see how where the old vinyl frame meets the old wood frame, there’s caulk? Normally that’s good, because it helps support the window and prevents leaks, but NOW its bad because, well, it helps support the window, and you are NOT getting that window out very easily if the caulk is still there. So, using a handy dandy utility knife and 1″ scraper I stripped the caulk or at least cut it to break the seal:
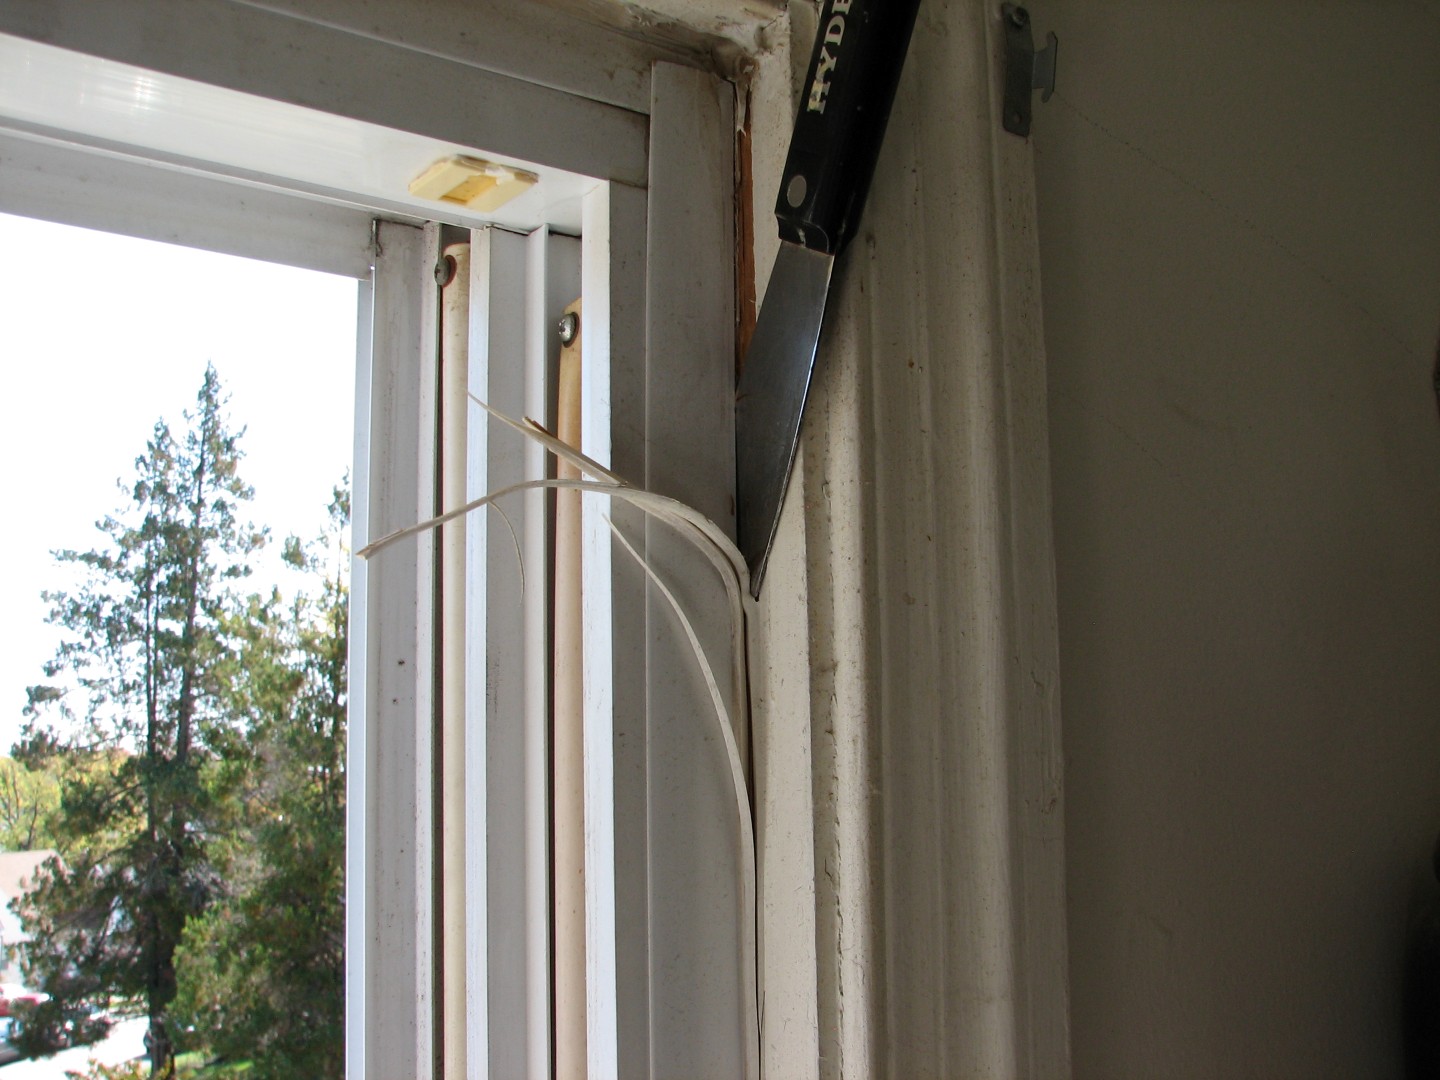
And then gingerly applying brute force, I yanked that old frame out of the wall. Care was necessary though, because I did want to save those vinyl channels the old window was sitting in.
So once the window was out, in this case, I wanted to re-use the vertical side channels because they provided a nice clean look that didn’t require adding a lot of trim, but they were a MESS:
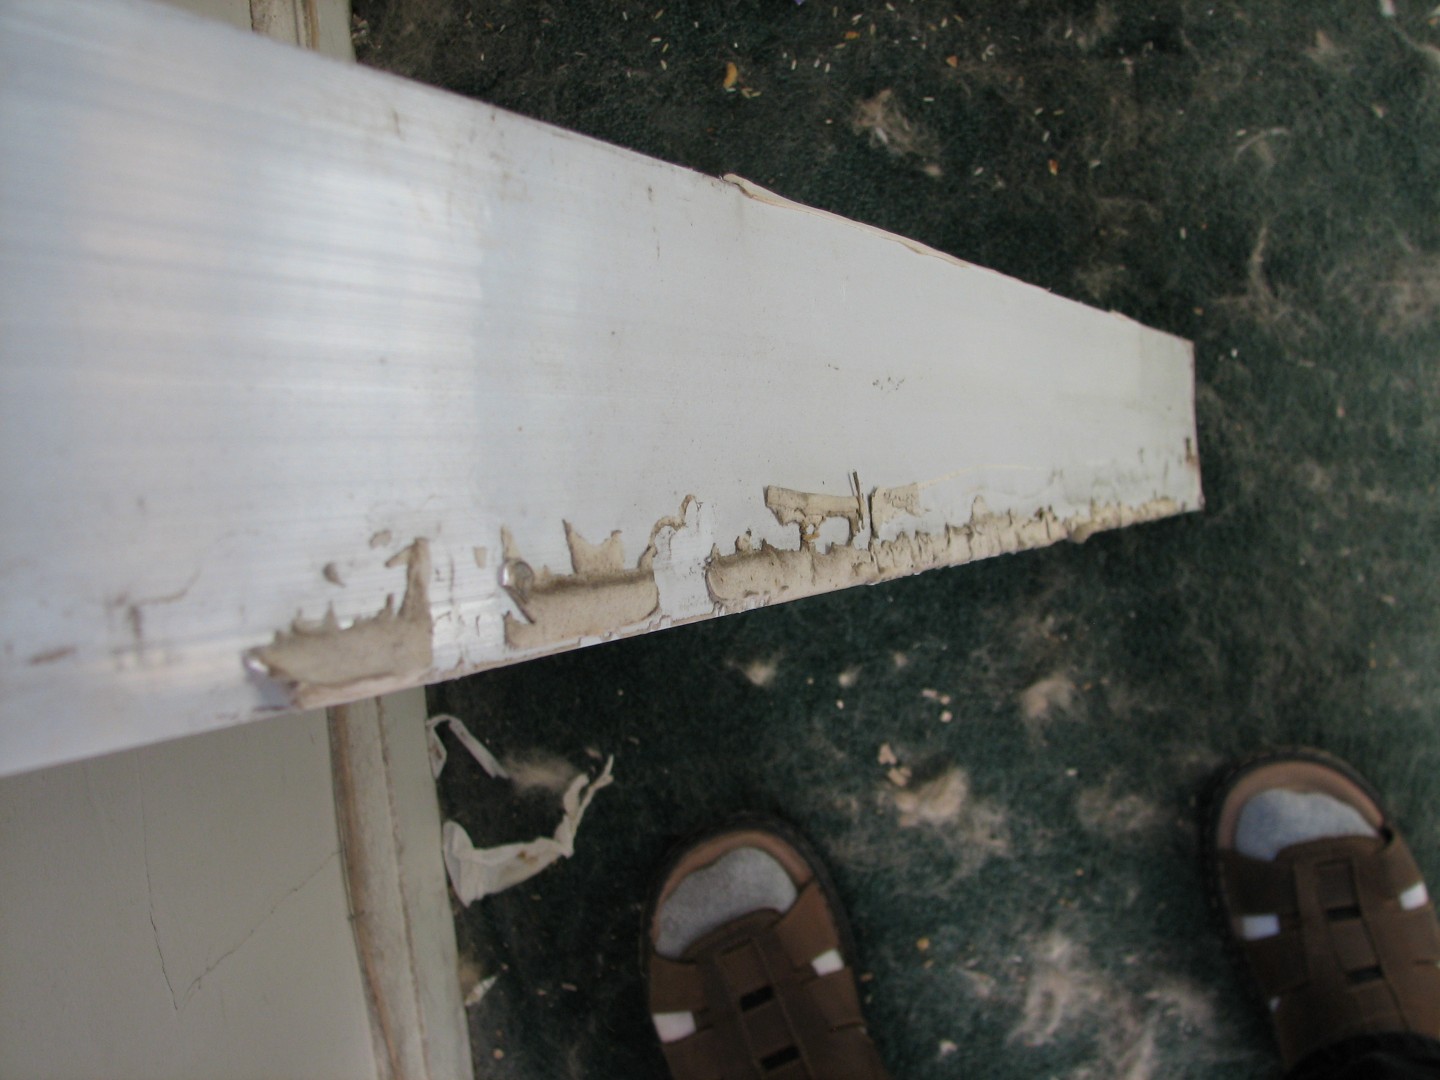
Yes, I wore tube socks with sandals. It was cold, my toes need protecting!
One of my favorite tools, the Bosch multi-tool, was PERFECT for cleaning this up:
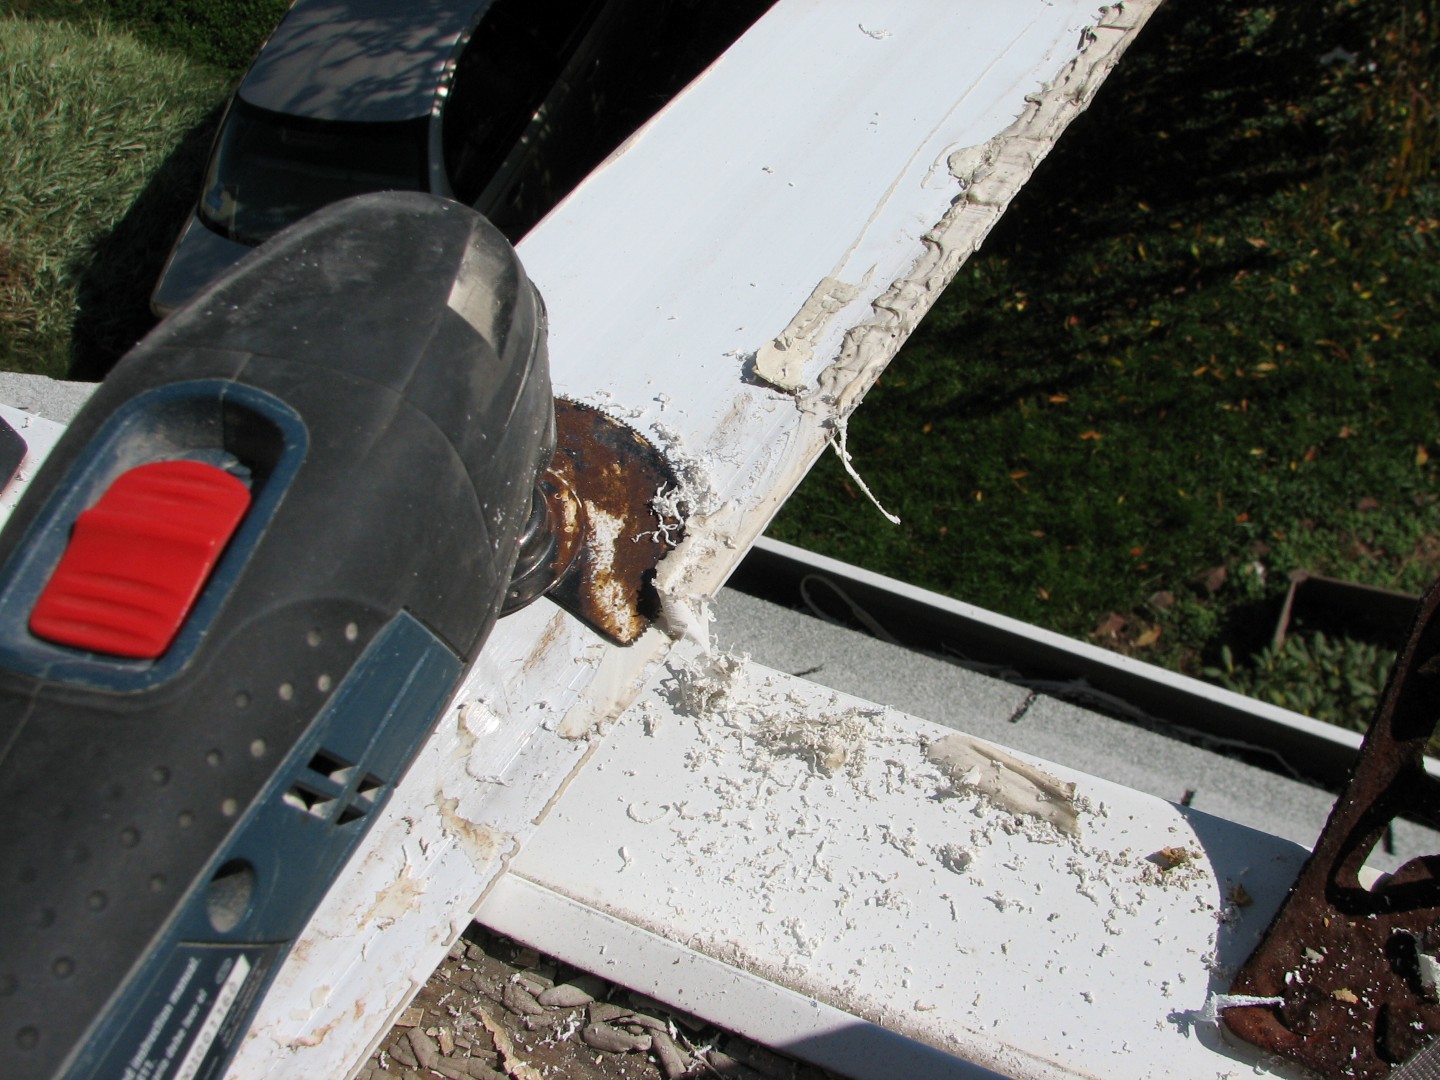
So pretty soon I had a nice clean channel to reuse:
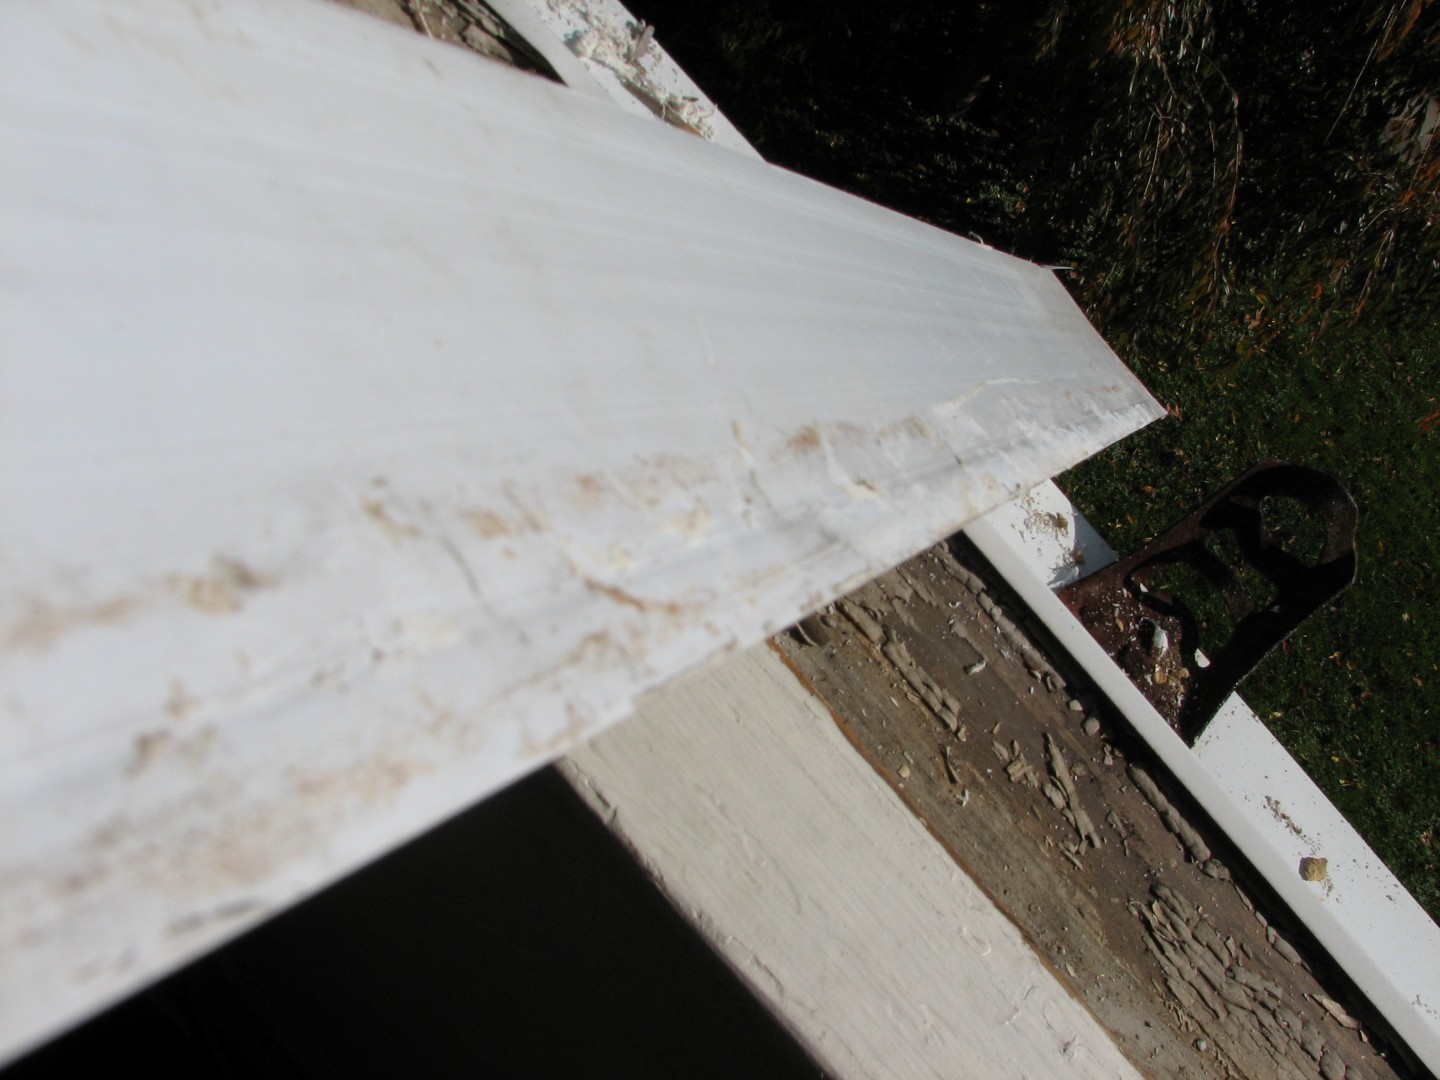
Well, clean enough. 🙂
I’ve learned the hard way about dry fitting. For the uninitiated, this is the step where you put everything in place BEFORE you attach any glue, adhesives, screws, etc. Trust me, nothing sucks worse than getting the adhesive all spread out and then figuring out the piece you were installing doesn’t fit.
Here you can see, I’ve slipped the vertical and horizontal top channels onto the frame. The horizontal channel goes over top of the vertical channels on the outside of the frame, so on the inside, the vertical covers the horizontal. This is done so that if water hits the frame, it’ll run down off the top and onto the side pieces on the outside, rather than get inside the window frame.
And now, a gratuitous shot of one of our dogs, Lacy. She doesn’t like renovation work – the tools scare her.

See how nervous she looks? Or hungry. Probably hungry and nervous that I won’t give her food.
Ok so after test fitting the window, which was a perfect fit, it was time to make a more permanent install. Now you saw the rusty screw holes – shockingly enough, windows get exposed to water, so its smart to use weather proof screws:
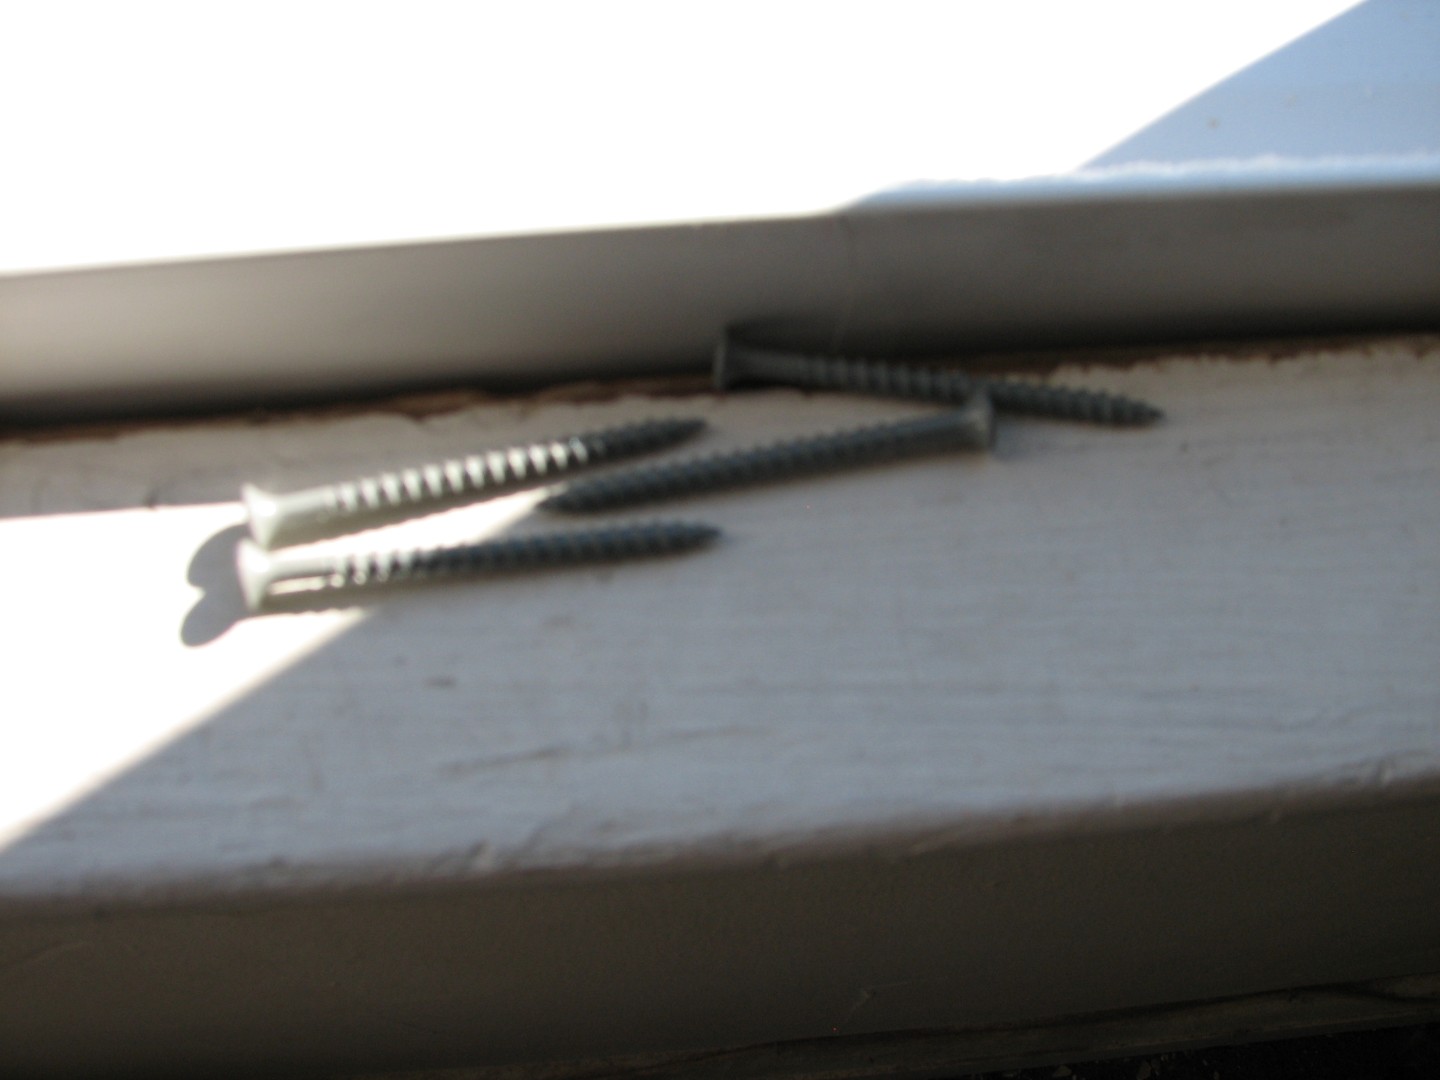
These are 2&1/2″ coated sinkers. Since this was a replacement window and I preserved the original sill, I put the frame back in the window and pulled the base forward as much as possible, then anchored one screw in the bottom at each side. If you do this, DON’T tighten the screw much – just get a bite in the frame. You need to be able to adjust the window for square and level and if you tighten them up, you’ll be sorry.
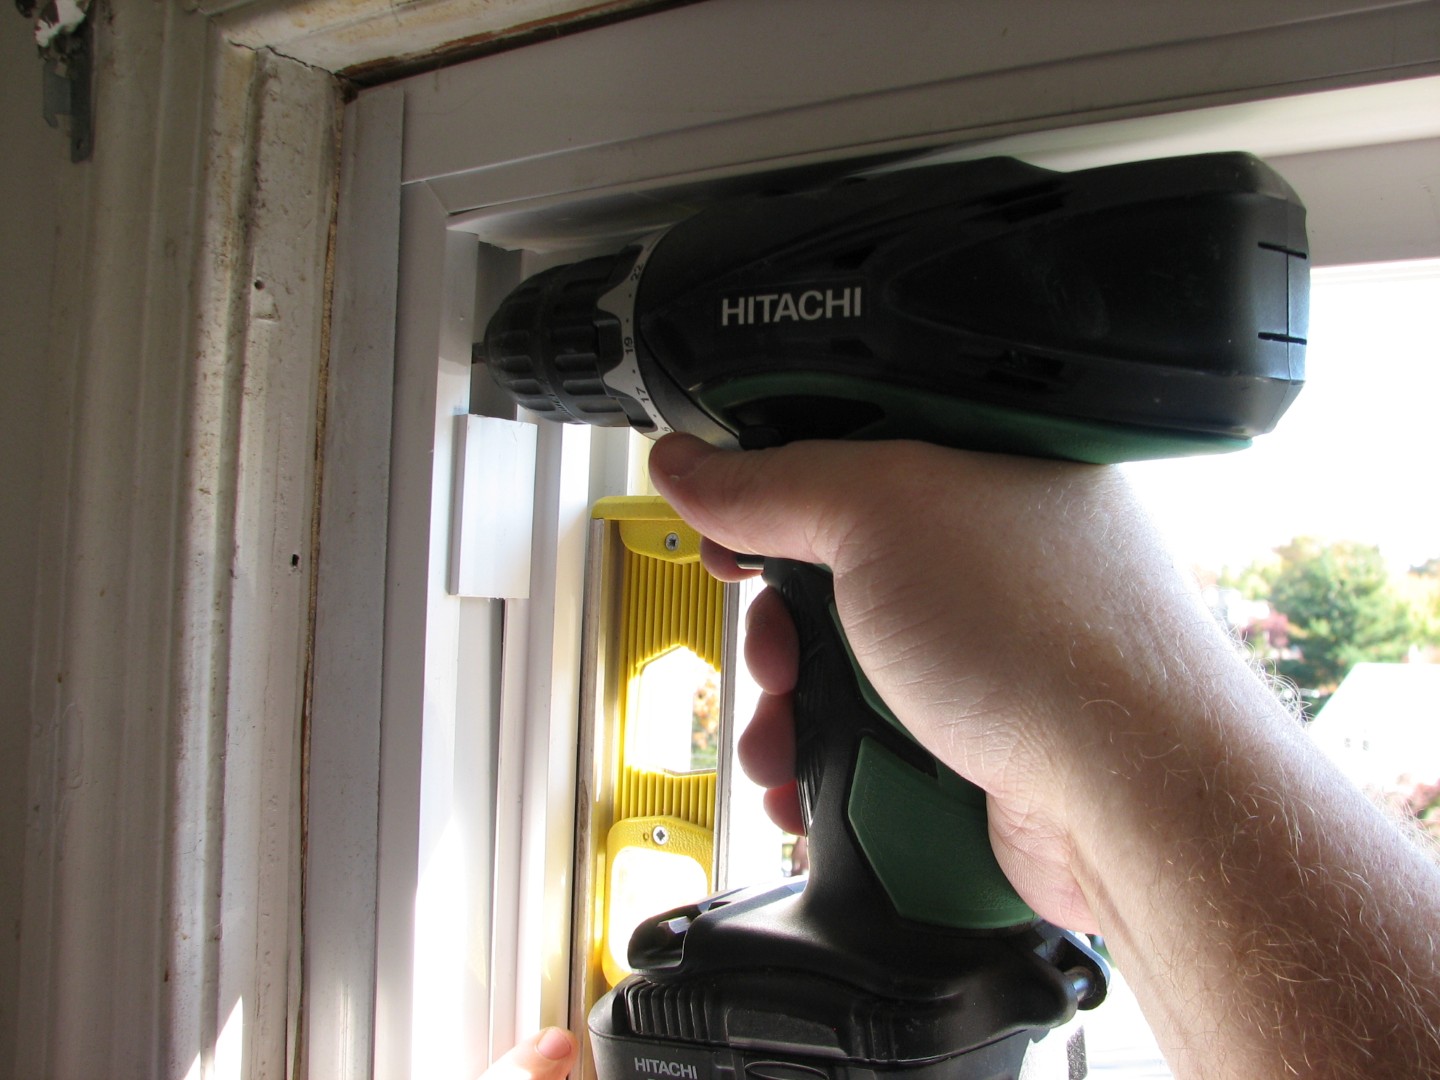
Next was getting the frame plum (ie: vertically straight) :

Once the frame was level it was just a matter of carefully tightening the screws on both sides to get it internally plum and perfectly rectangular.
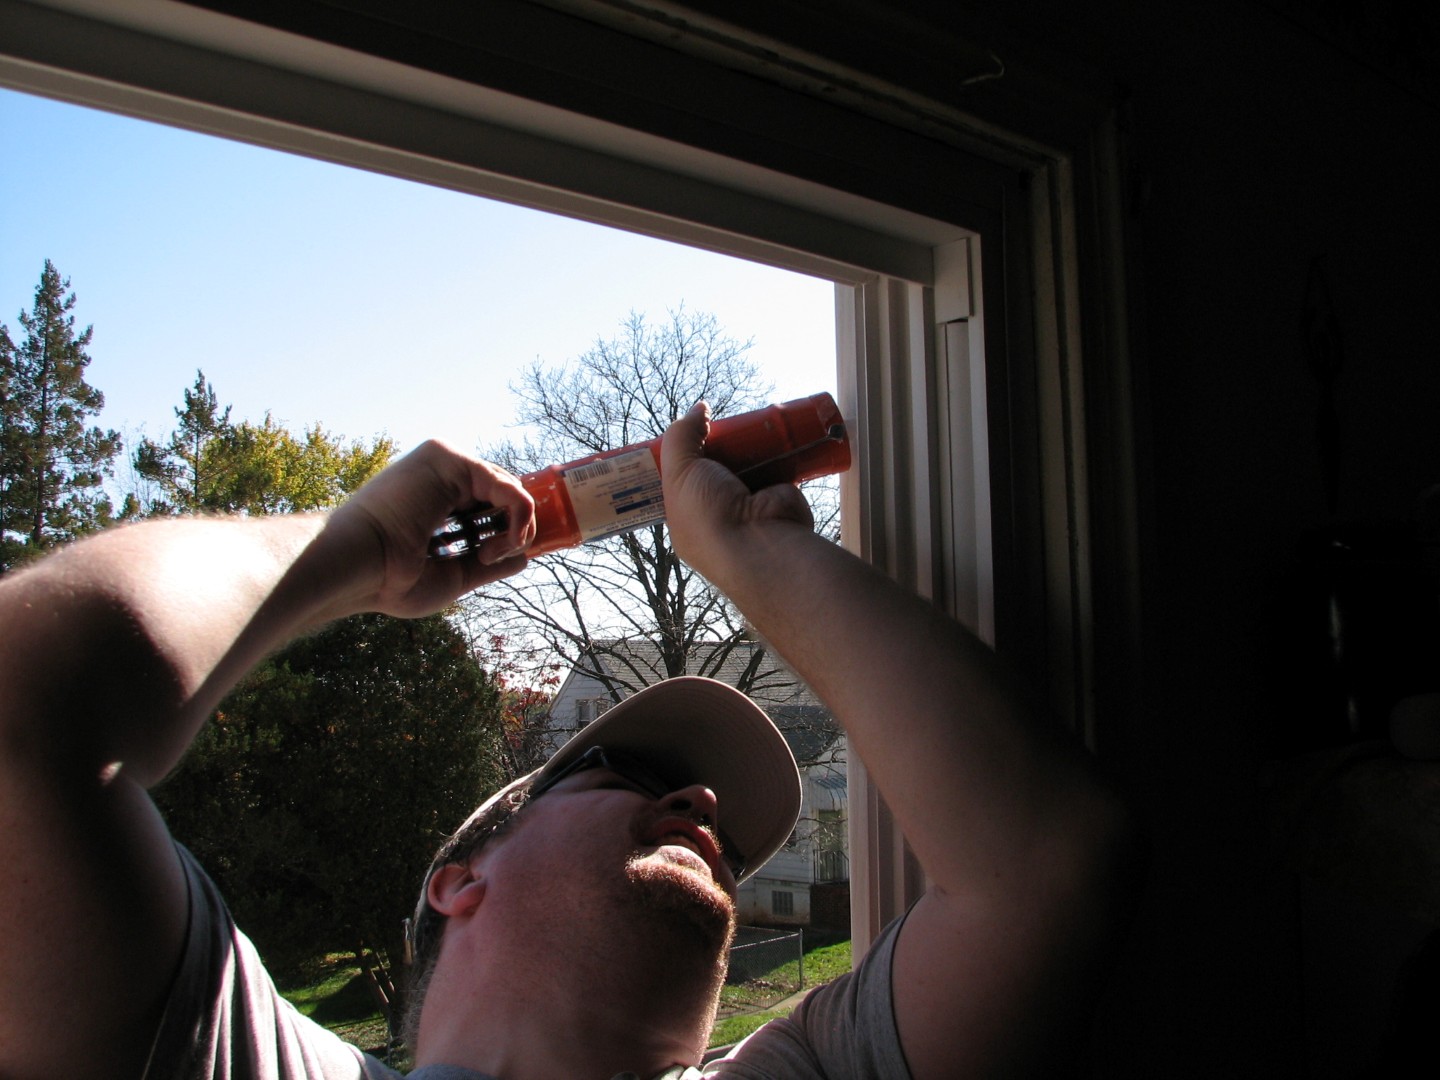
After that, it was a pretty simple matter of caulking (inside and out – nothing like hanging out the window of a 2nd floor building…)
installing the screen and the two new window panes:
And finally, the blinds:

And viola! Two new replacement windows in the bedroom:
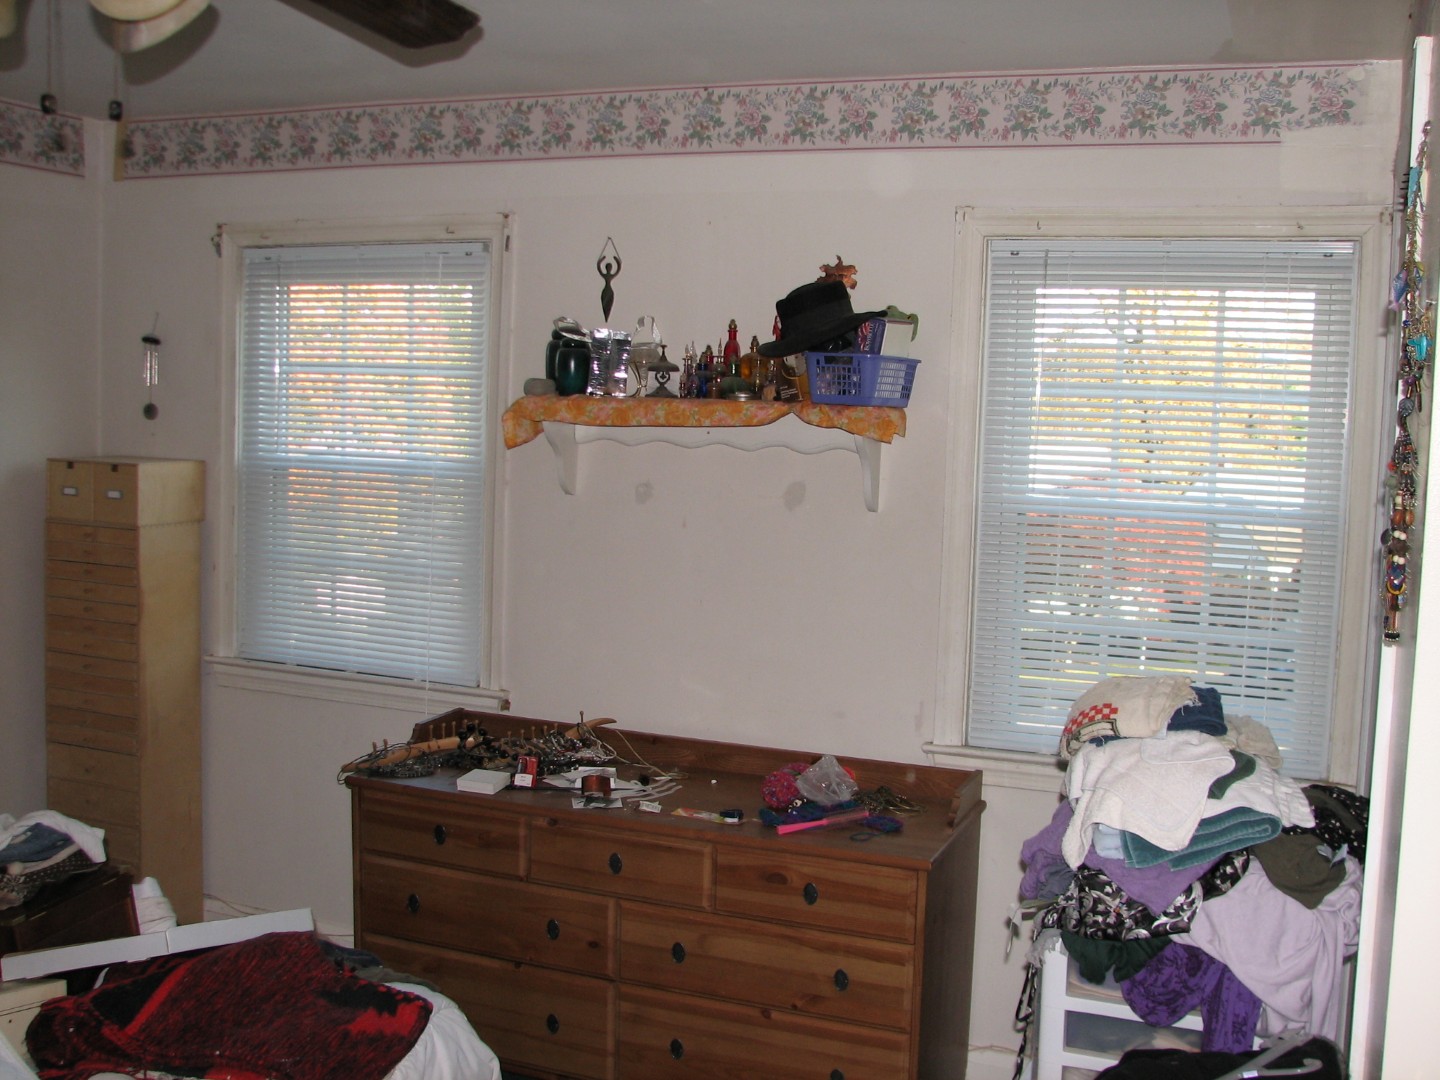
Lacy was exhausted! And so was I, but our new windows make our bedrooom warmer, quieter, and the low-E glass means less heat-loss in winter and the AC doesn’t need to work as hard in the summer! In fact it’s been so warm, we’ve got to crack the windows at night…
I’m sure that’s ironic somehow…
Hammer safely!
G

Filed under Projects
Tagged: replacement windows, windows
So, how did all this turn out? I stumbled upon this page and it’s interesting. Need some closure!