Posts Tagged ‘windows’
Spraying foam around the windows
One of the best home improvements I’ve made in a while, is one you’ll likely never see (unless you read this blog). And at about $10.00, it was also one of the cheapest projects I’ve done.
When the temperatures started to drop, I noticed that the second floor of my house was quite a bit colder than the first. So, I did what my mother had always done. I went out and bought window wrap, and applied it to all the windows in the house. You know the stuff. The plastic wrap, that shrinks with a hair dryer.

Yeah, that stuff.
After spending a day installing the stuff, I noticed it was still quite cold upstairs. As I investigated further, I found that I could still feel a draft near the windows. So I thought to my self “The air must be coming in around the window, not through it.”.
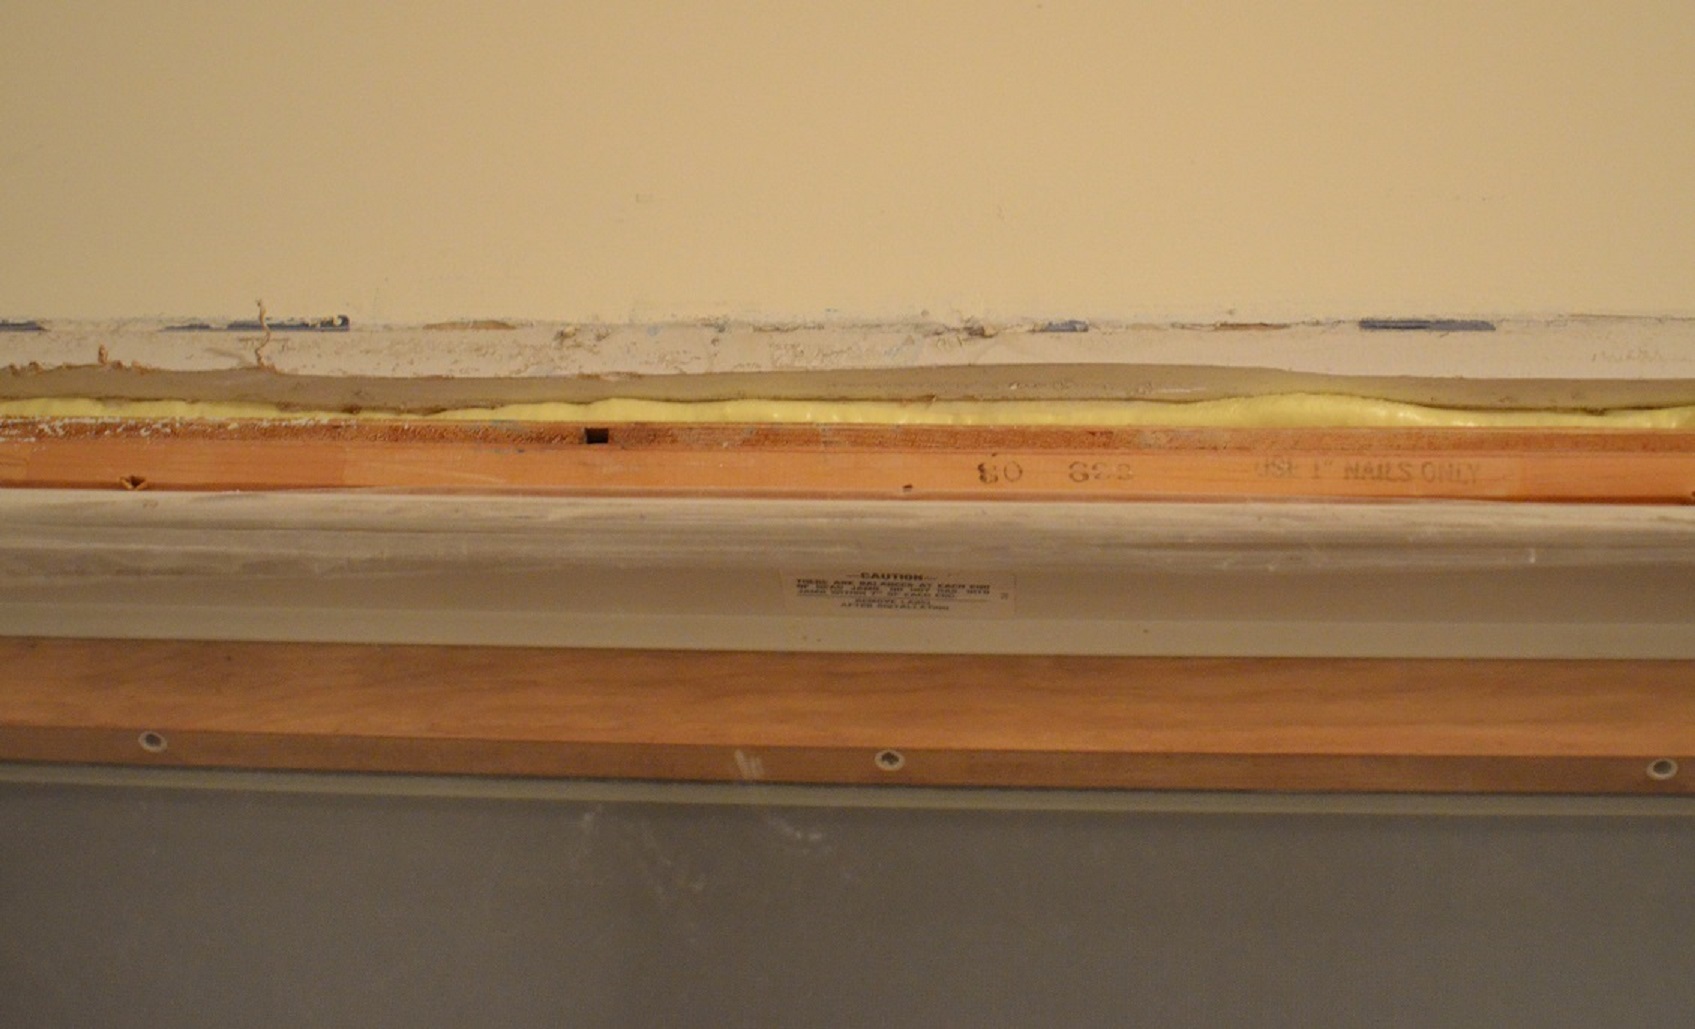
The next day I removed the casing from one of the windows, and found a puny bit of fiberglass batt insulation stuffed in around the window. I couldn’t believe that in a newer home, in the northern United States, this was the way they insulated around a window. I knew what had to be done, so I hopped in my truck and headed to Home Depot. Where I picked up two cans of Great Stuff™ Window & Door, for about $10.00.

If you’re going to do this, make sure you get the stuff designed for windows and door. The “regular” Great Stuff™ Gaps & Cracks may expand too much and/or too quickly, causing the window or door frame to bow out. If this happens, the door or window may not function properly. The window & door formula is created to expand with less force, so it will not bend the frame of a door or window.
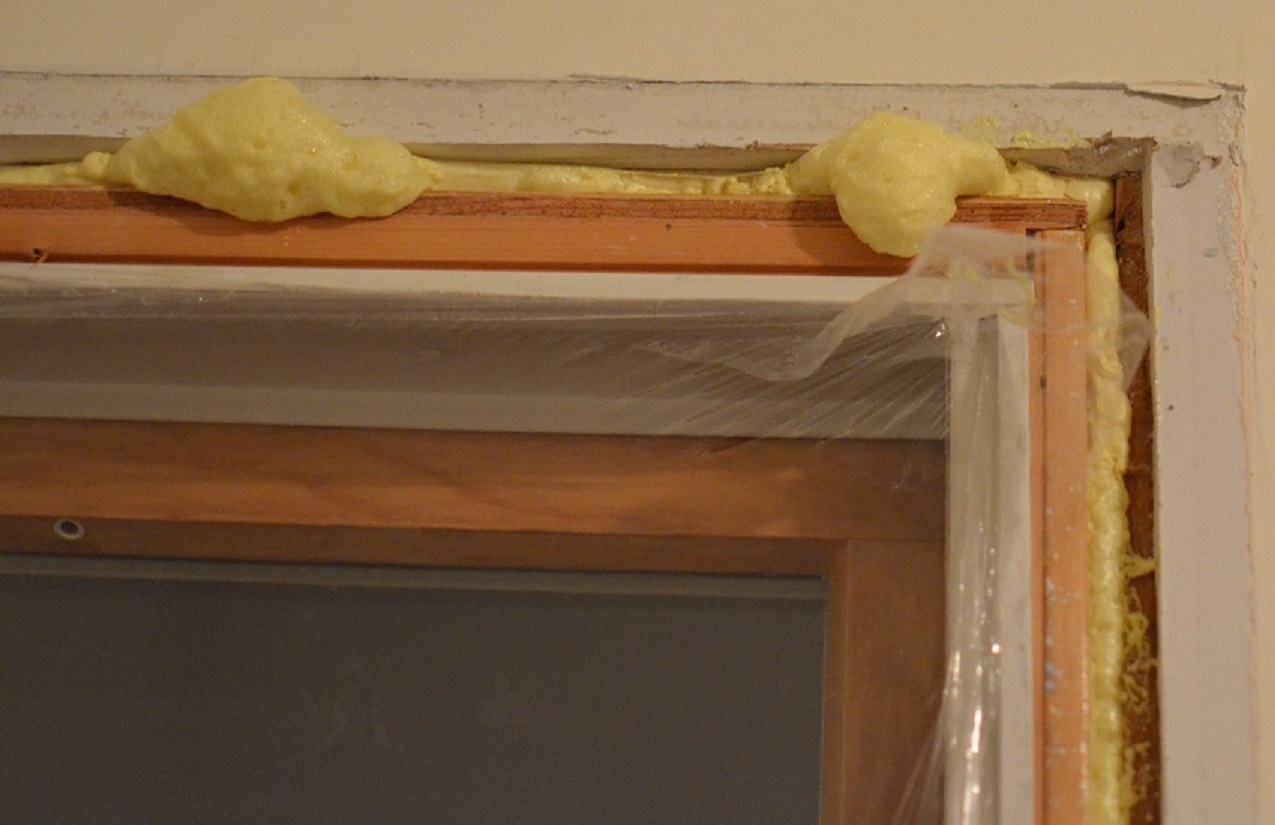
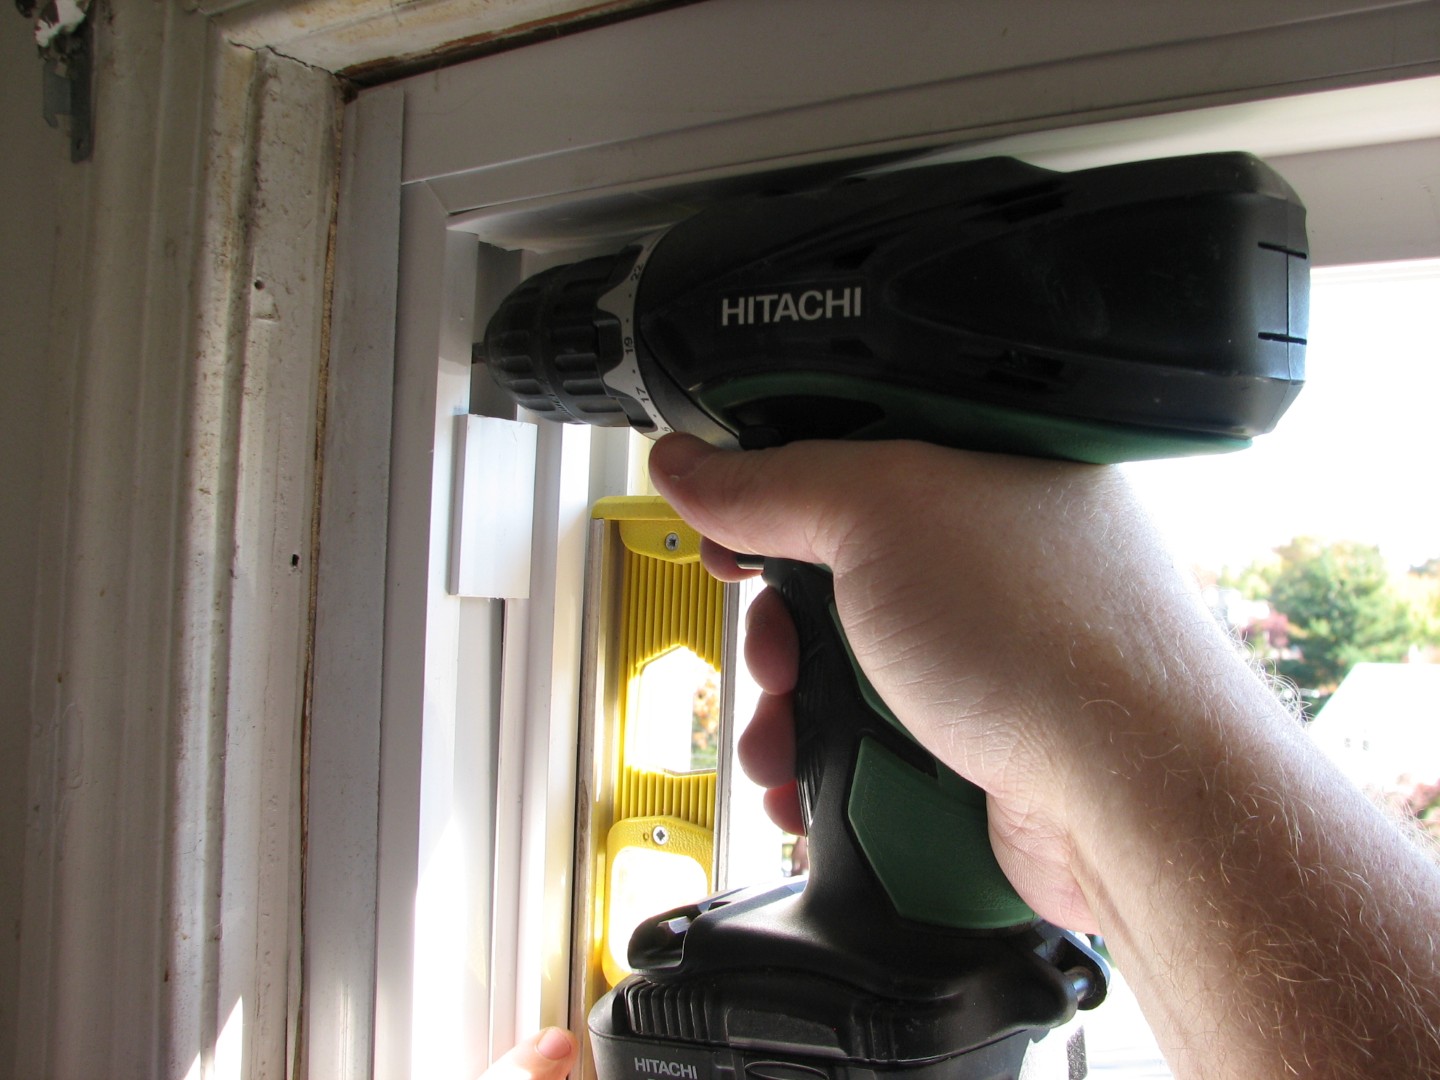
Installing the stuff is dead easy. Once you have the window trim removed, and the gap around the window frame revealed. You simply gently pull the trigger, and fill the gap about 50% of the way (that’s 50% of the depth, you want to fill the entire width). Run a smooth continuous bead in all the gaps, and sit back an watch it expand.
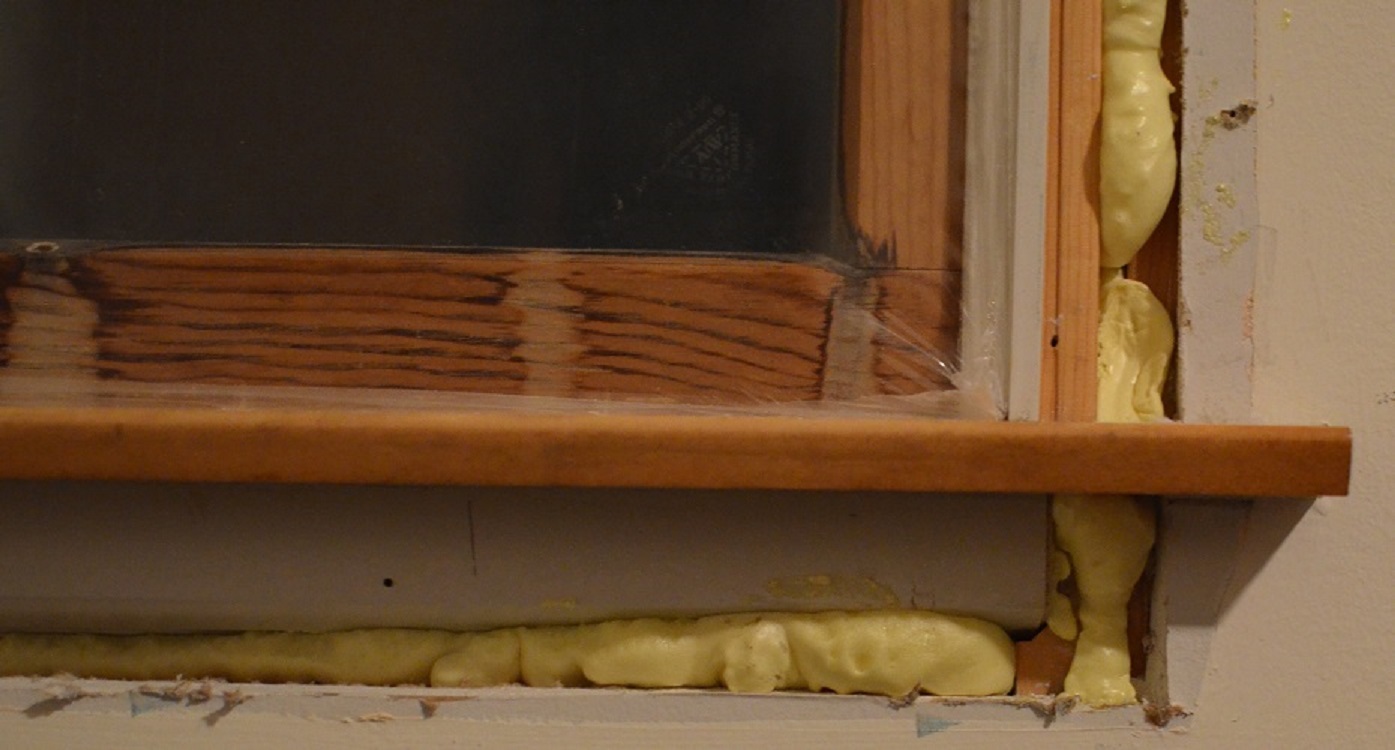
Don’t worry about being super neat, you can trim off anything that expands out of the crack later. Use a hack saw blade, or utility knife to trim off any excess, once the foam has cured (usually about 8 hours).
Once the foam has cured, and you’ve trimmed off any overflow. There’s nothing more to do except, install the casing, and celebrate a job well done.
I found that one 16 oz. can, was enough to do two standard sized windows. You’ll also want to be aware that once you start using a can, you have to use the whole can. If you don’t use all the product in the can, you cannot save the remainder for later. So before you start spraying, make sure the trim is removed from all the windows you plan to insulate.

The Replacements – Swapping out windows in 2 hours or less
So I thought — “hey, you’ve got two replacement windows that need replacing – you should do a blog with a title like ‘The Replacments – Not the movie starring Kenau Reeves (however its spelled)‘”
Then I wrote the title and it looked dumb. Then I tried “The Replacements – Replacing old replacement windows with new replacement windows”… Yuck. “Replacing Replacements With Replacements” didn’t work either.
So I gave up. The title you see is the title you get – boring, isn’t it? Anyway – this is my second window focused article – and this time, it’s double hung!
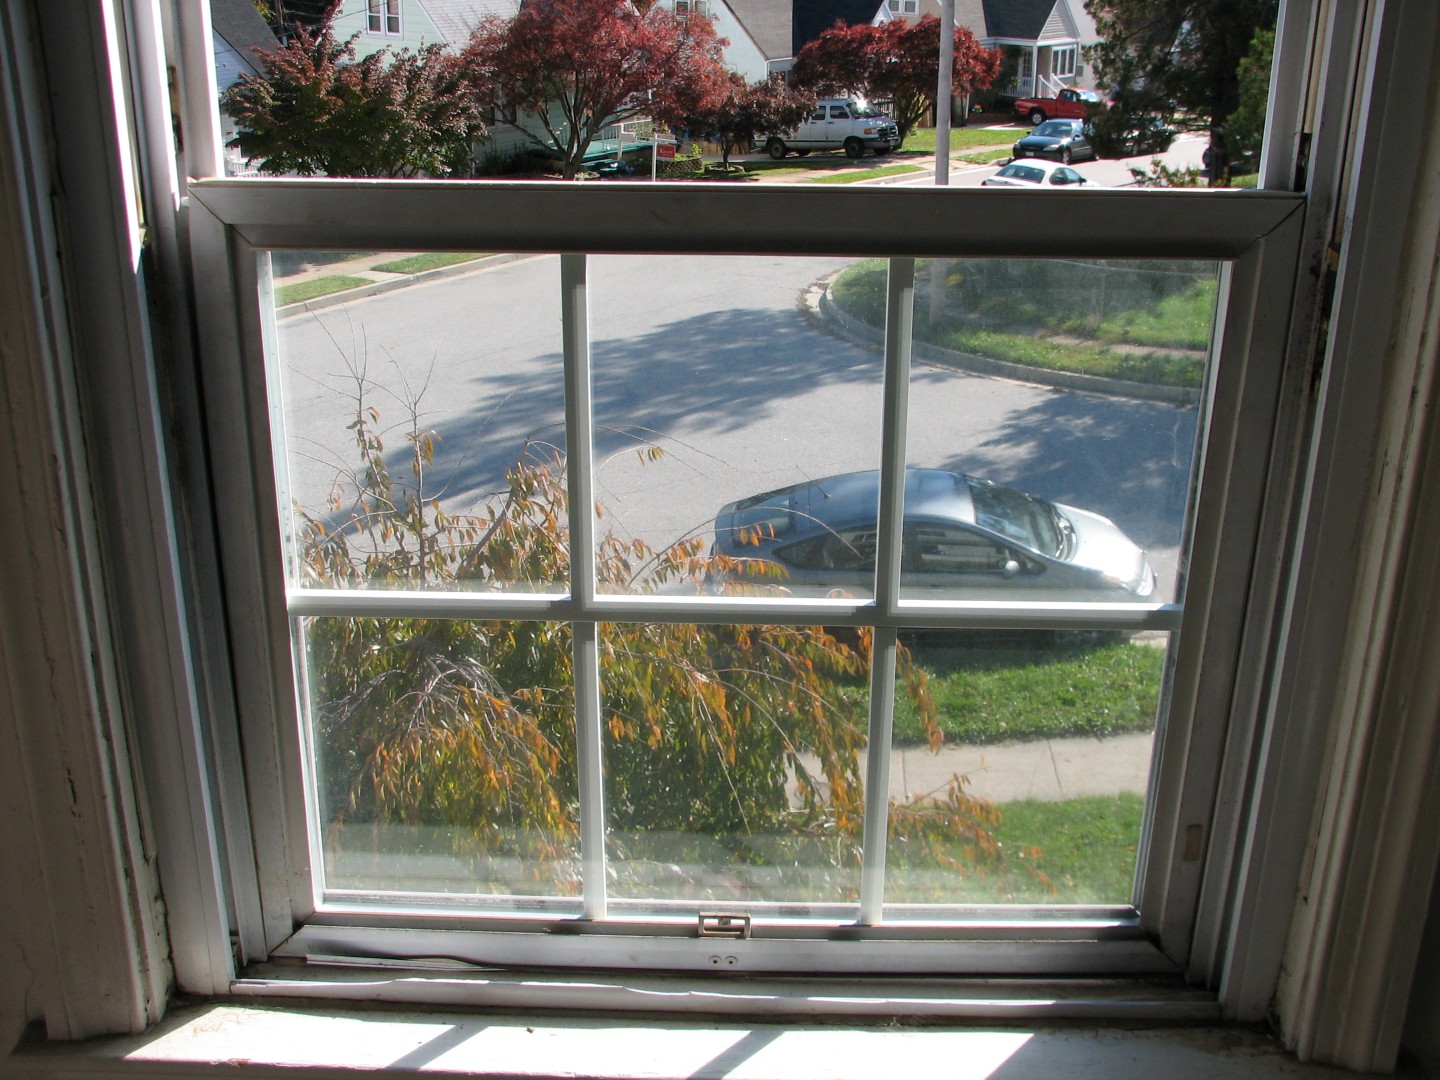
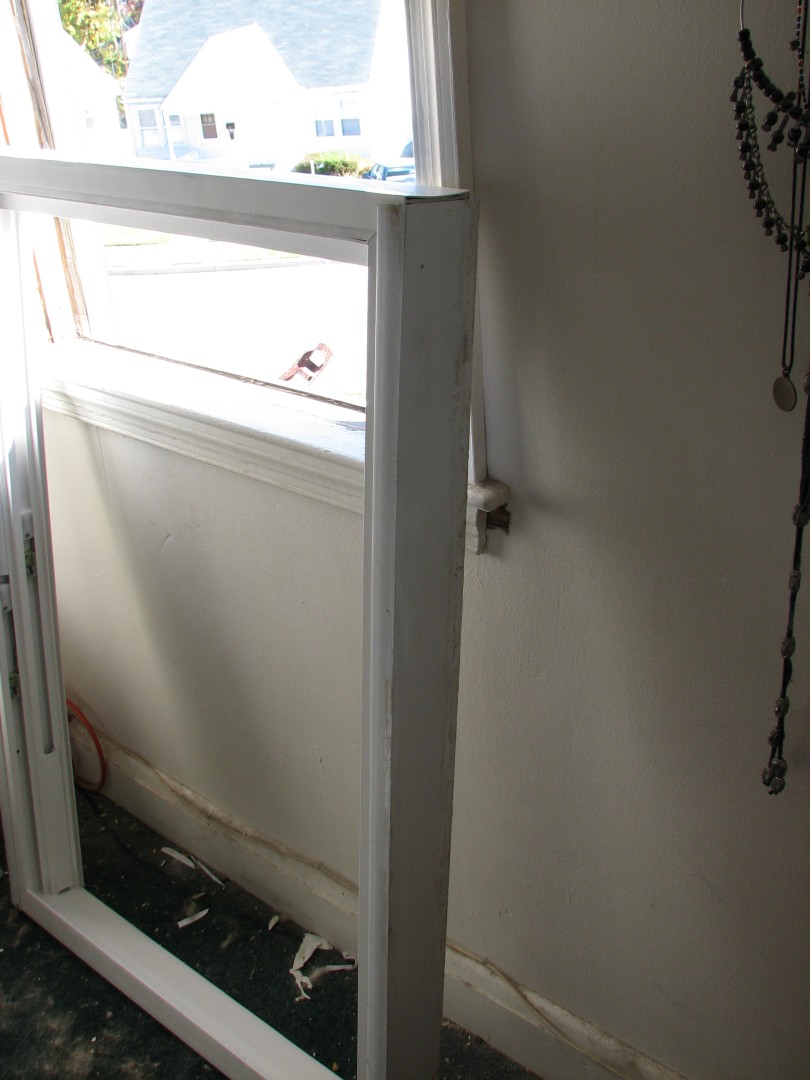
We have a lot of replacement windows in our house that we didn’t install. I don’t know who did – but whoever did should be taken out and flogged. I’d never seen custom made replacement windows that didn’t properly fit their frames, until we moved in here. Several of our windows don’t lock properly, because the windows aren’t quite perfectly sized, so the lock never lines up. This we’ve lived with for some time – but of late, our windows are starting to fail. The clips holding the windows to the tension rods (the spring loaded bars that keep the windows in position) are failing, and when they fail, NOTHING is holding that window closed, except…

Yep – a piece of wood. Isn’t that awesome?
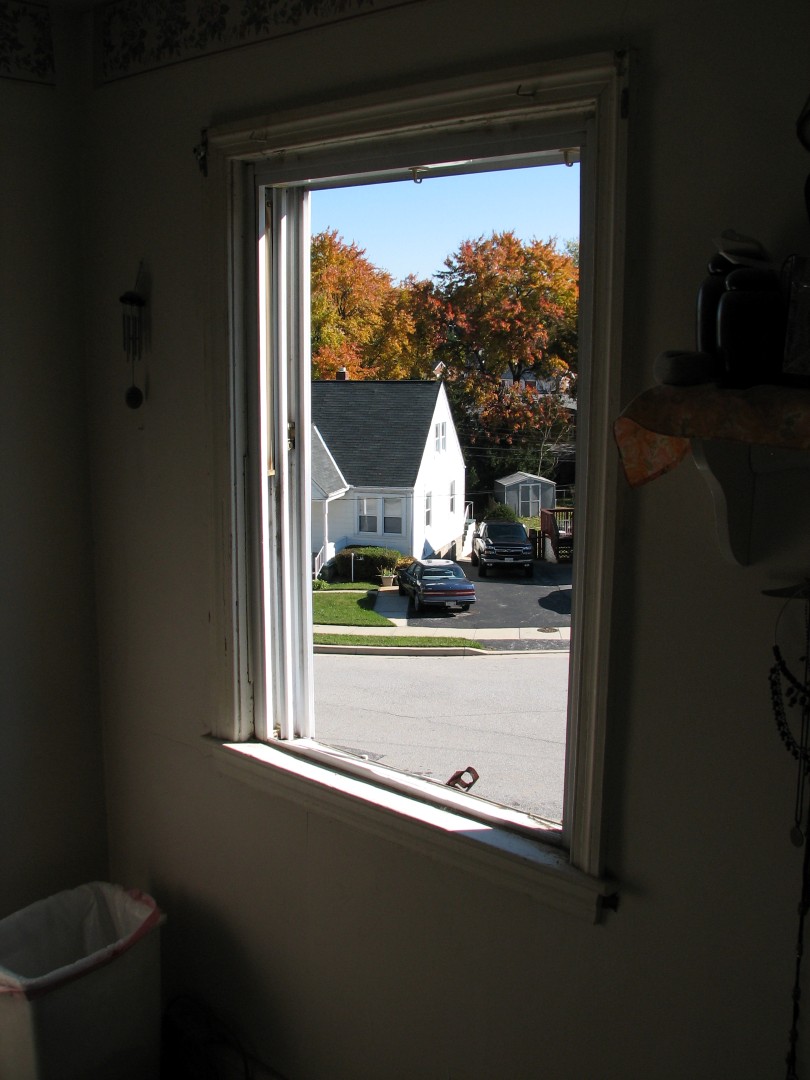
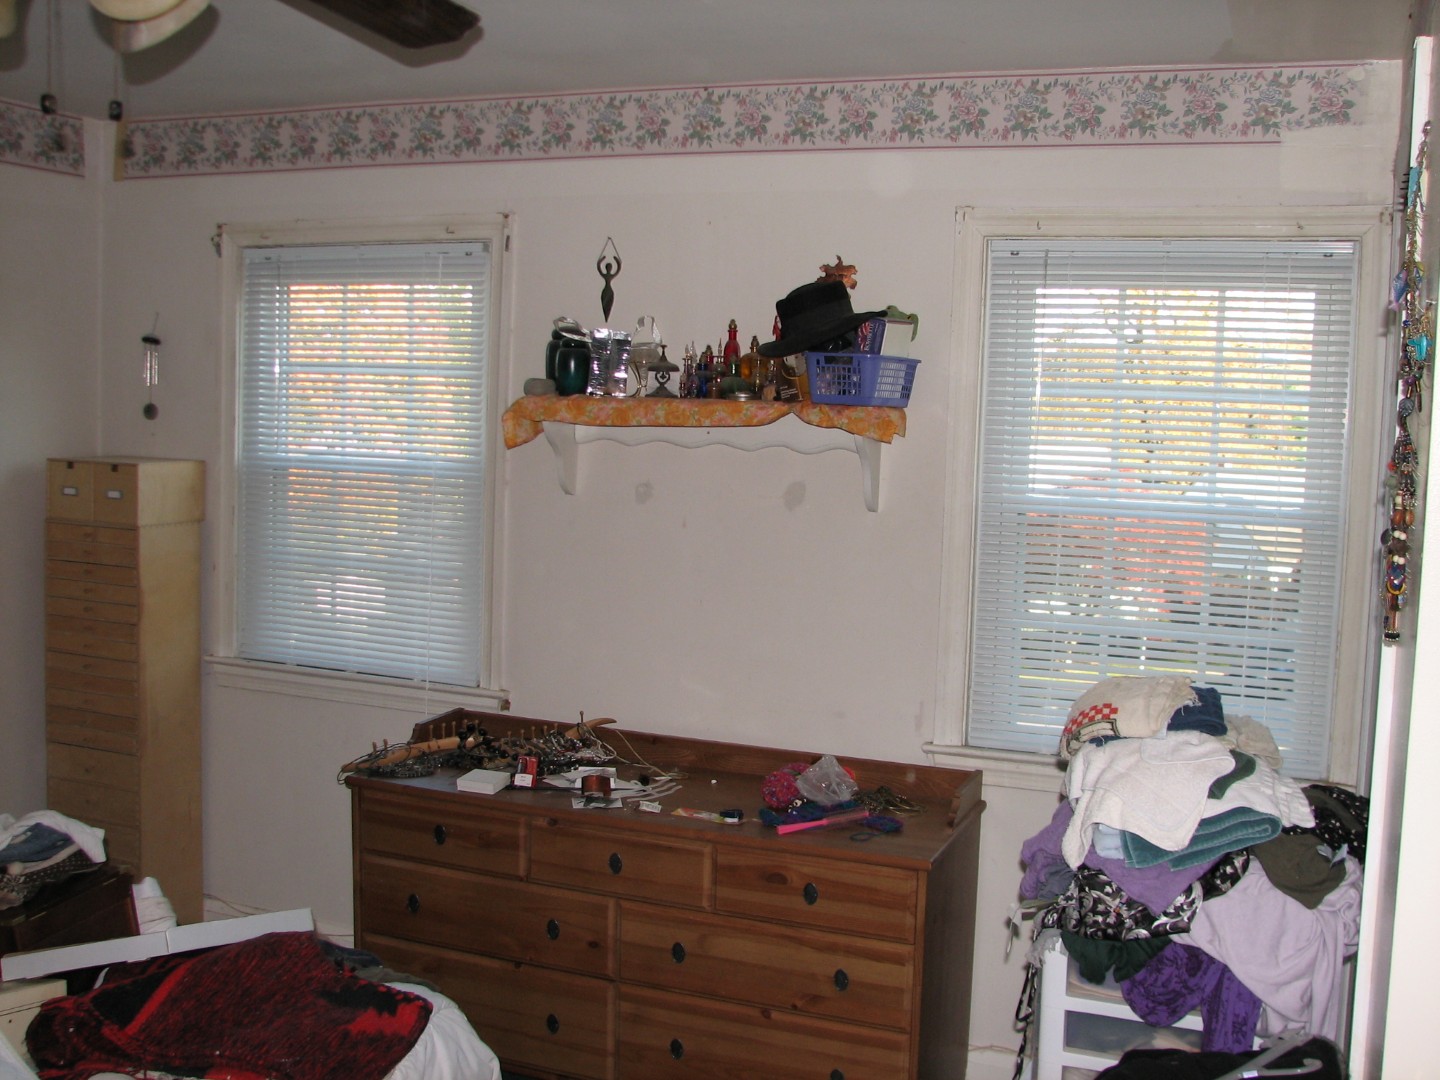
(By the way – this is our office window. Some genius forgot to take good “before” pictures – the bedroom window featured in the near future in this blog was actually worse…)
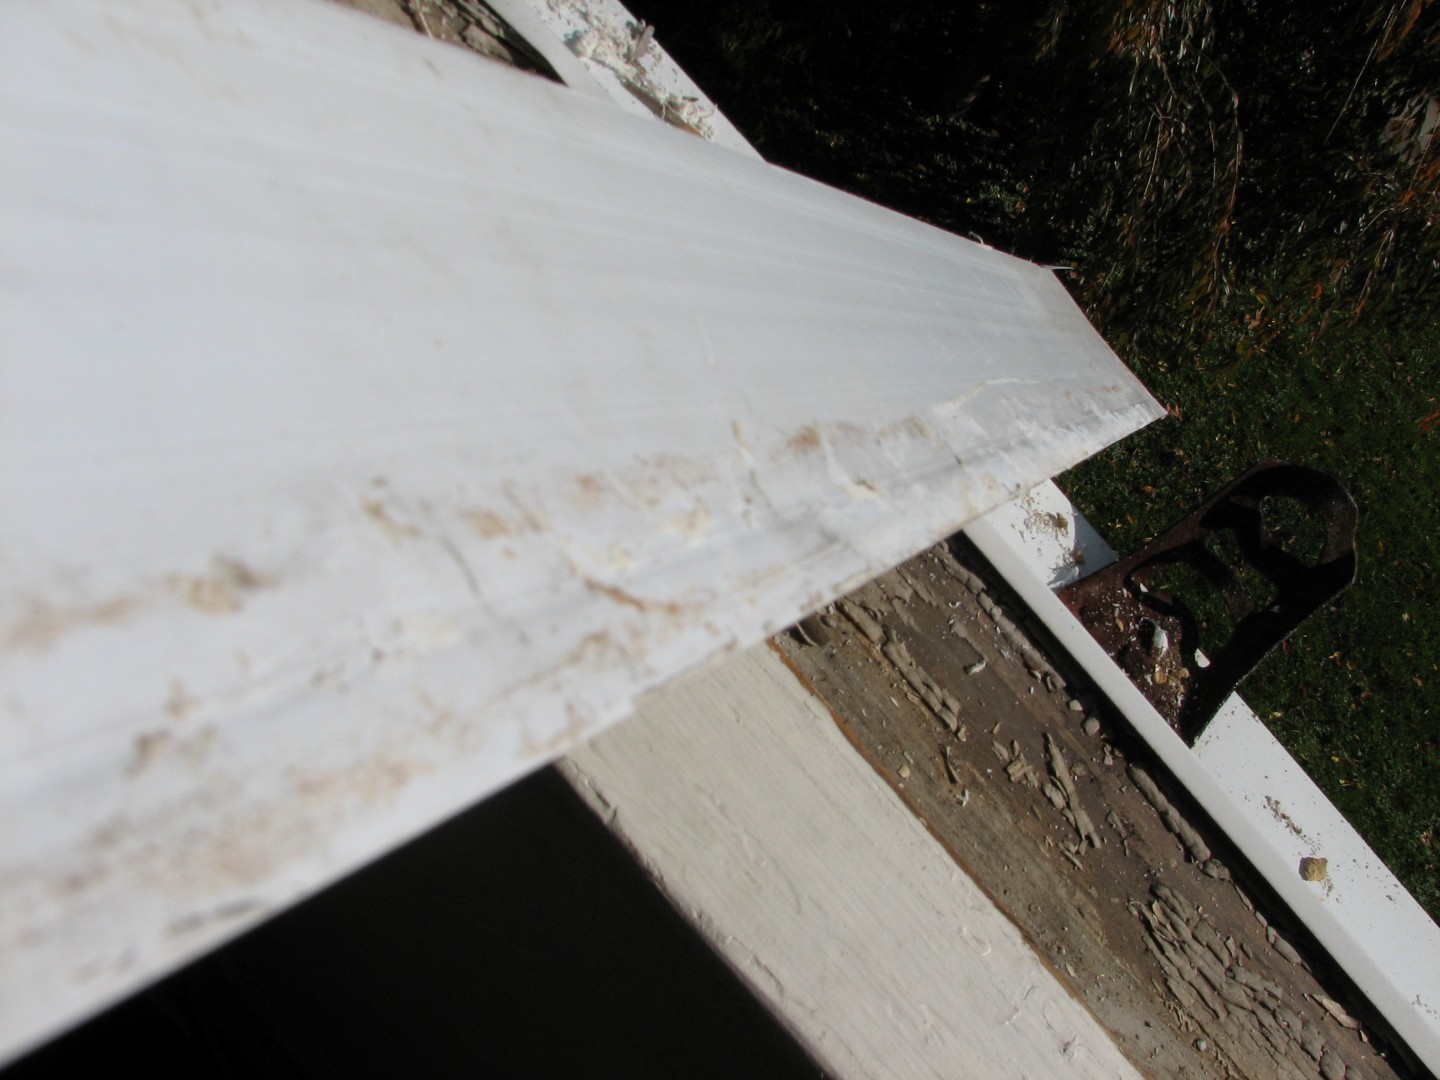
And of course, the window doesn’t exactly sit properly, so the top of the window looks like this:
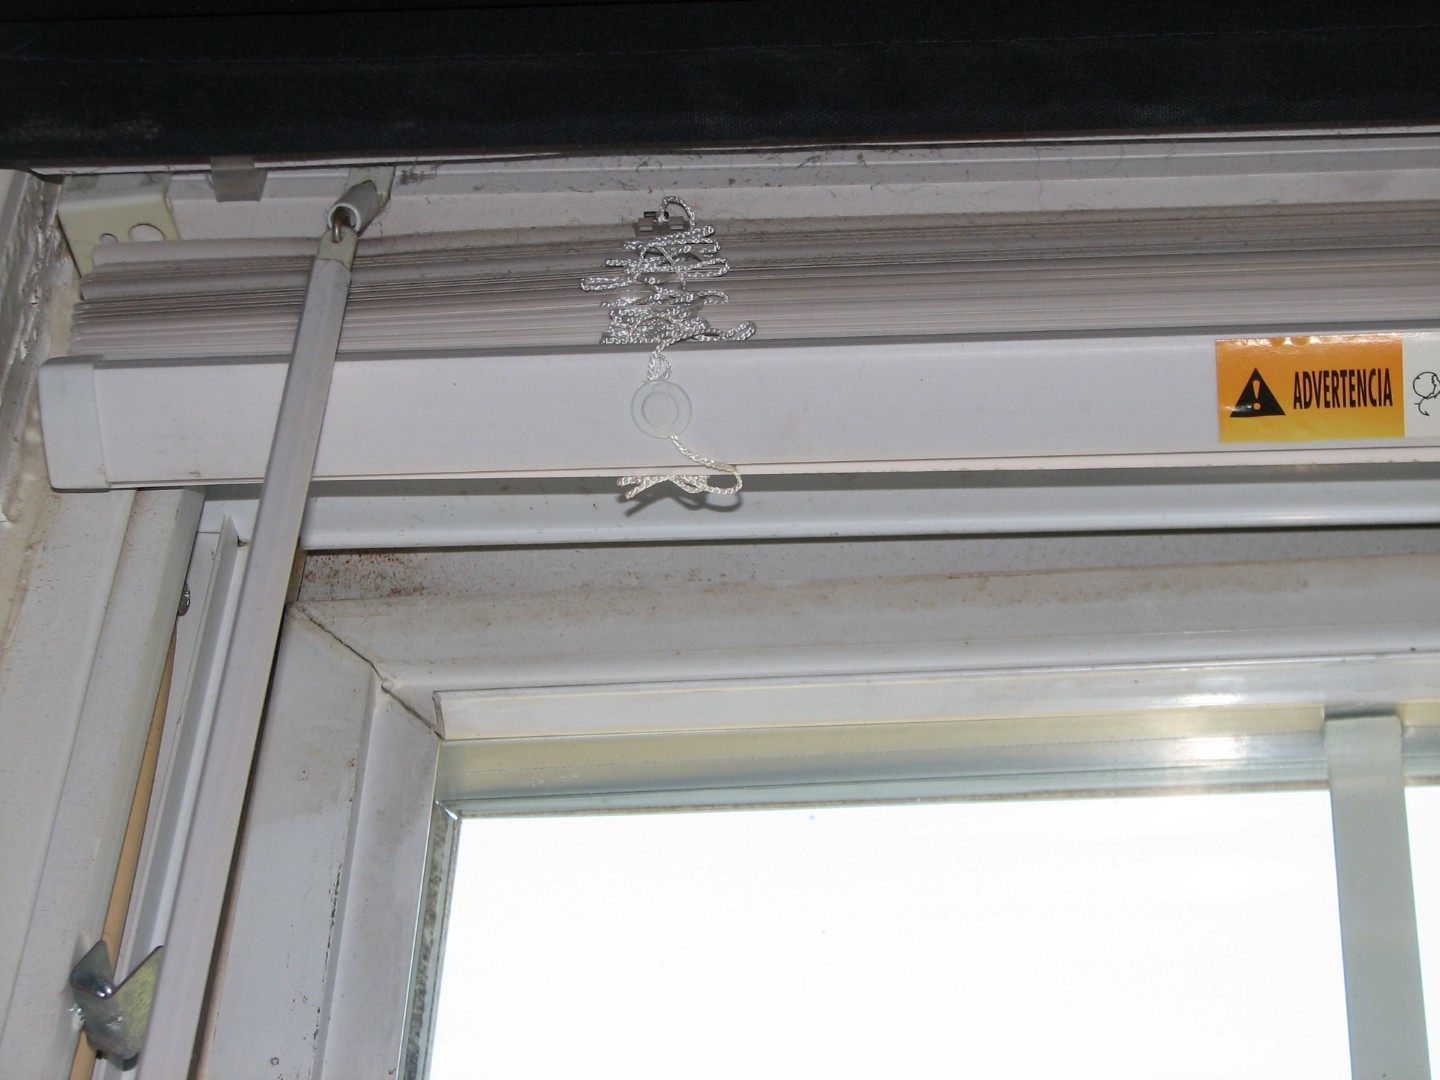
If it isn’t immediately obvious – look below the blinds, and you’ll see the irregular gap between the window pane and the frame. Talk about your heat loss!
Unfortunately, Congress hasn’t approved the “Evil Greebo TARP Bailout” program, so we’ve been limited in how fast we could buy replacement windows, but the GOOD news is, as we are able to bring them in, they go in fast, because we’re replacing replacement windows with new replacement windows.
So – here’s how it went.
First, I had to remove the old window. Our window tension clips have failed, so this was very easy, as all I had to do was remove the supporting wood and the top pane of the window fell to the bottom of the window at the speed of gravity:
By the way – I actually had to stop and go back and re insert the window pane so I could take this picture, because I forgot to start taking pictures right at the beginning of the project. I really wanted to show you just how bad this window was, but I wasn’t about to try and re-hang the dang thing just for a few pictures, so you’ll have to trust me, it was bad.
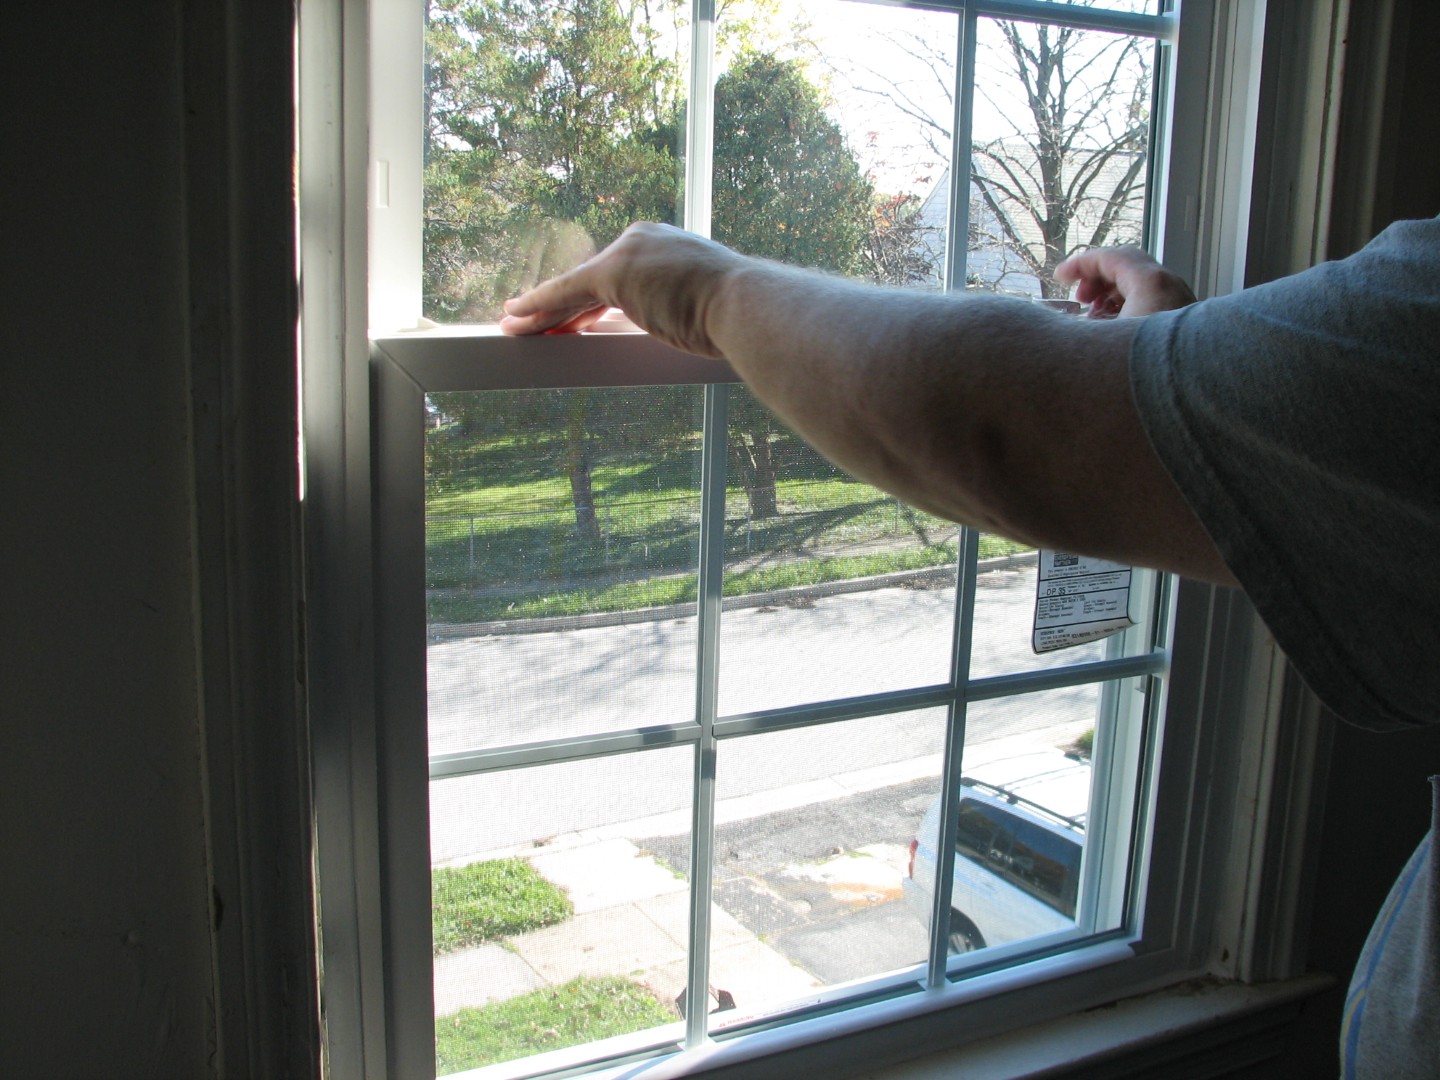
Ok, so how do you remove those panes, you ask? At the top of the pane are two clips. They look different depending on the model, but they’ll be right here:
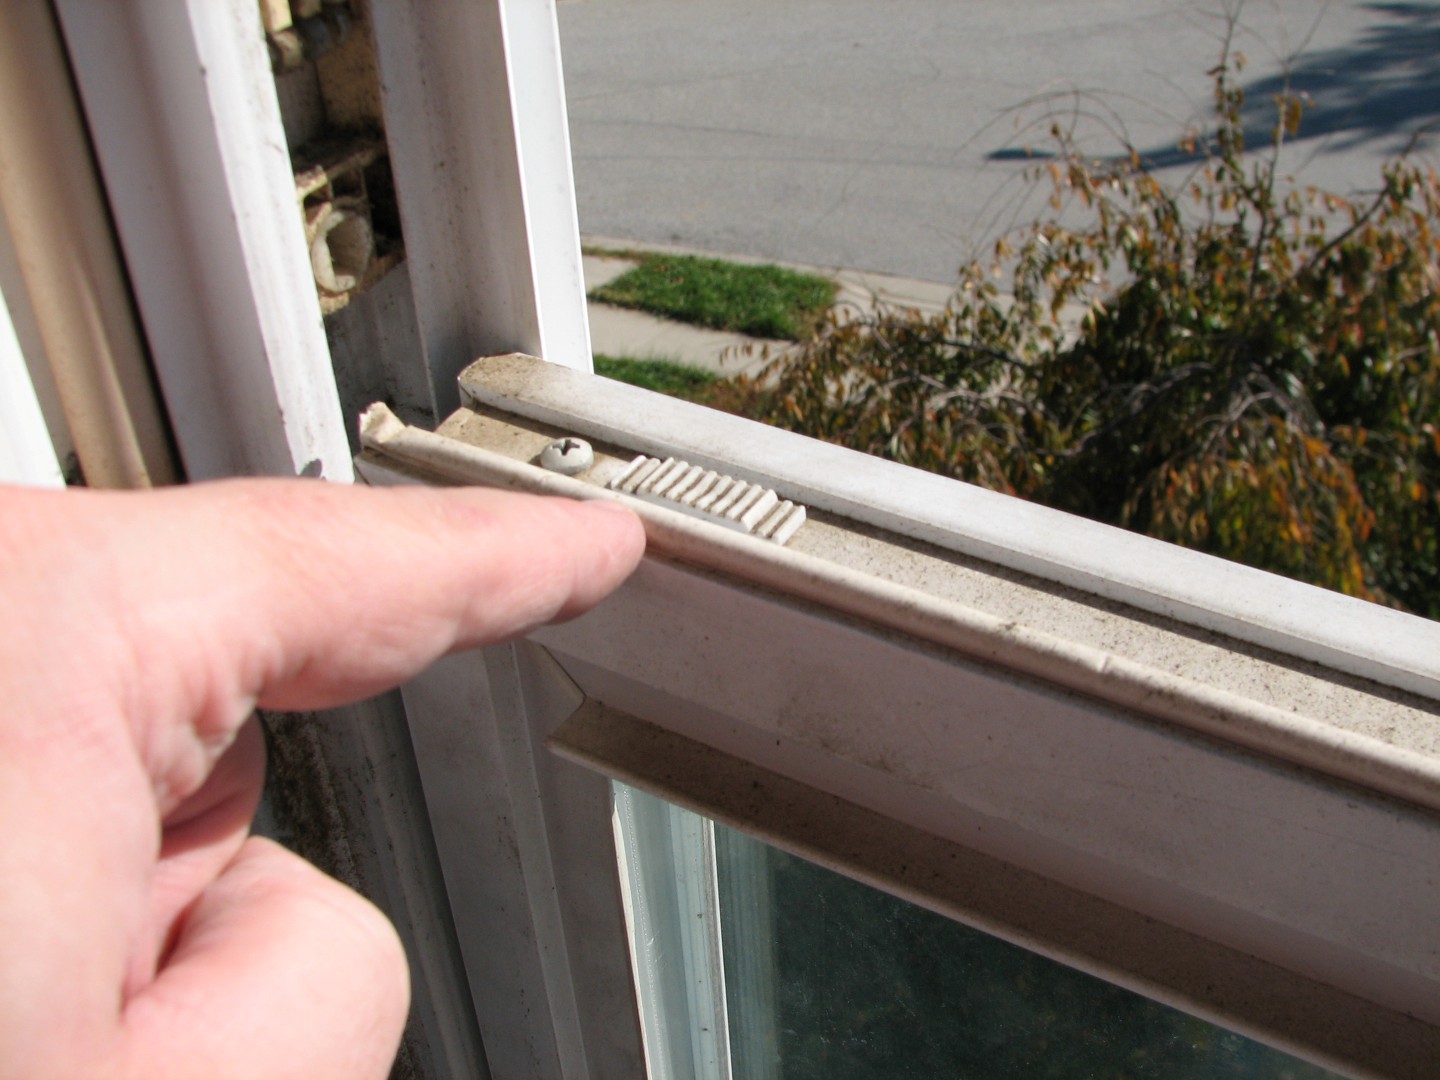
See? Right there by my finger. At the same time, open BOTH clips by sliding them towards the center of the window, and fold the window down towards you like so:
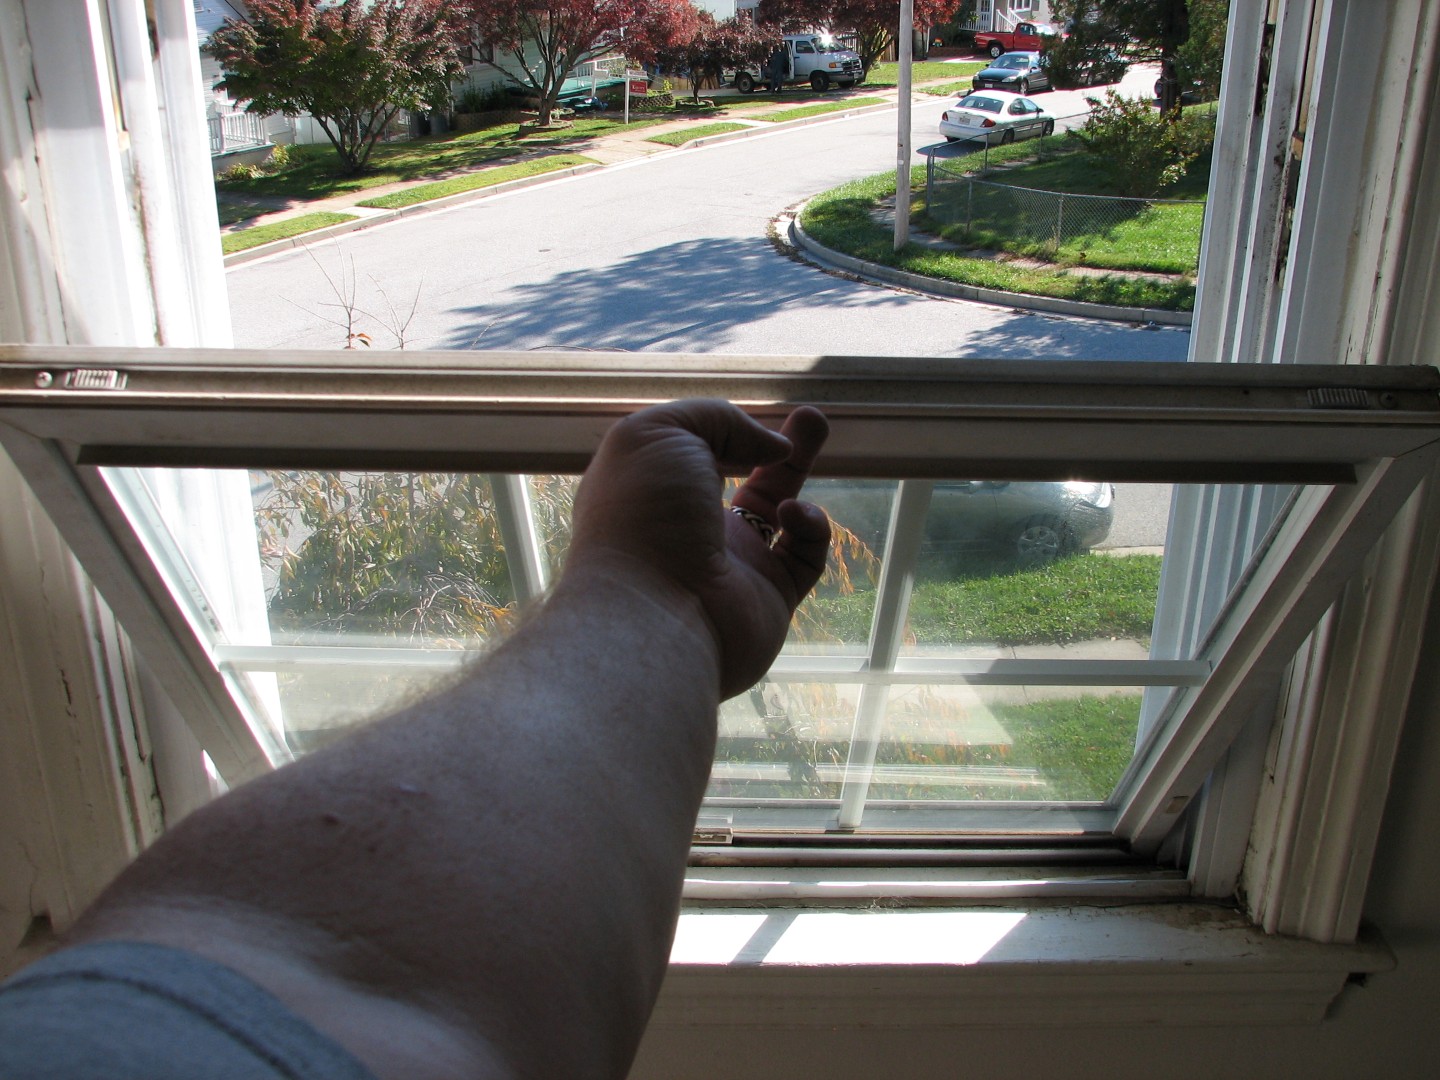
Now, husbands, if you get stuck at this point, ask your wives, because they’ve all done this hundreds of times in order to clean the windows, a task men are incapable of because, well, quite simply, we don’t care if the windows are dirty anyway, too much light blocks out the TV screen.
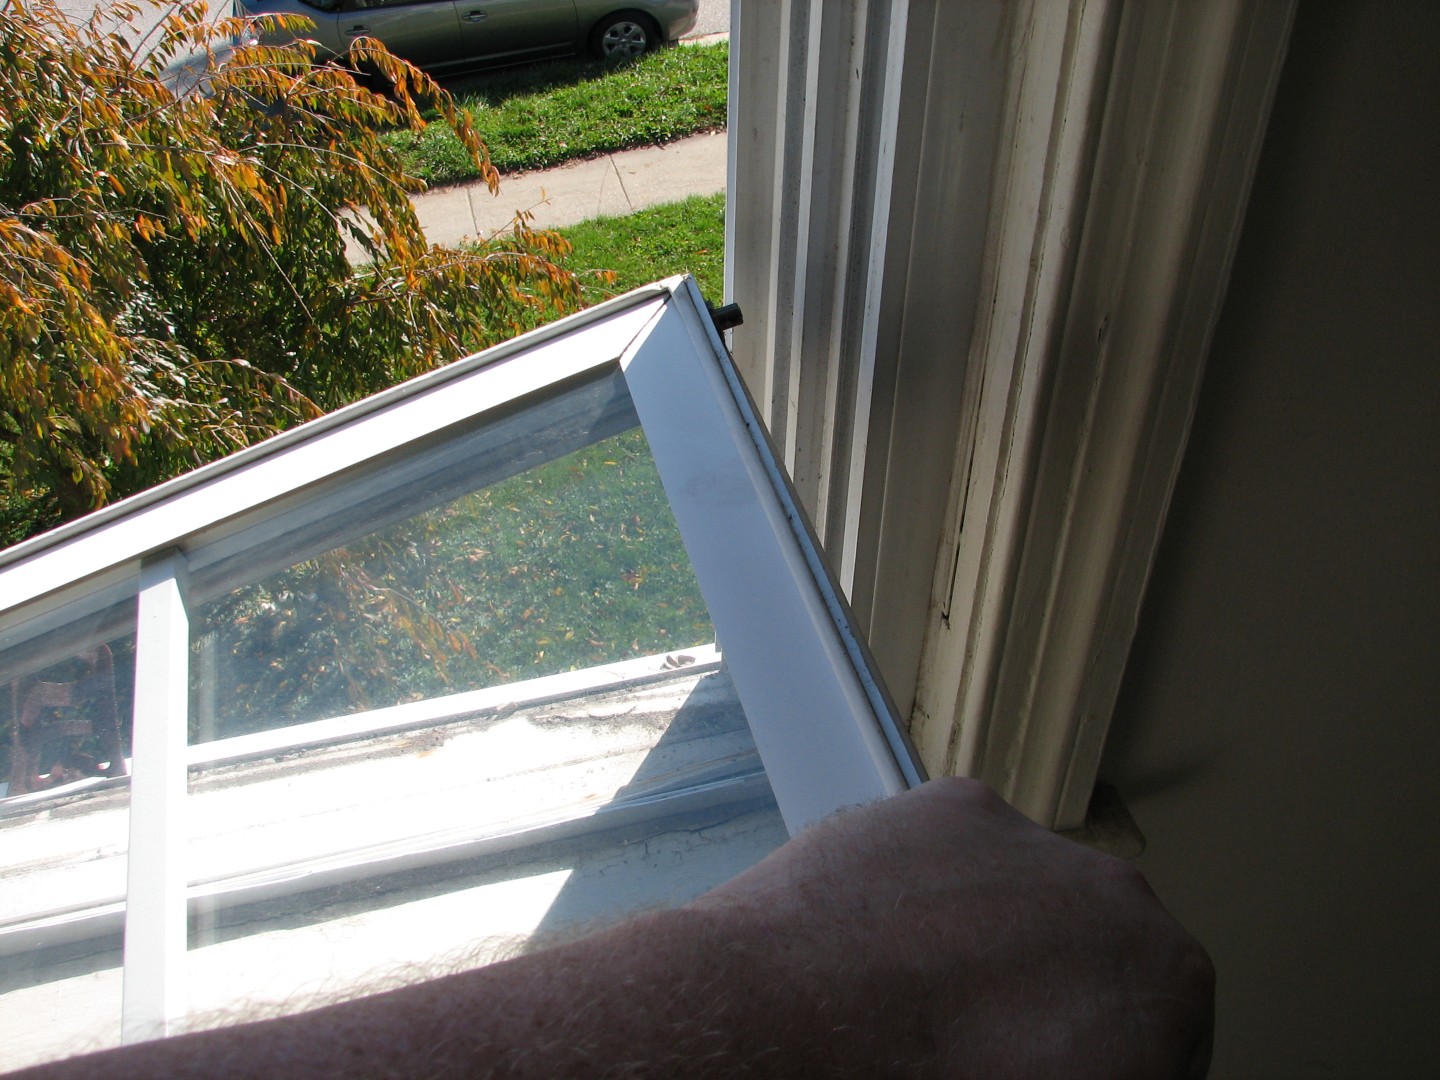
After you fold the window down to a 90 degree angle level with the floor, twist the window so that one corner lifts up and out of it’s clip, and the entire pane should then lift out easily.
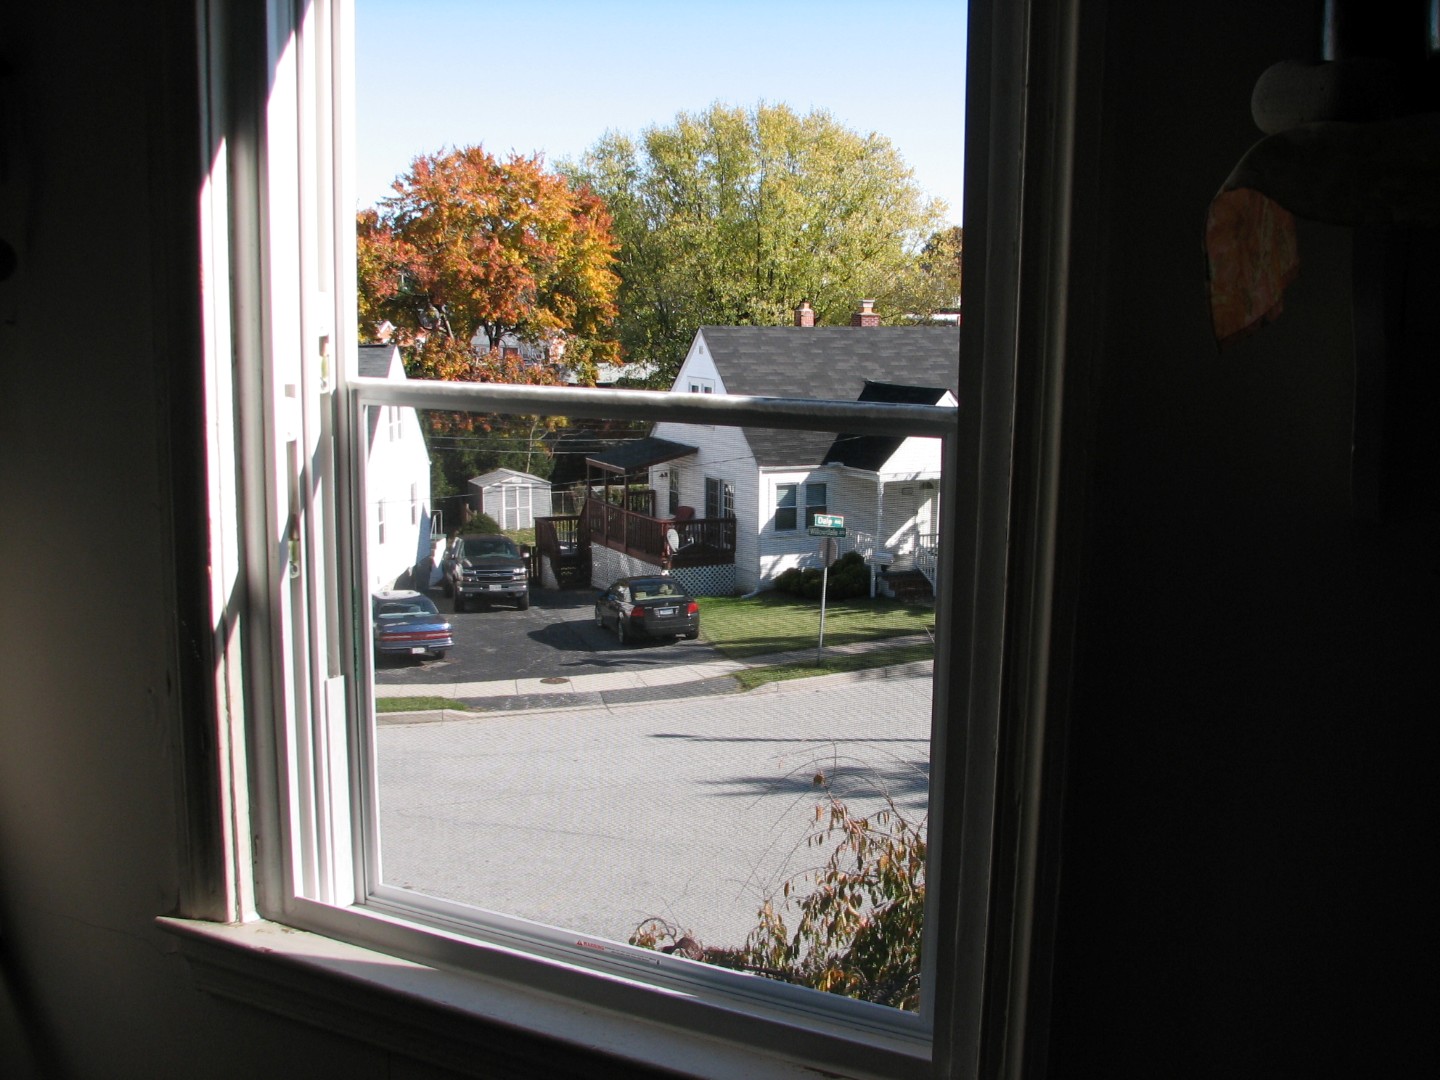
A windowless window:
By the way – note how my neighbors windows look so clean and neat? I’m so jealous. On the other hand, I can park properly…
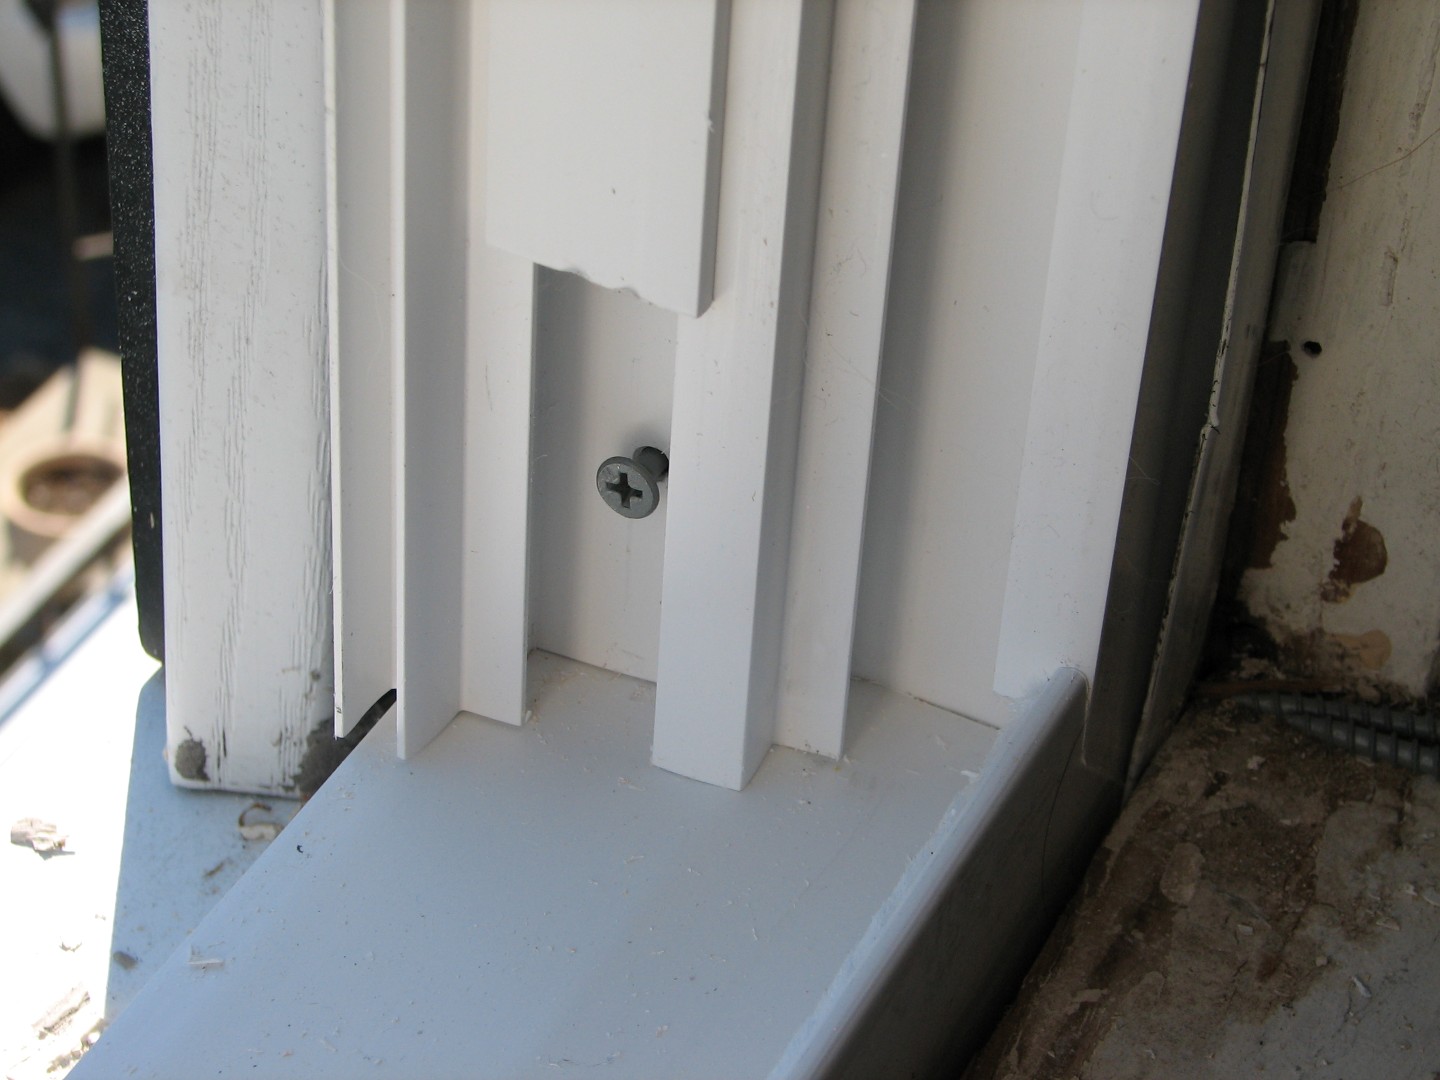
So next up, since I was replacing replacement windows, I needed to remove the old replacement frame. Inside the window tracks themselves, at each of the four corners, are four screws:
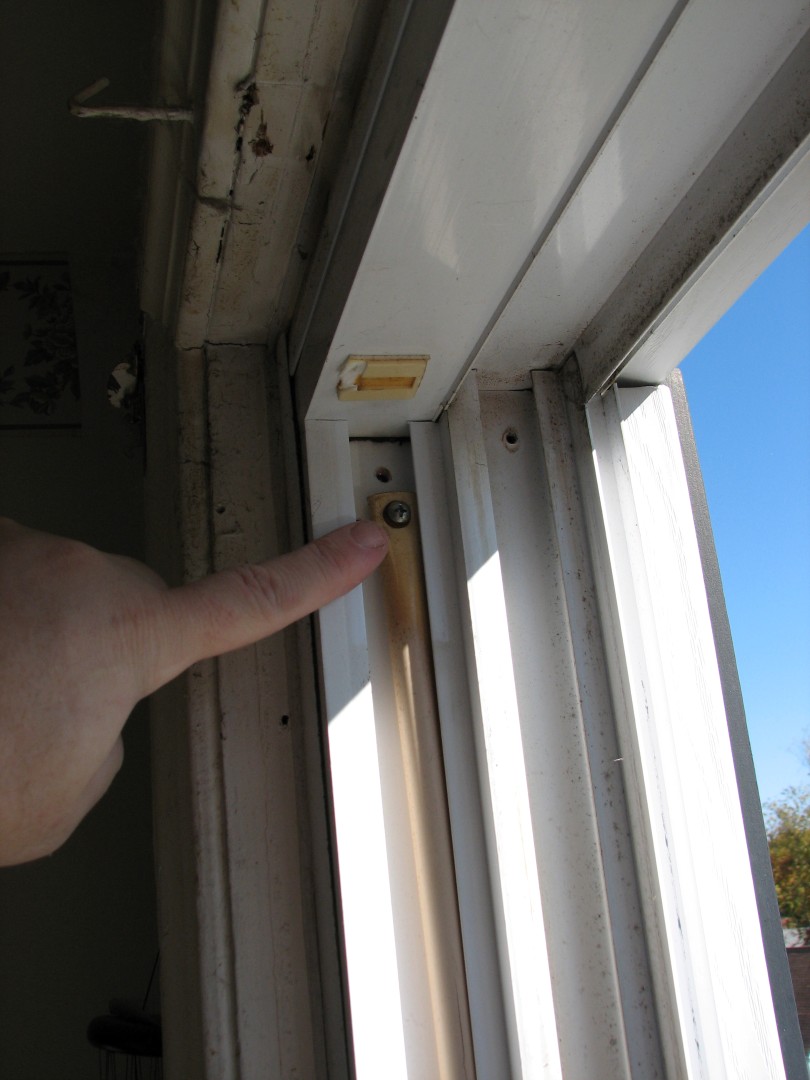
I’m actually pointing at the tension rod in this shot – look at the hole ABOVE my finger – the one with no screw in it but lots of rust stains.
As you can see here, I’ve already removed the rusty screws for your convenience.
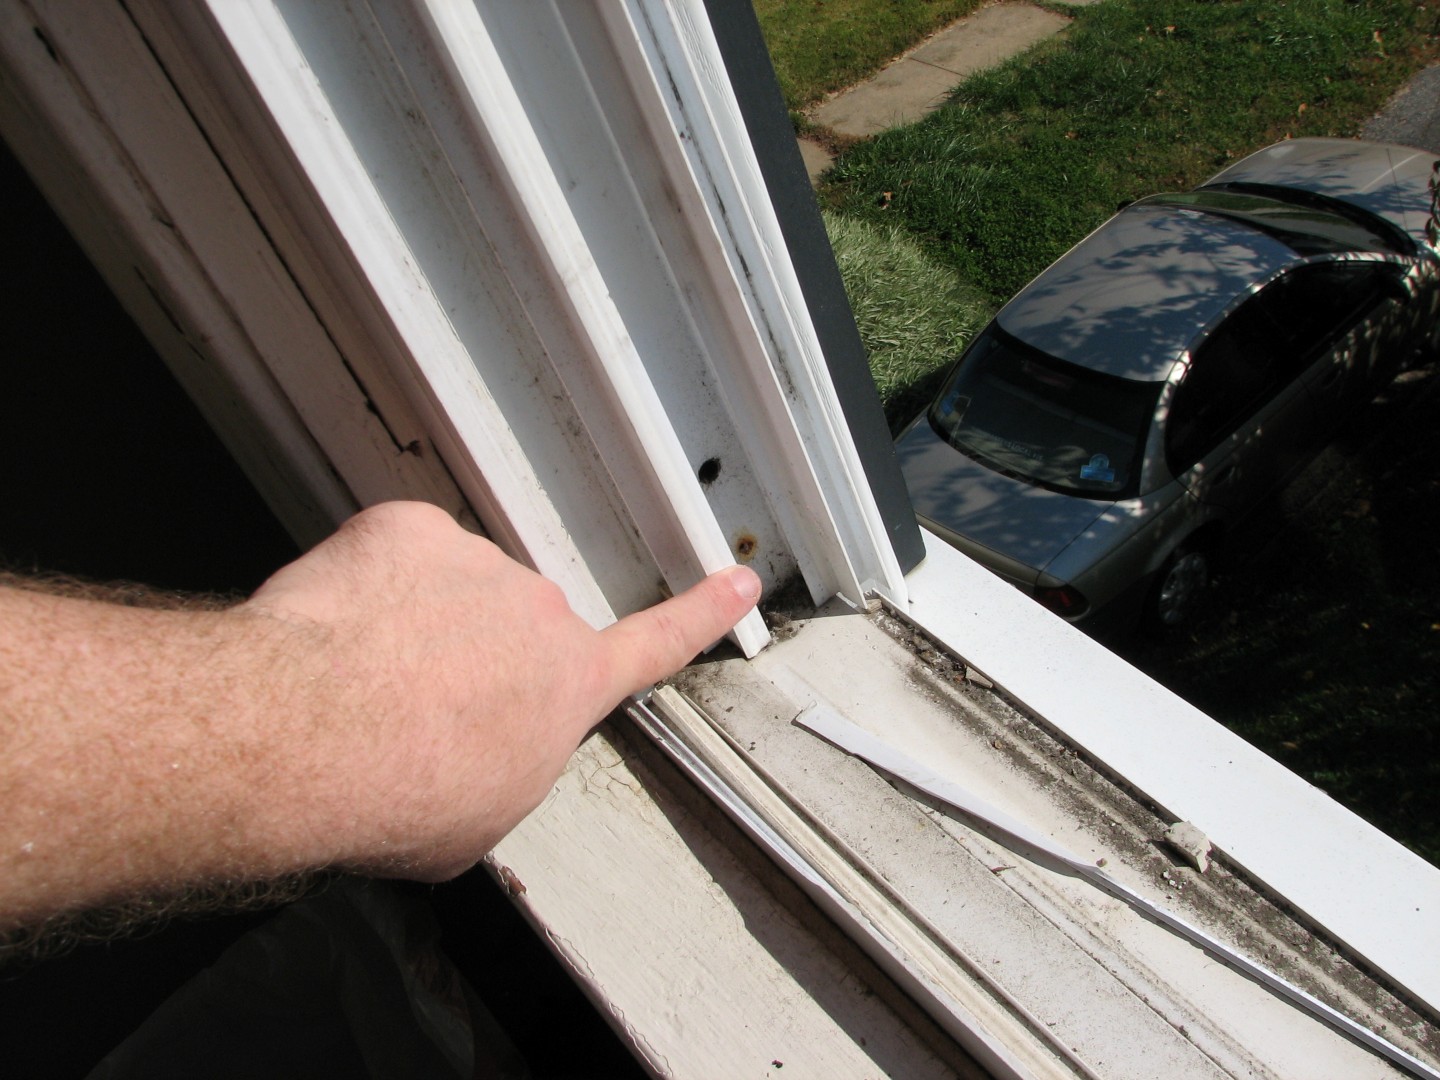
Here’s what they look like PRE removal (and by the way, guess at which point in the project I finally said to myself, “Hey, lets take pictures!” – Here’s a hint – this is window #2 of the day…I’m such a genius…)
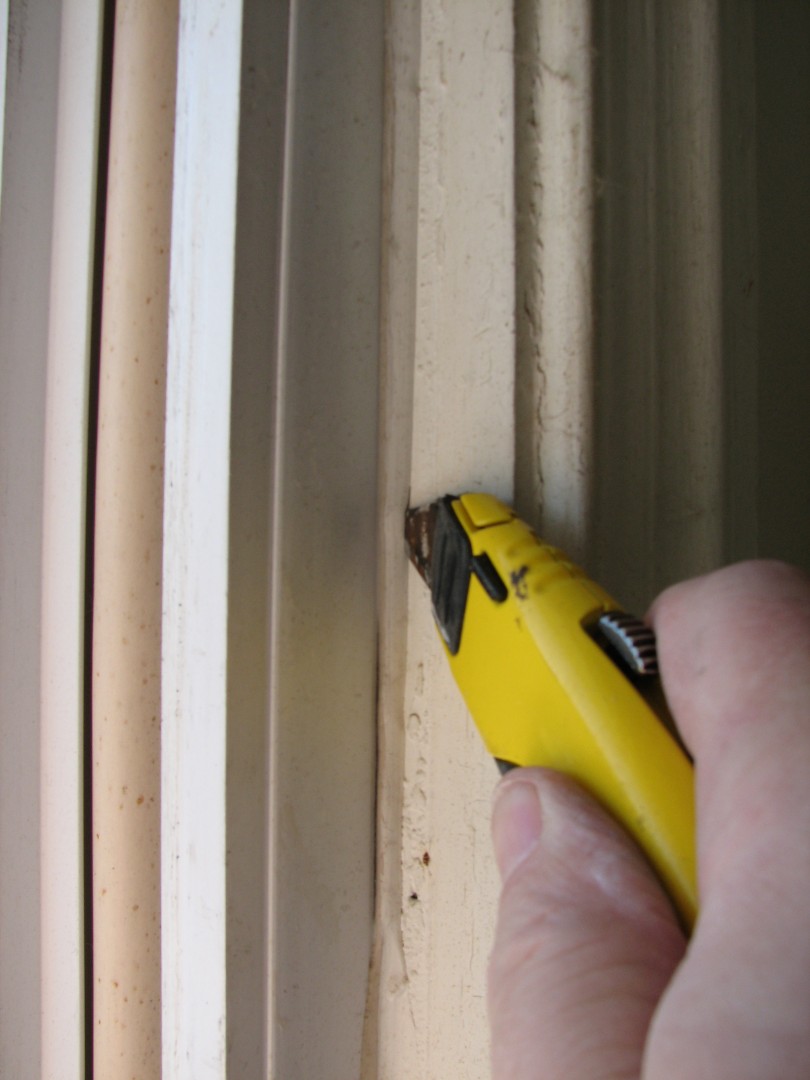
I removed the screws, and then well, see how where the old vinyl frame meets the old wood frame, there’s caulk? Normally that’s good, because it helps support the window and prevents leaks, but NOW its bad because, well, it helps support the window, and you are NOT getting that window out very easily if the caulk is still there. So, using a handy dandy utility knife and 1″ scraper I stripped the caulk or at least cut it to break the seal:
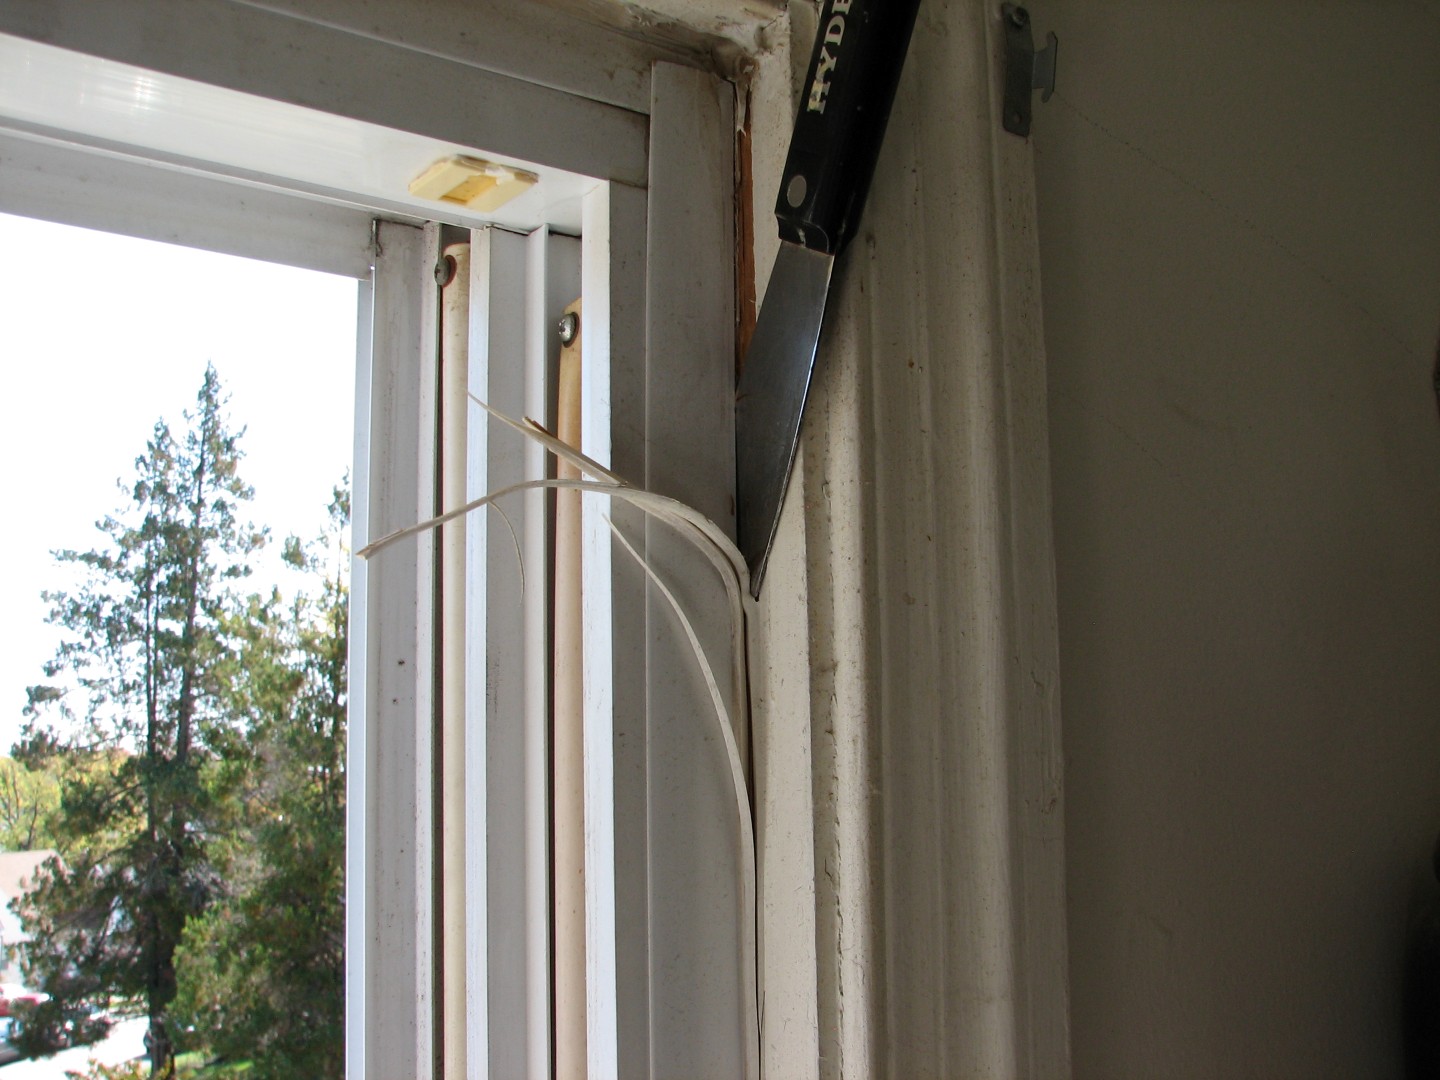
And then gingerly applying brute force, I yanked that old frame out of the wall. Care was necessary though, because I did want to save those vinyl channels the old window was sitting in.
So once the window was out, in this case, I wanted to re-use the vertical side channels because they provided a nice clean look that didn’t require adding a lot of trim, but they were a MESS:
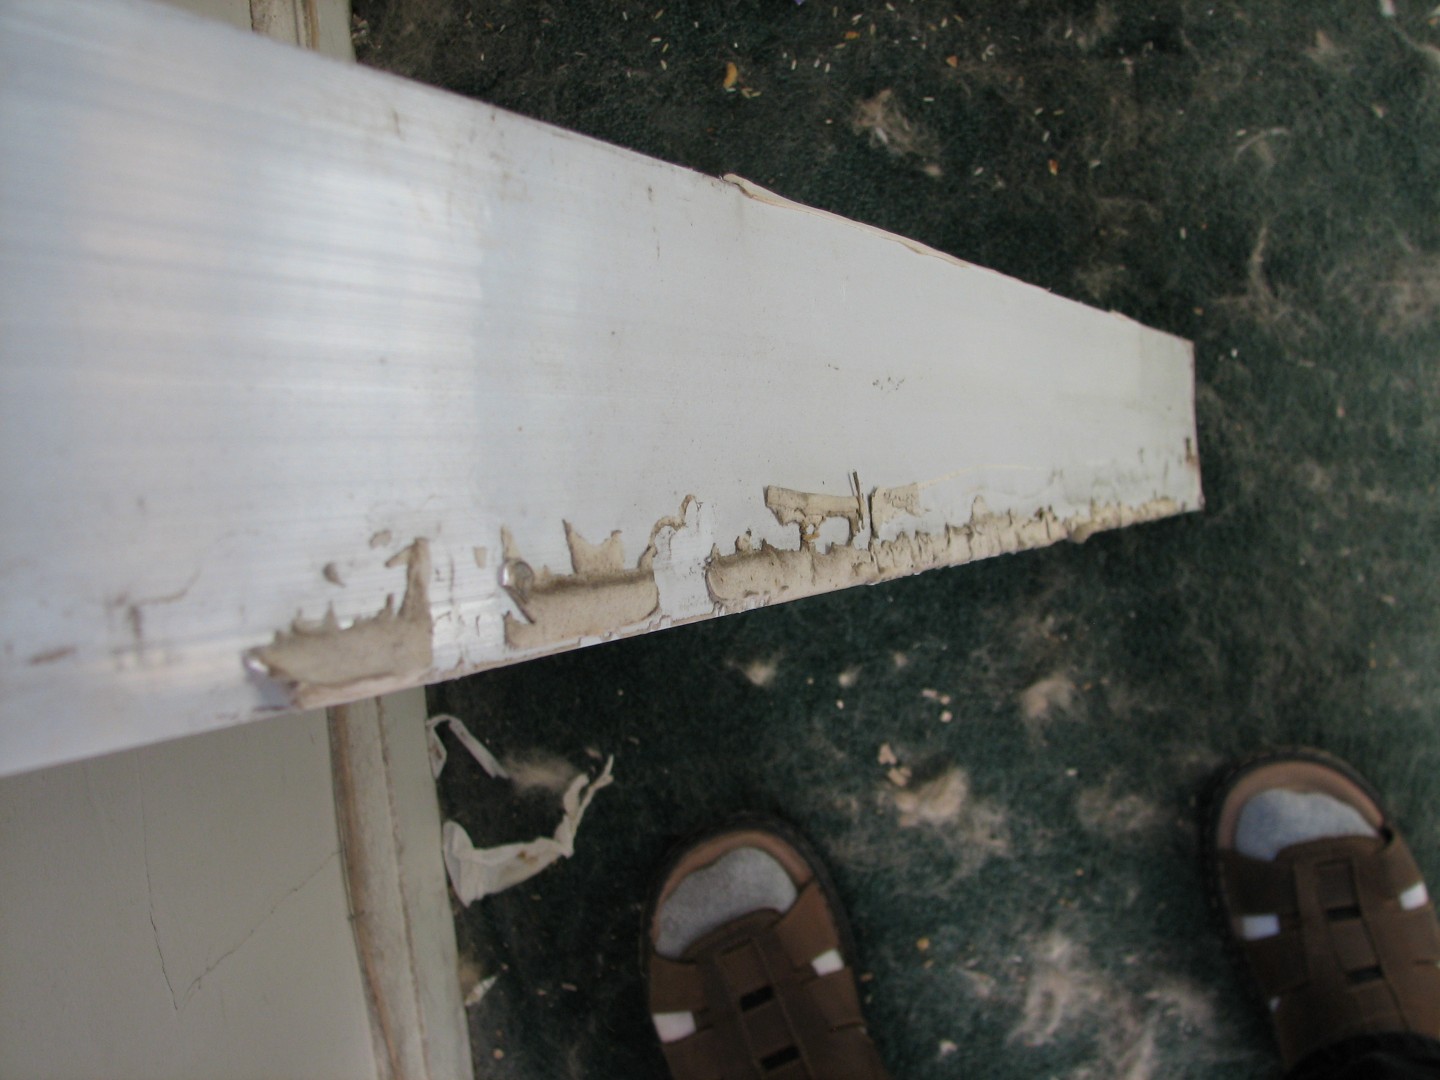
Yes, I wore tube socks with sandals. It was cold, my toes need protecting!
One of my favorite tools, the Bosch multi-tool, was PERFECT for cleaning this up:
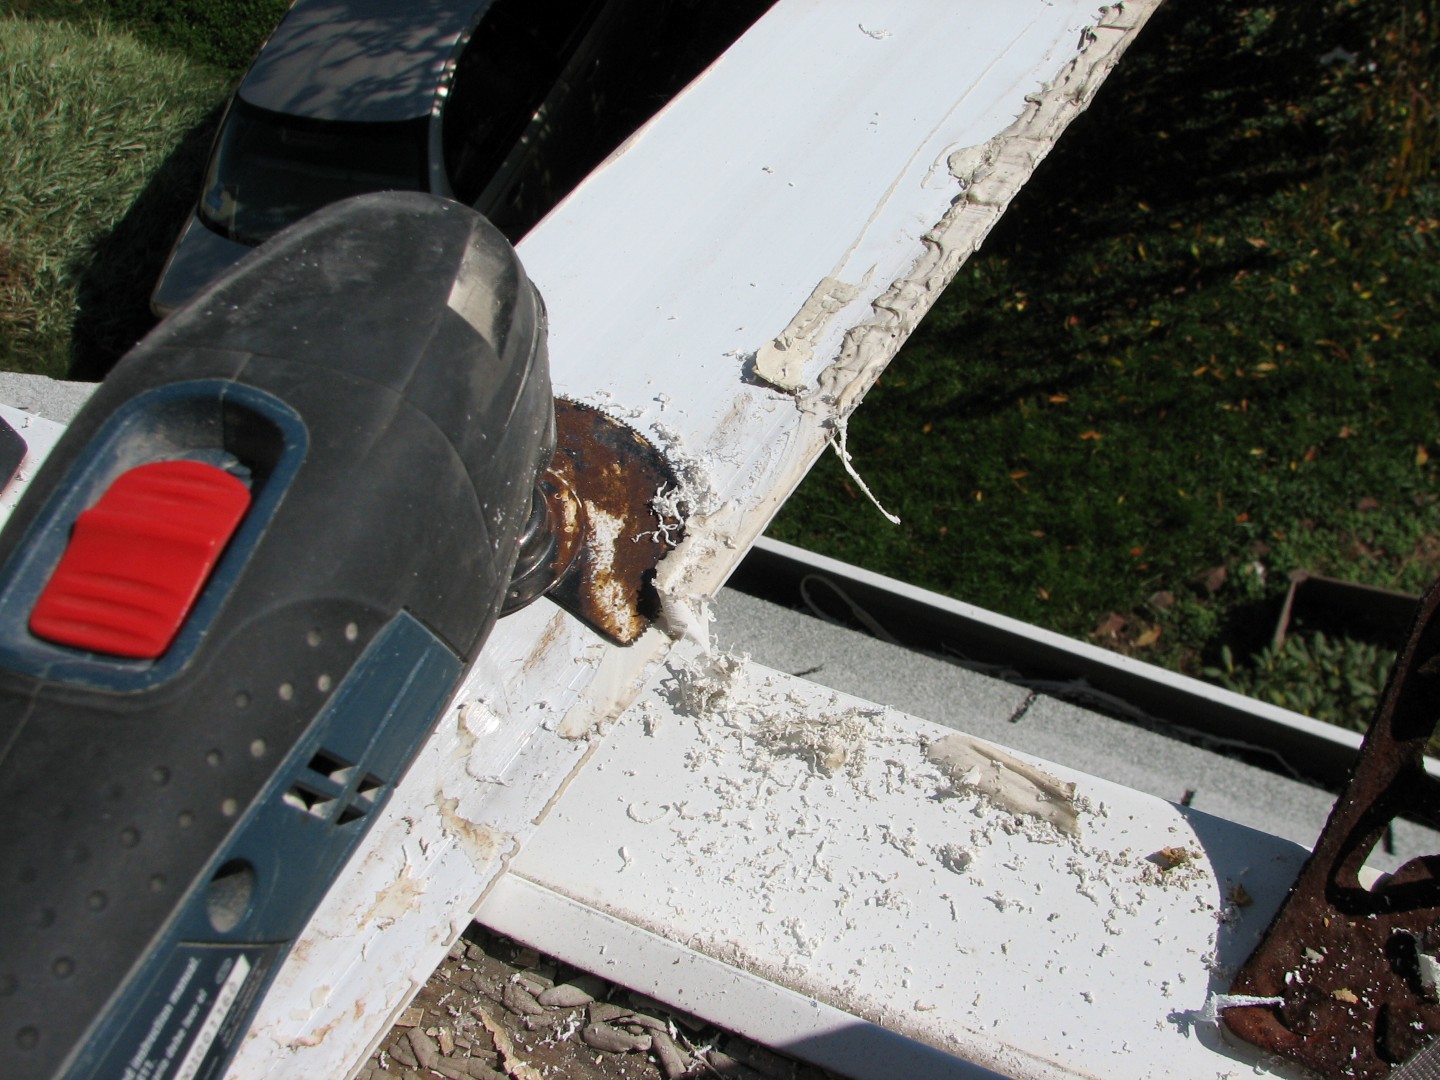
So pretty soon I had a nice clean channel to reuse:
Well, clean enough. 🙂
I’ve learned the hard way about dry fitting. For the uninitiated, this is the step where you put everything in place BEFORE you attach any glue, adhesives, screws, etc. Trust me, nothing sucks worse than getting the adhesive all spread out and then figuring out the piece you were installing doesn’t fit.
Here you can see, I’ve slipped the vertical and horizontal top channels onto the frame. The horizontal channel goes over top of the vertical channels on the outside of the frame, so on the inside, the vertical covers the horizontal. This is done so that if water hits the frame, it’ll run down off the top and onto the side pieces on the outside, rather than get inside the window frame.
And now, a gratuitous shot of one of our dogs, Lacy. She doesn’t like renovation work – the tools scare her.

See how nervous she looks? Or hungry. Probably hungry and nervous that I won’t give her food.
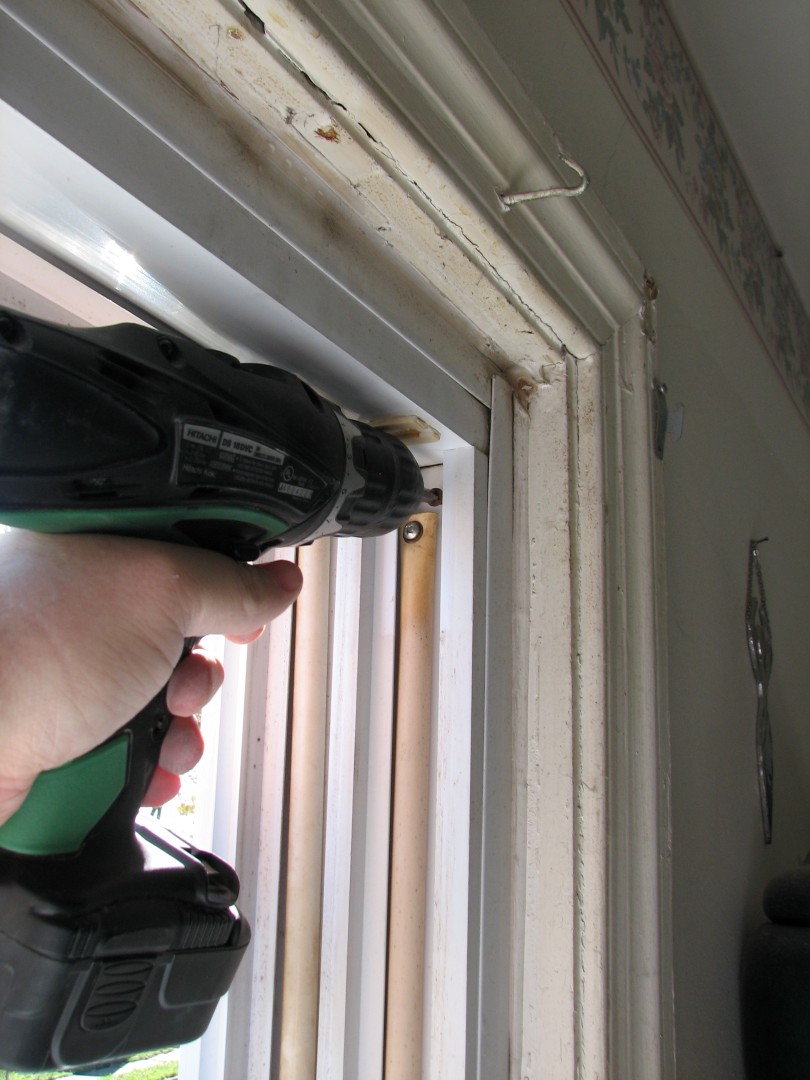
Ok so after test fitting the window, which was a perfect fit, it was time to make a more permanent install. Now you saw the rusty screw holes – shockingly enough, windows get exposed to water, so its smart to use weather proof screws:
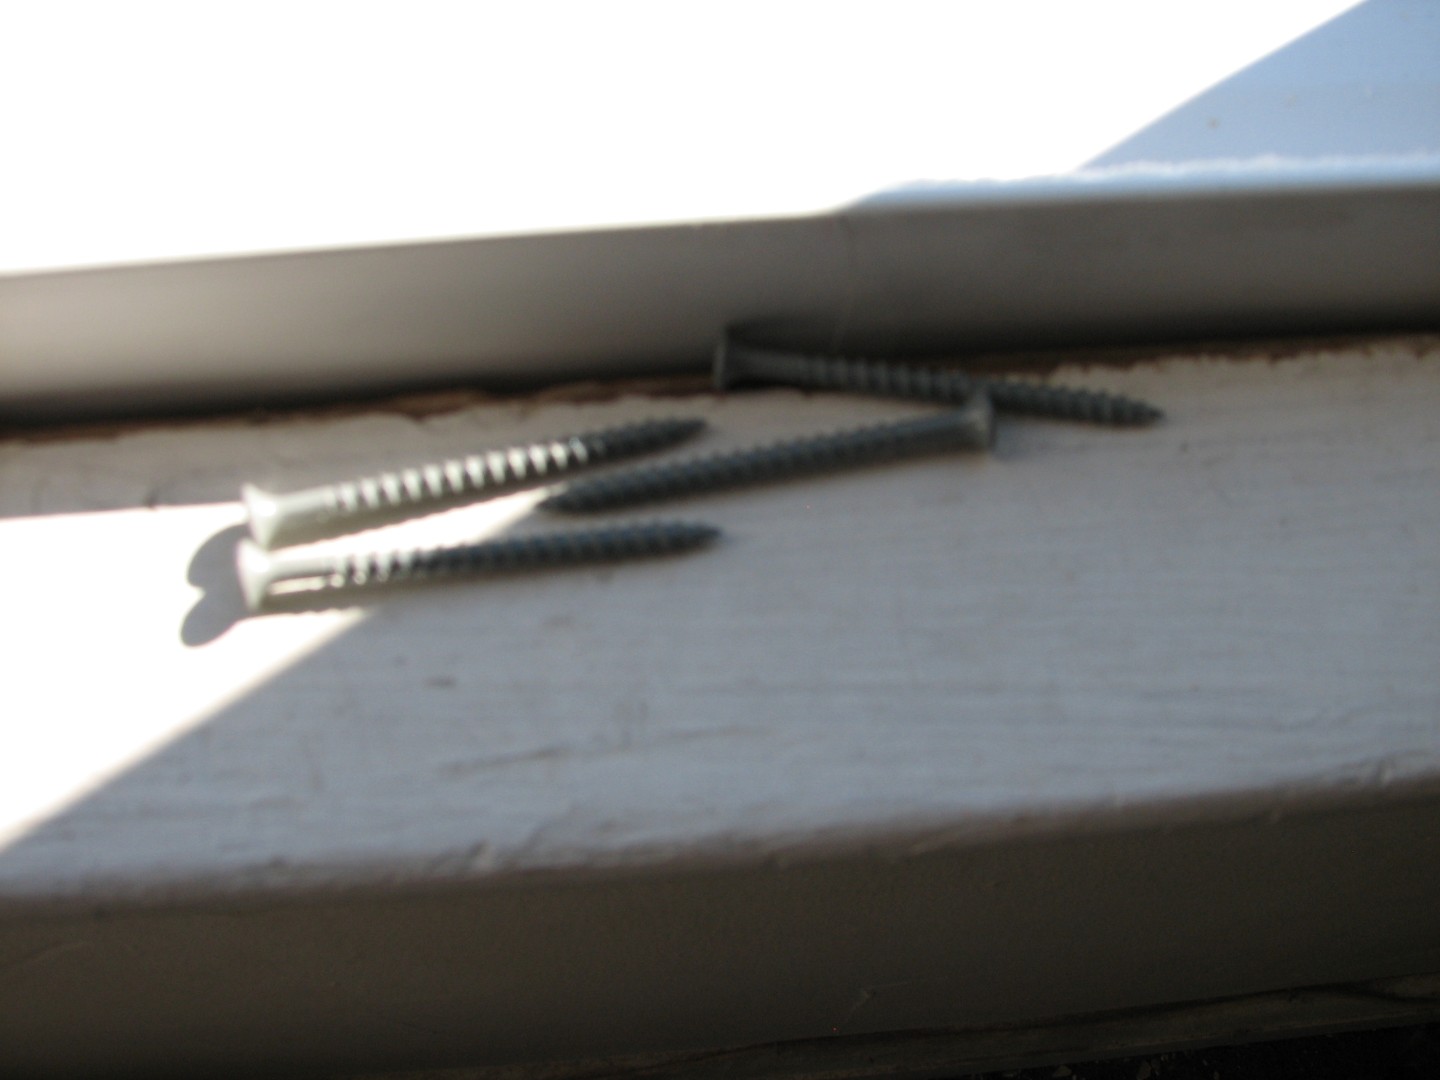
These are 2&1/2″ coated sinkers. Since this was a replacement window and I preserved the original sill, I put the frame back in the window and pulled the base forward as much as possible, then anchored one screw in the bottom at each side. If you do this, DON’T tighten the screw much – just get a bite in the frame. You need to be able to adjust the window for square and level and if you tighten them up, you’ll be sorry.
Next was getting the frame plum (ie: vertically straight) :

Once the frame was level it was just a matter of carefully tightening the screws on both sides to get it internally plum and perfectly rectangular.
After that, it was a pretty simple matter of caulking (inside and out – nothing like hanging out the window of a 2nd floor building…)
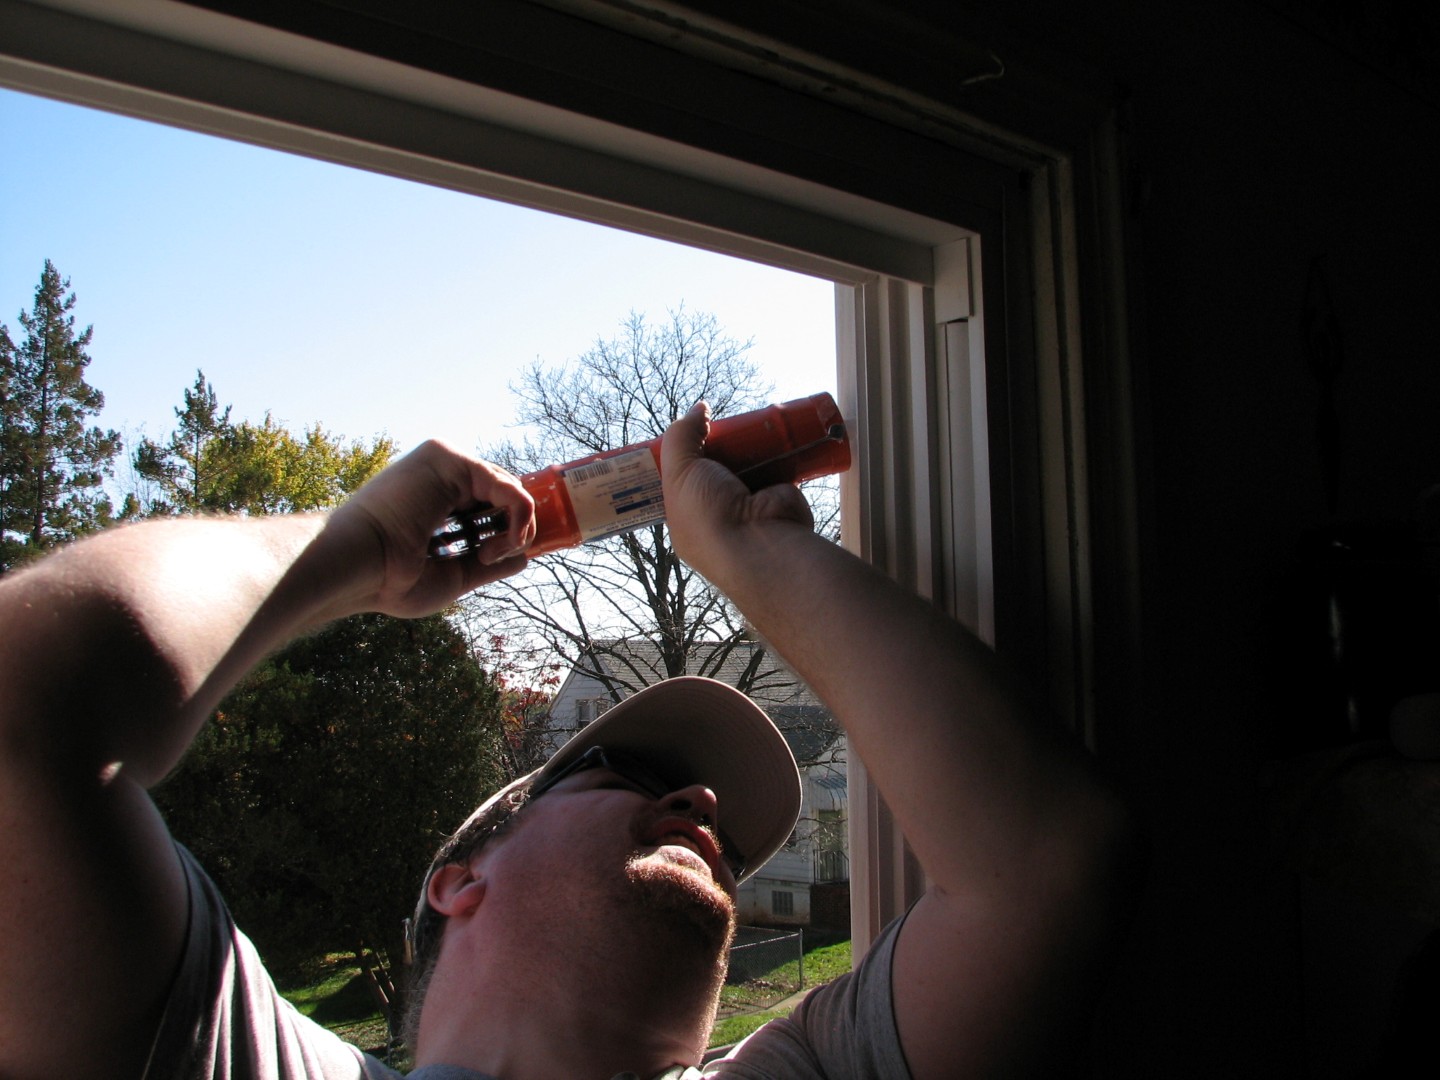
installing the screen and the two new window panes:
And finally, the blinds:

And viola! Two new replacement windows in the bedroom:
Lacy was exhausted! And so was I, but our new windows make our bedrooom warmer, quieter, and the low-E glass means less heat-loss in winter and the AC doesn’t need to work as hard in the summer! In fact it’s been so warm, we’ve got to crack the windows at night…
I’m sure that’s ironic somehow…
Hammer safely!
G

Blocking the Window – Underappreciated Beauty
Let me just apologize up front because I didn’t do this project with blogging in mind, so the photos are somewhat lacking detail of the progress…
Ok apology out of the way. Now for the meat.
I. Love. Glass. Block. Windows.
I mean – seriously – aside from stained glass, where can you get such interesting designs?
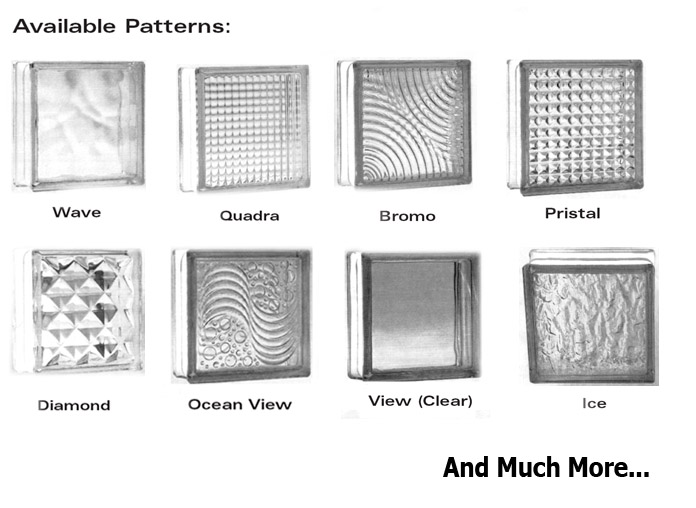
And there are, for the real enthusiasts, plenty of even more ornate, decorative glass block options out there.
I mean – how better to get light AND privacy? And look at what you can do with it!
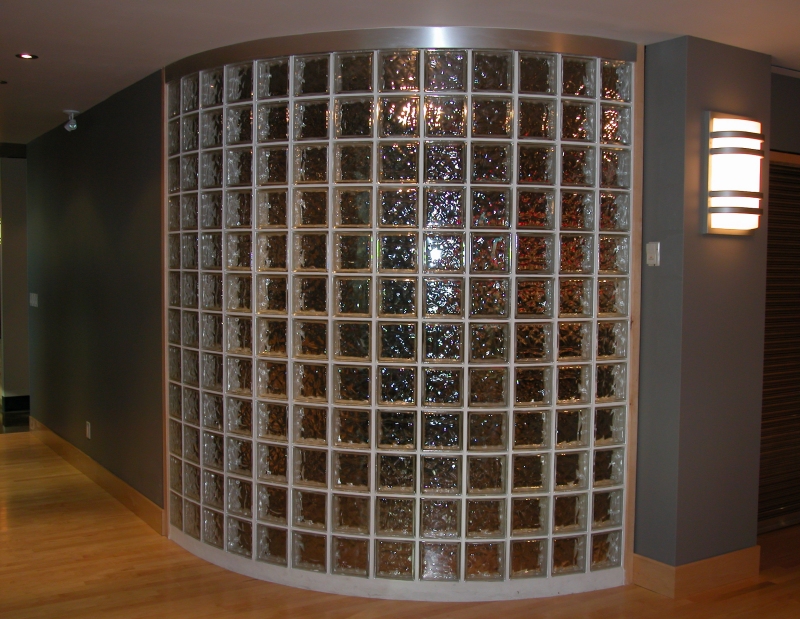
I mean that’s just COOL!
I think glass block is under appreciated today. I base this mainly on anecdotal evidence. It turns out that in the Baltimore metropolitan region, there are only TWO Home Depots that carry glass block and glass block supplies, and both of those are in lower income neighborhoods. How sad is that – that glass block is the “cheap option”? (And seriously at ~$12/sqft JUST for the glass, how that gets to be the “cheap” option is beyond me…) But anyway…
So you may remember our basement:

Specifically, our laundry area:
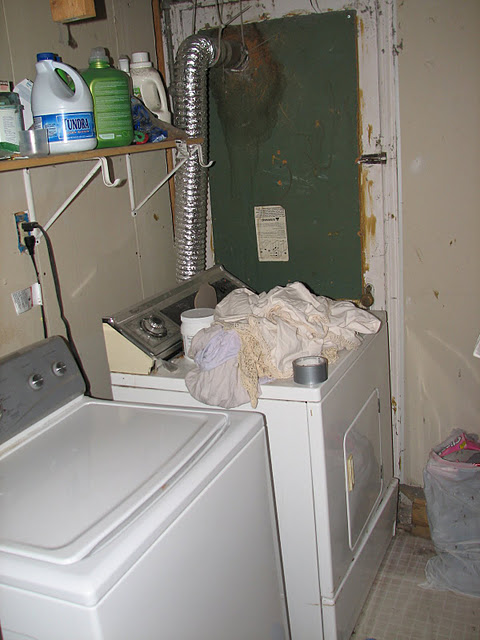
If you haven’t seen this before – what you’re seeing is, indeed, a dryer that is up against and VENTING THROUGH the exterior basement door. Yep, the previous home owners could think of nothing better than to block the secondary exit from the basement up with a dryer and to run hot moist air through it…
So we decided that this has to go. We want to move our laundry facility here:
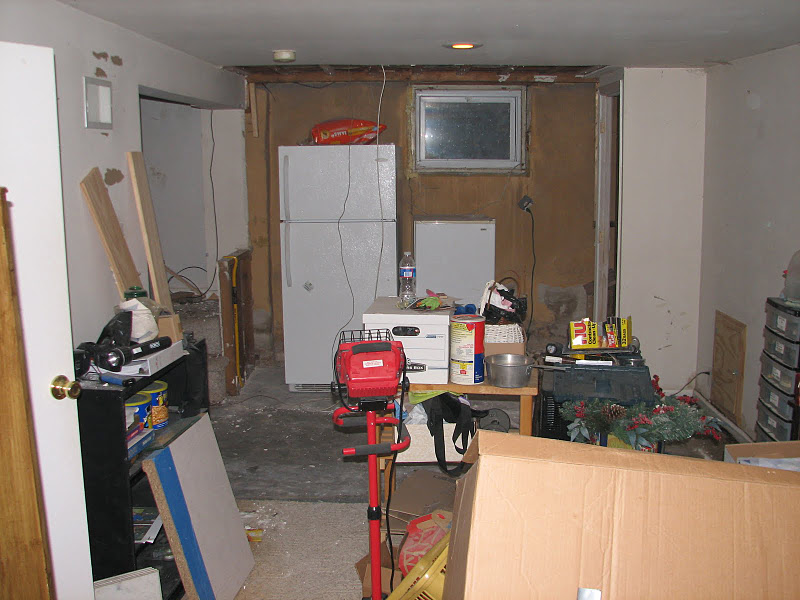
Which actually, now that demo is mostly done, looks more like this:
The idea being – come down the steps, turn left, open a closet door (double folding doors of course) and there’s the washer and dryer, and while we’re at it, reclaim the basic ability to exit the basement directly to the outside world. You know – in case of, oh, things like a FIRE? (Idiot previous owners…)
So a few weeks ago, I got to work on one of my favorite kind of projects – a brand new glass block window!
Pittsburgh Corning sells a fantastic glass block system called (rather unimaginatively, I’m afraid) Pro-vantage, which consists of vinyl tracks and spacers, like these.
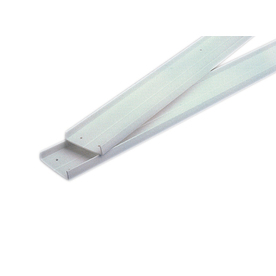
The tracks are set in a window frame around the perimeter, and the spacers go between each block.
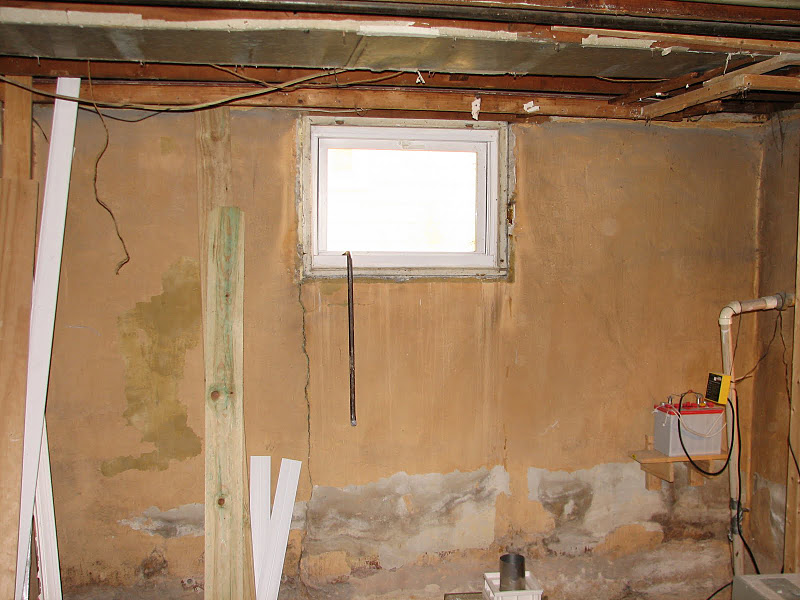
I started by measuring the opening about two dozen times, doing a lot of calculations, checking a lot of wood measurements and finally removed the existing window…
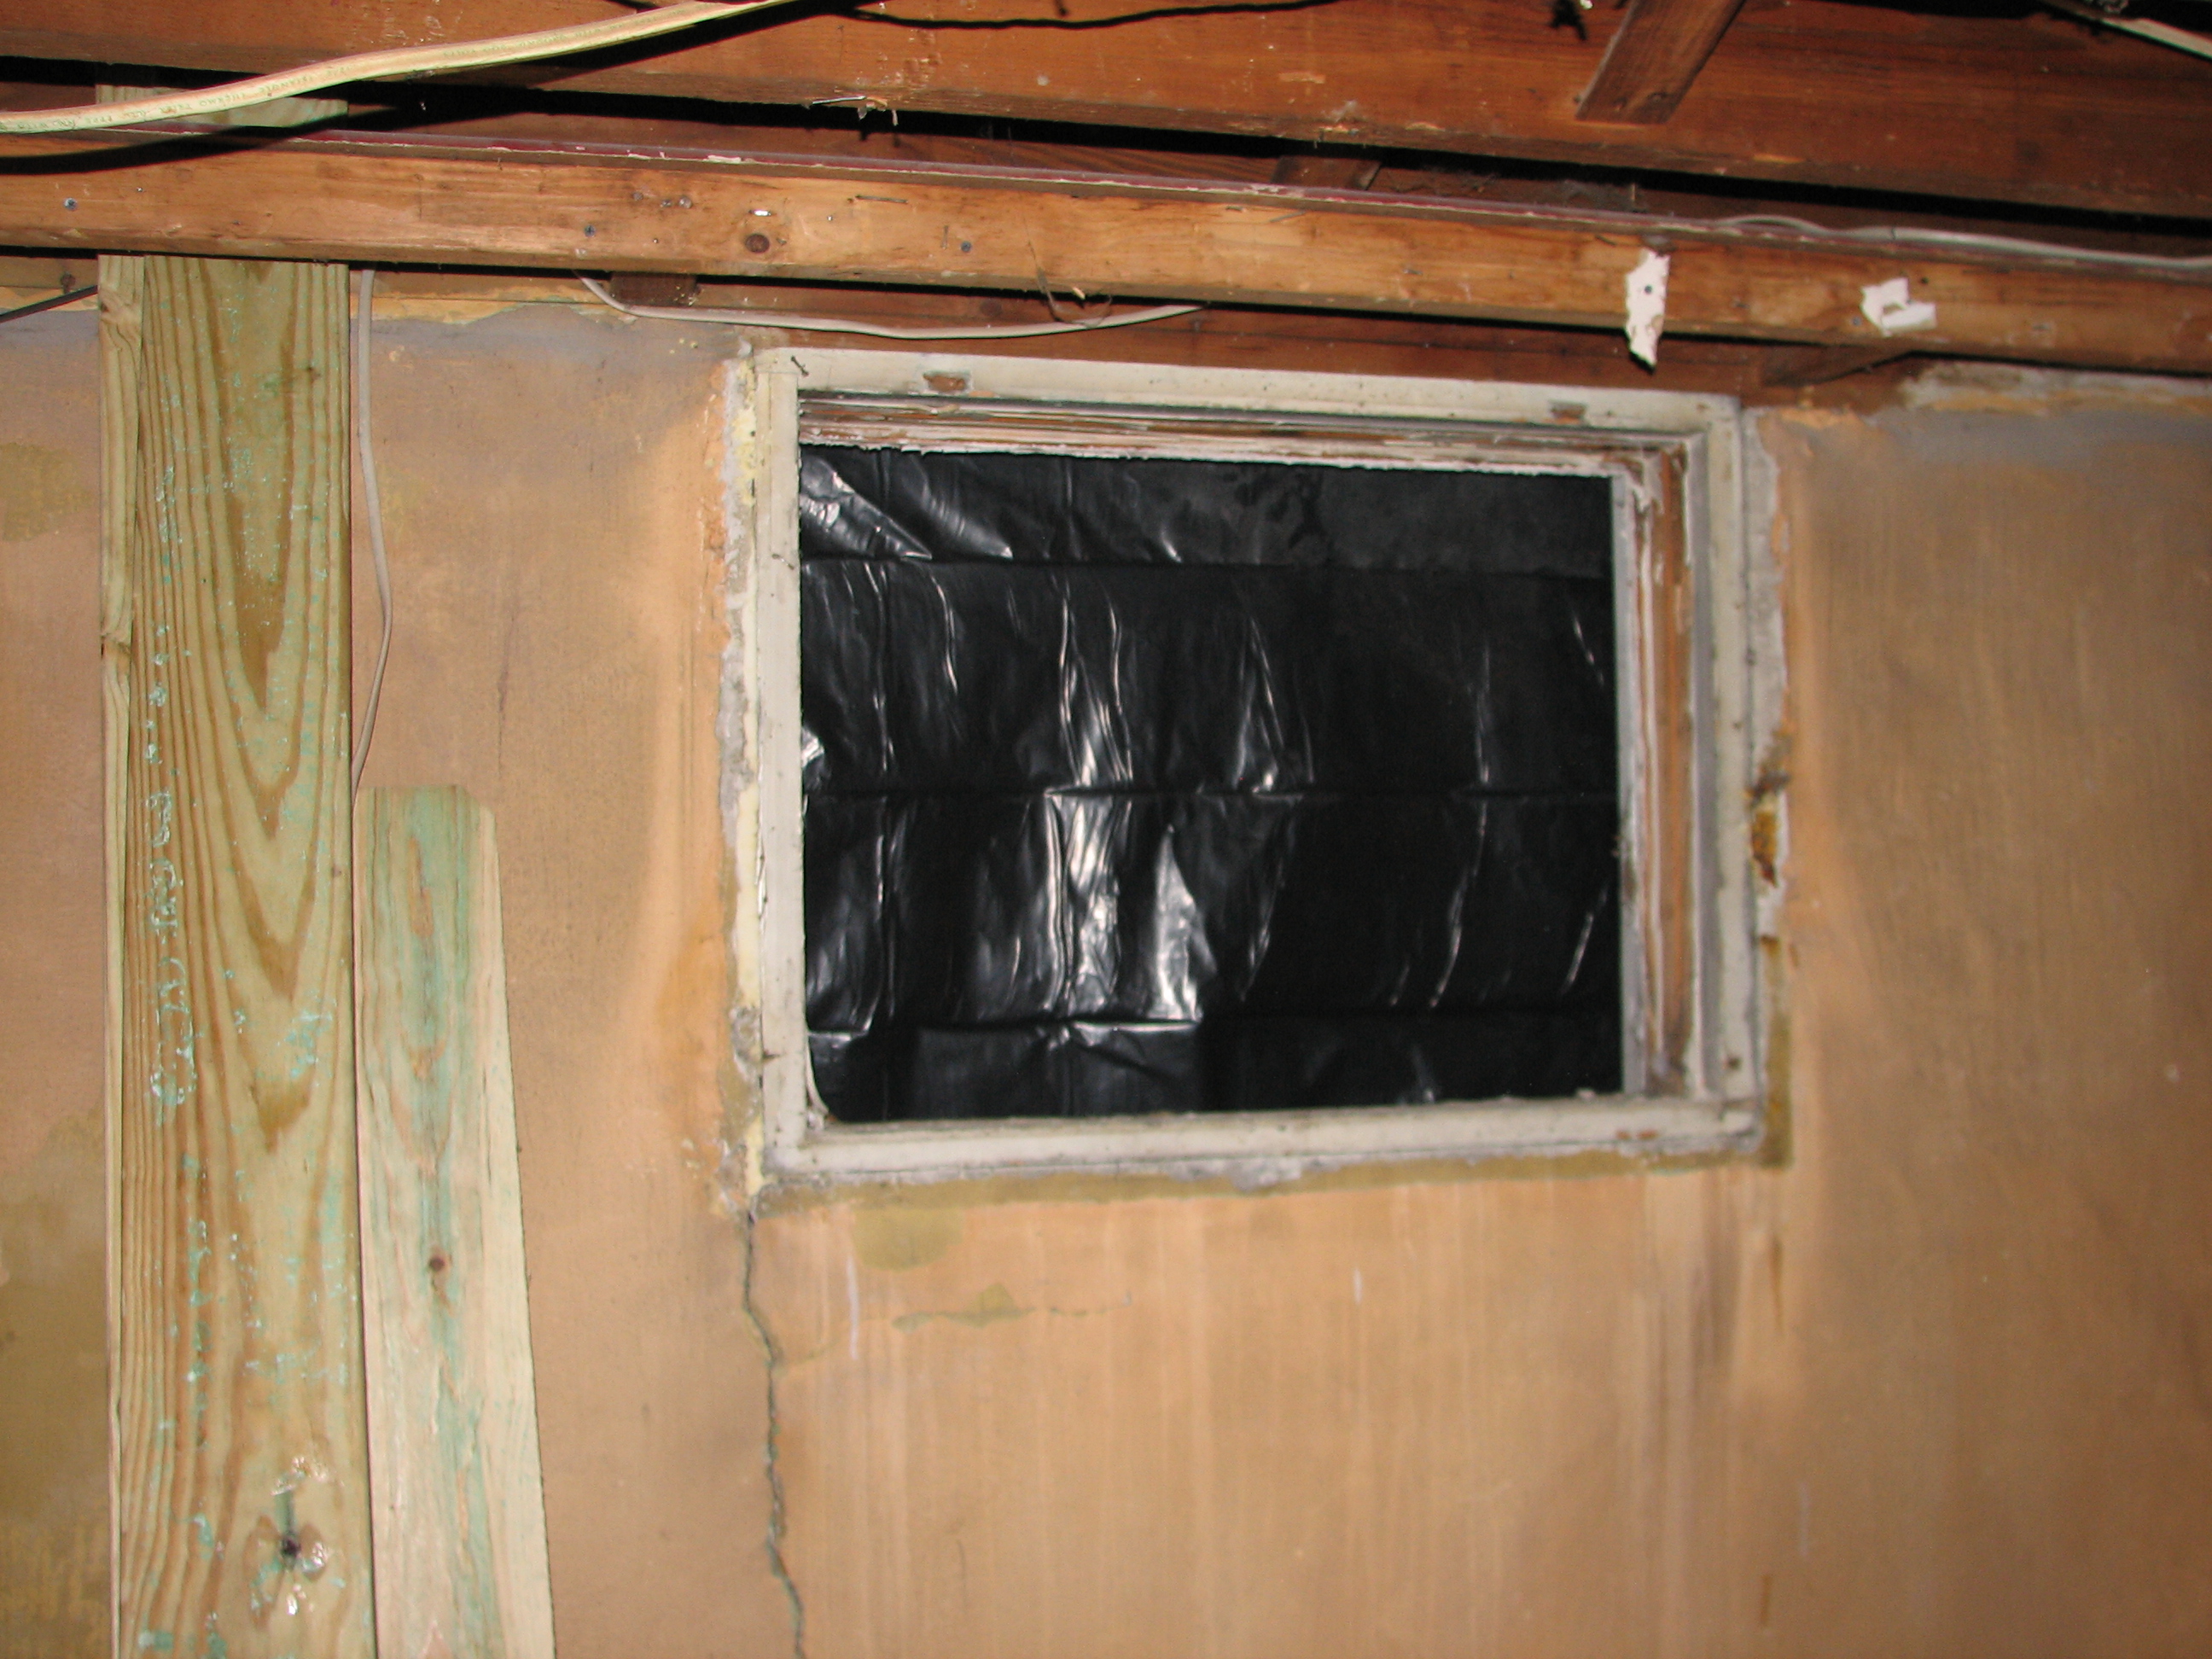
Then I measured it again and again, and I took my outside track and glass block (the icicle pattern) and built the window in a free standing setup on a board on a sawhorse (strapped together to keep it from falling – wish I had pictures of that!) and measured it about a dozen times as well, and ultimately concluded that the frame had to come out.
After a bit more demo, I constructed the new frame, which gave me a chance to use my new dado set. This was the hard part. Building the window itself was SUPER easy.
First you lay the base track in the frame (over a double bead of caulk) and secure it with screws. For windows, I prefer the grey coated screws. Then you caulk the track again on the inside, and put in your first row of blocks, caulking also between each block. Caulk on top of that row and another row and you end up with this:
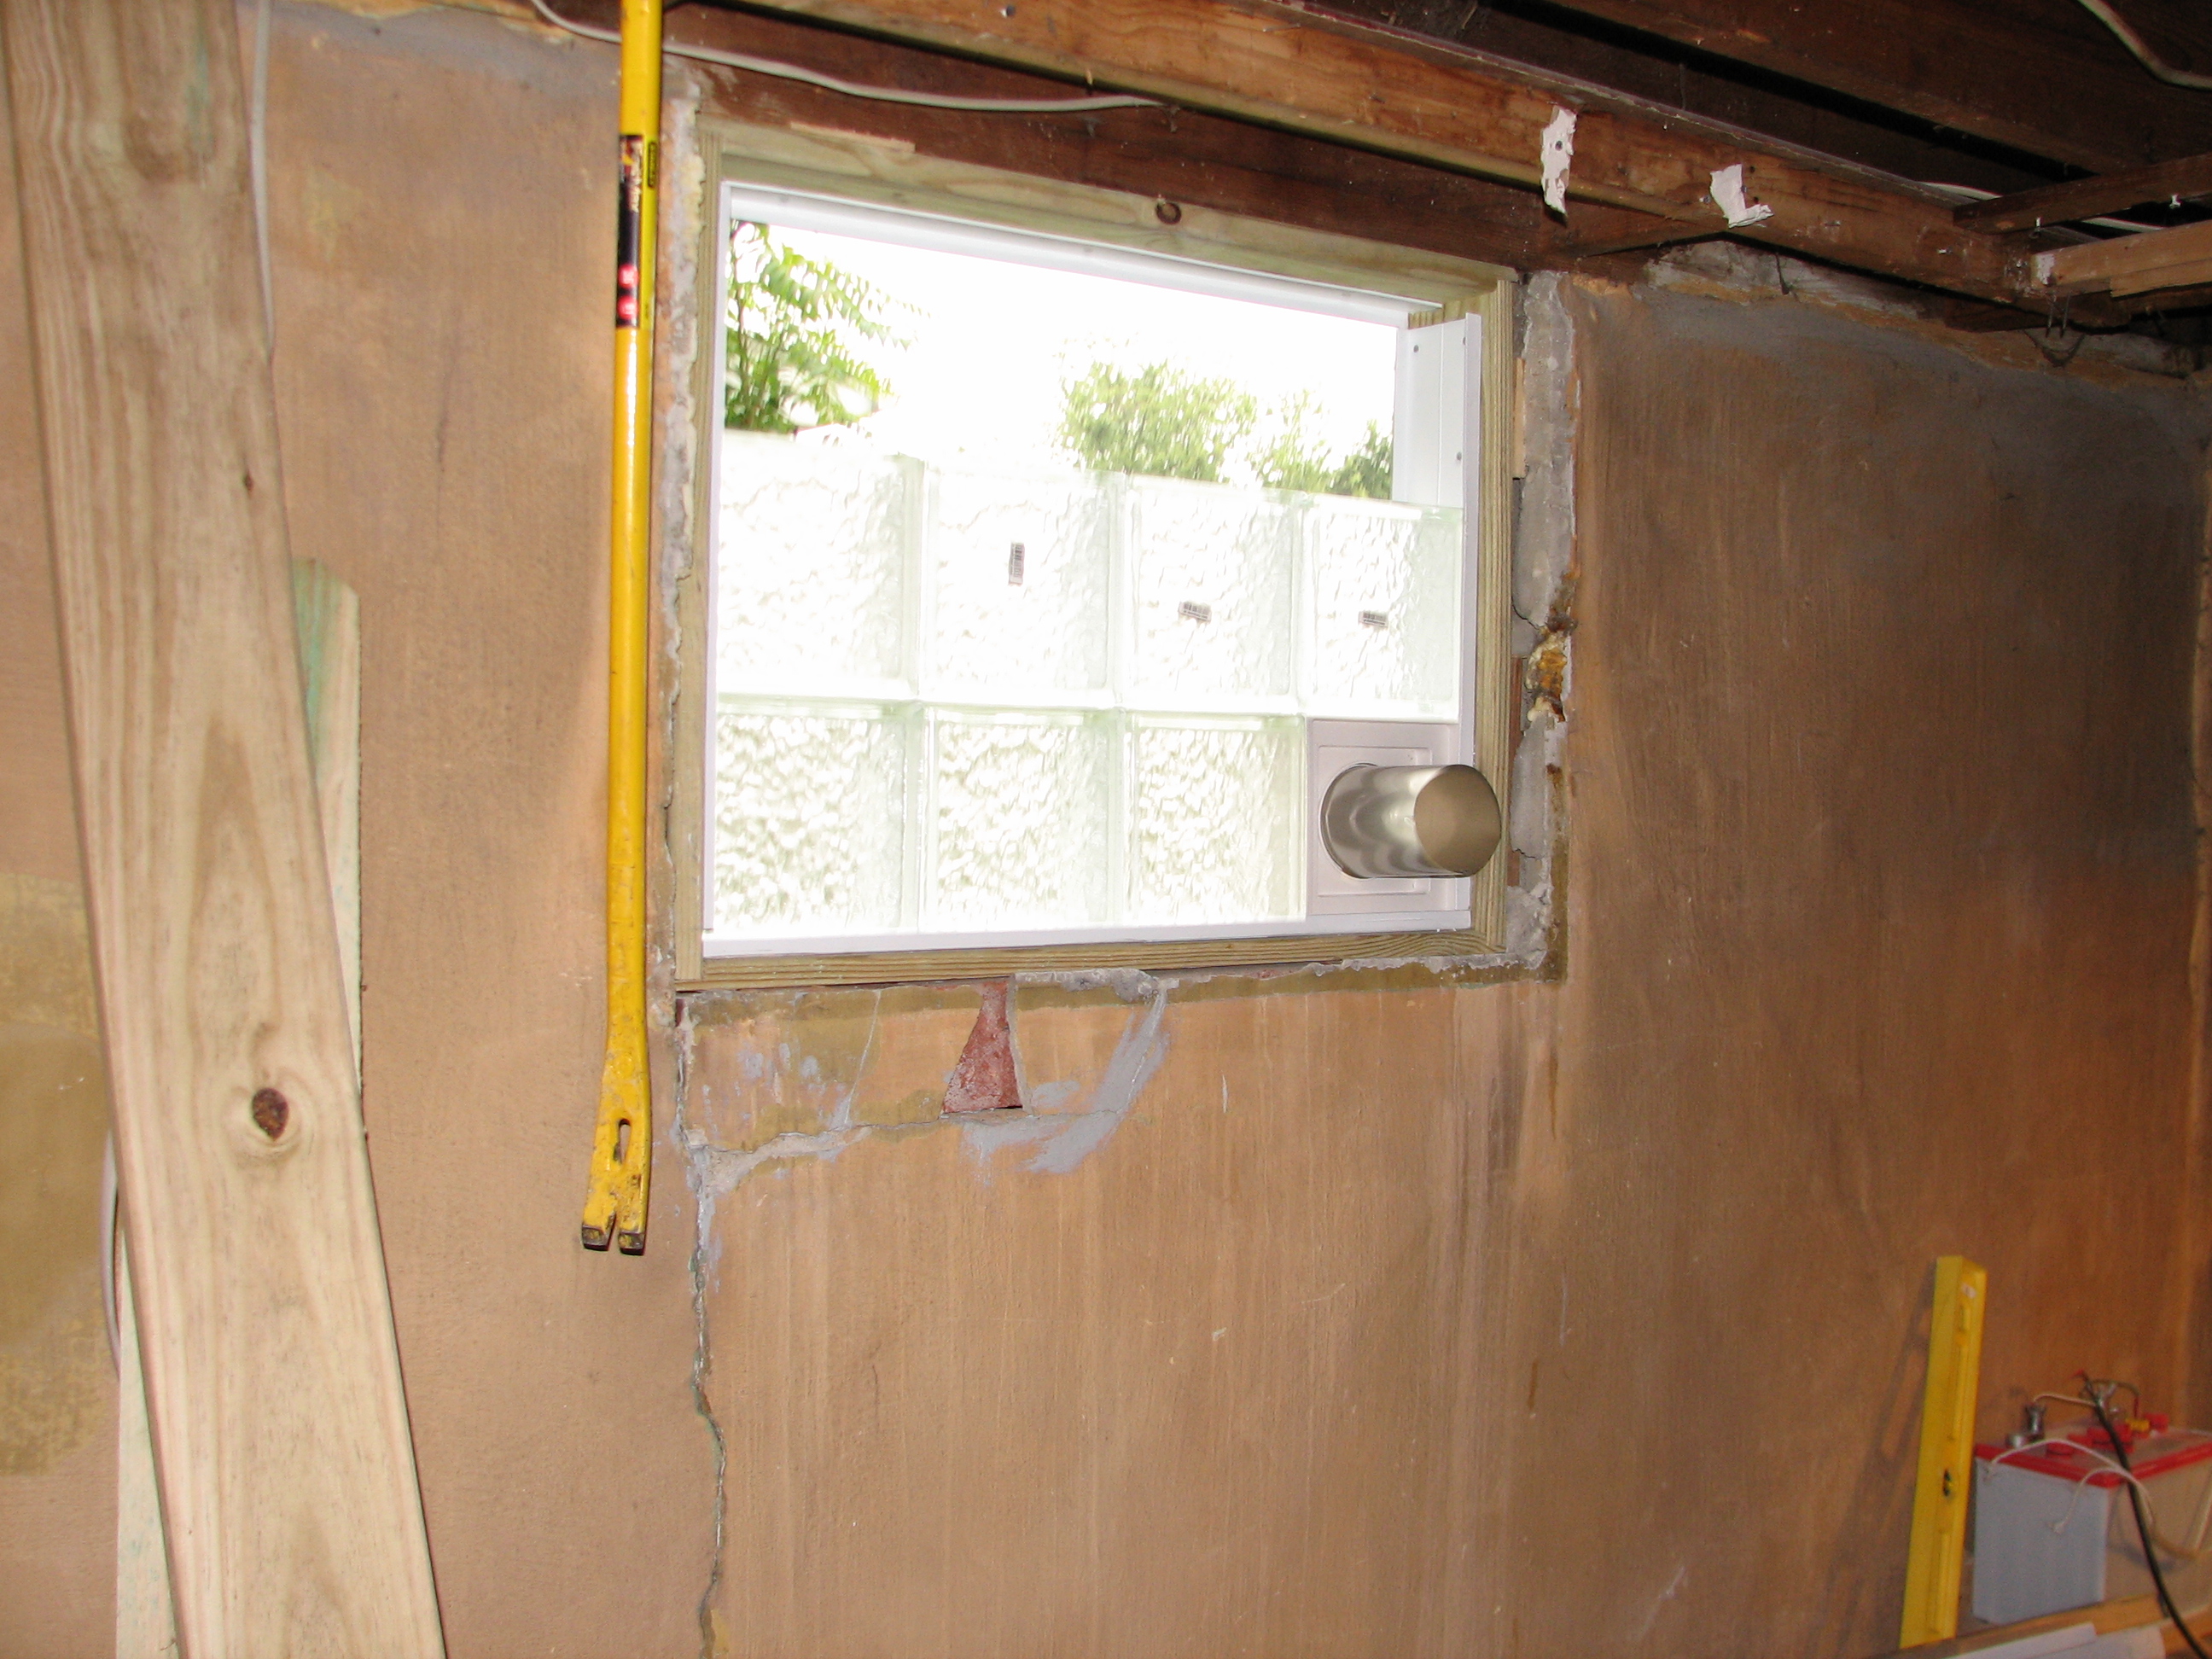
Click the pic for a full sized shot. You can get a really good look at the new frame, the dado cut, and the general install.
Note how the entire frame is in place except at the top. That’s the secret I didn’t know – you cut the top track in half long ways, put your block in, and then seal the second half in after it’s all done!
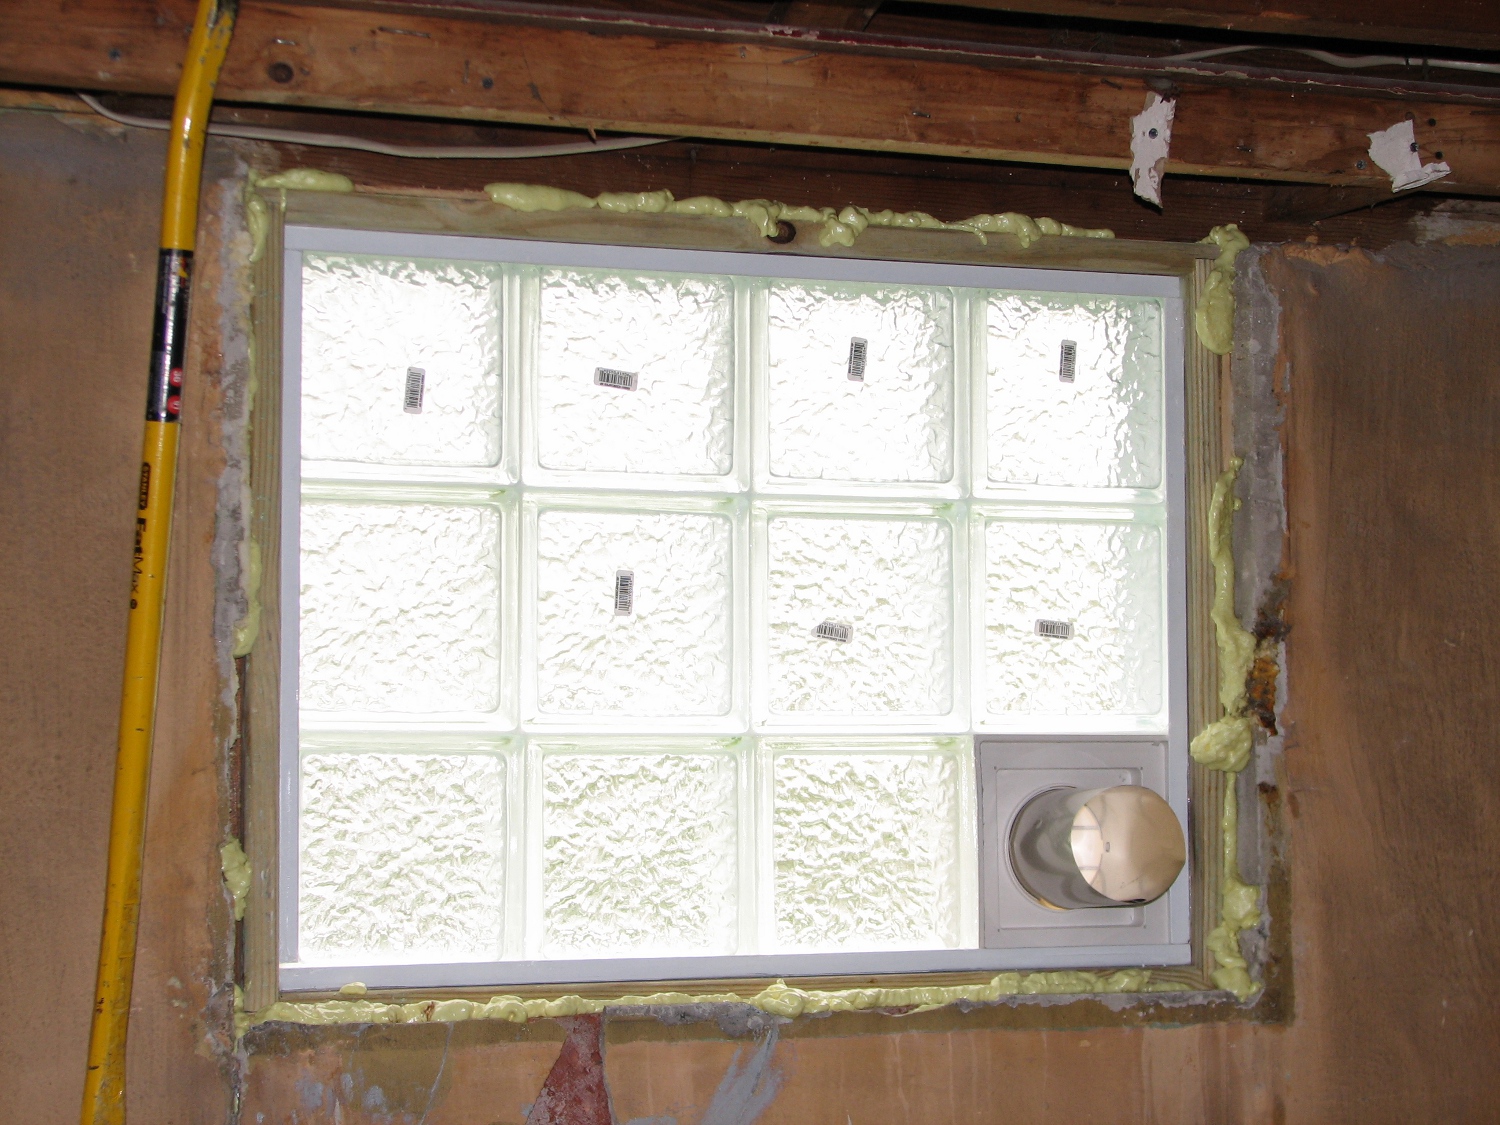
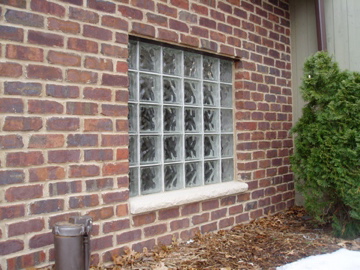
Once in place, you cannot tell that the top row was cut in half.
Right now it looks ugly on the inside – but that’s because this is all initial work. From the outside, I think it looks fantastic!

Well, ok, except for my caulking job. I really should have left that for the missus – she’s the better caulker.
Hammer safely!
G
Home Improvement Blog on Google+
Home Improvement Blog on FaceBook
Bloggers Wanted
Latest Articles
Topics
- Electrical (8)
- Introductions (7)
- Plumbing (3)
- Projects (13)
- Repair (4)
- Safety (5)
- Tips and Tricks (5)
- Tool Review (5)
- Tools (6)
- Uncategorized (5)