Before we get into Arc Fault Circuit Interrupters (AFCI), let’s look at their uncle, the Ground Fault Circuit Interrupter (GFCI). GFCIs first appeared in the NEC code in 1971, and then only for swimming pools (not spas) and exterior outlets. Today, bathrooms, kitchens, wet bars, garages, rooftops, spas and any place that water can be a problem must be protected by a GFCI according to code. Without getting into what a GFCI does, it basically can save your life. This has been proved over and over, and unfortunately also proved when GFCIs have been removed, tampered with, or failed.
Let’s start off with some questions:
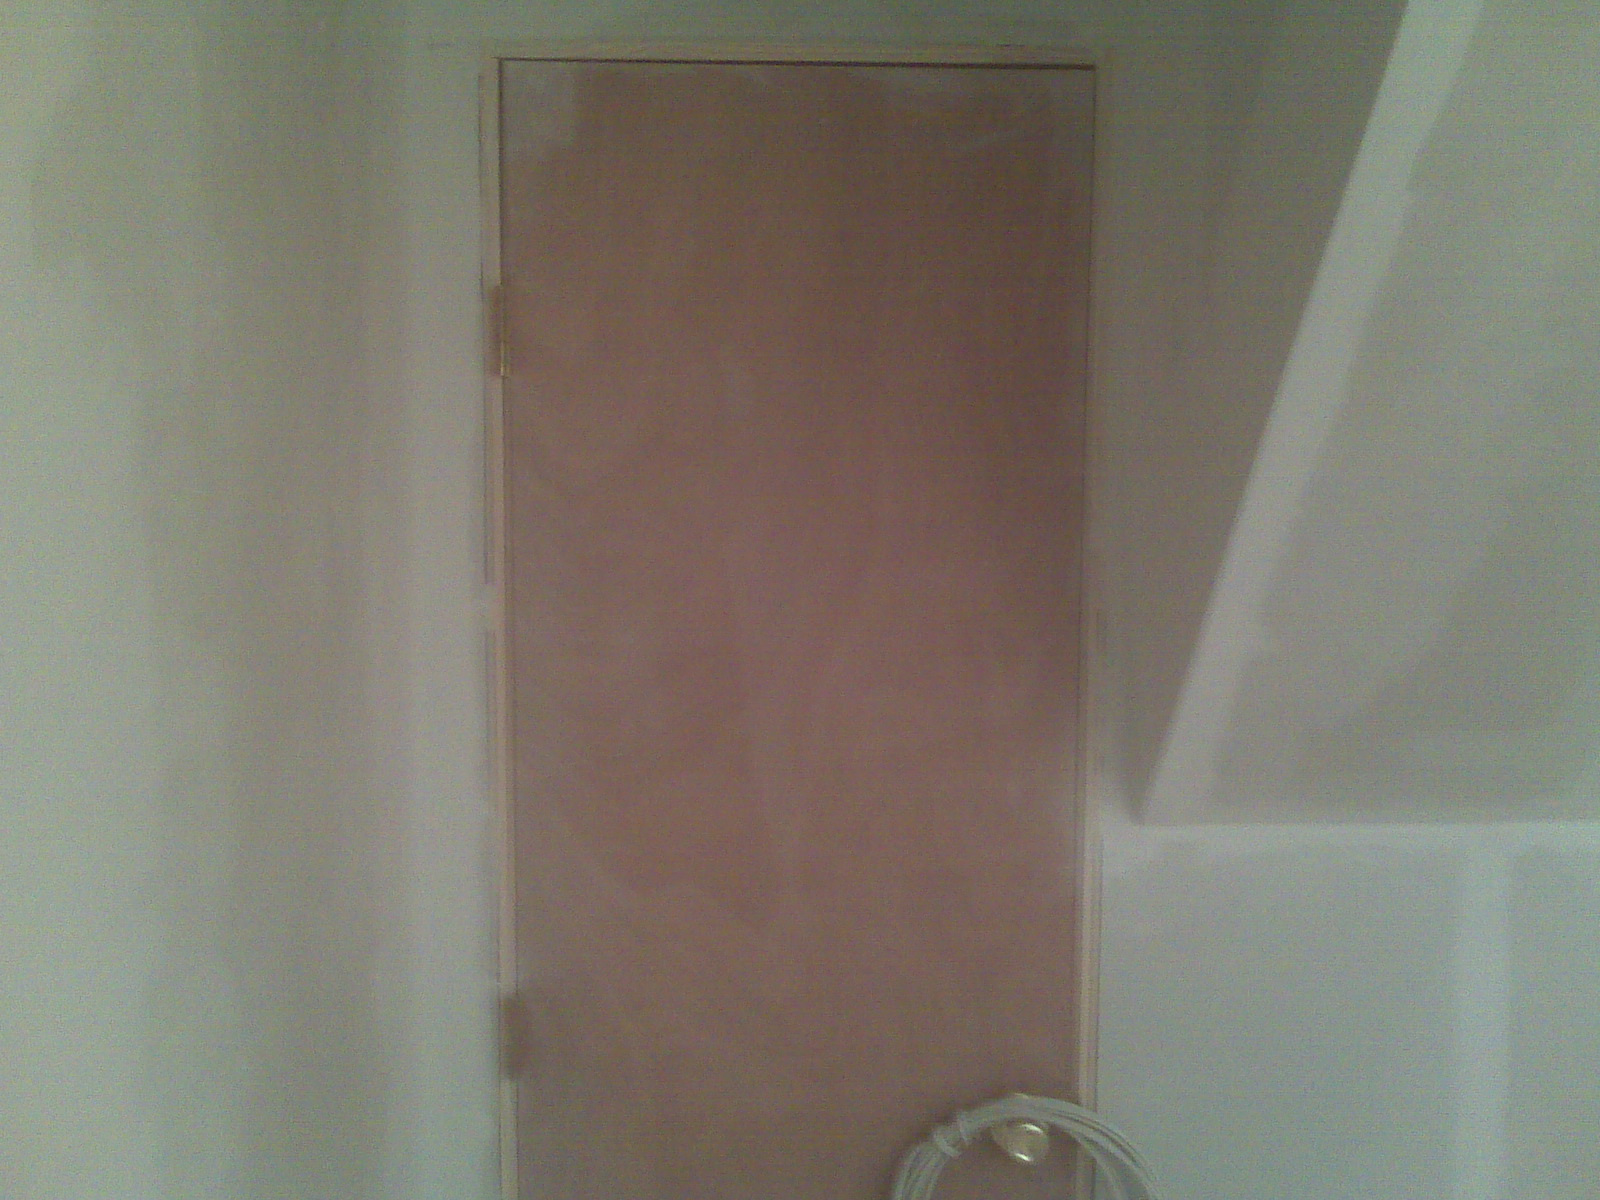
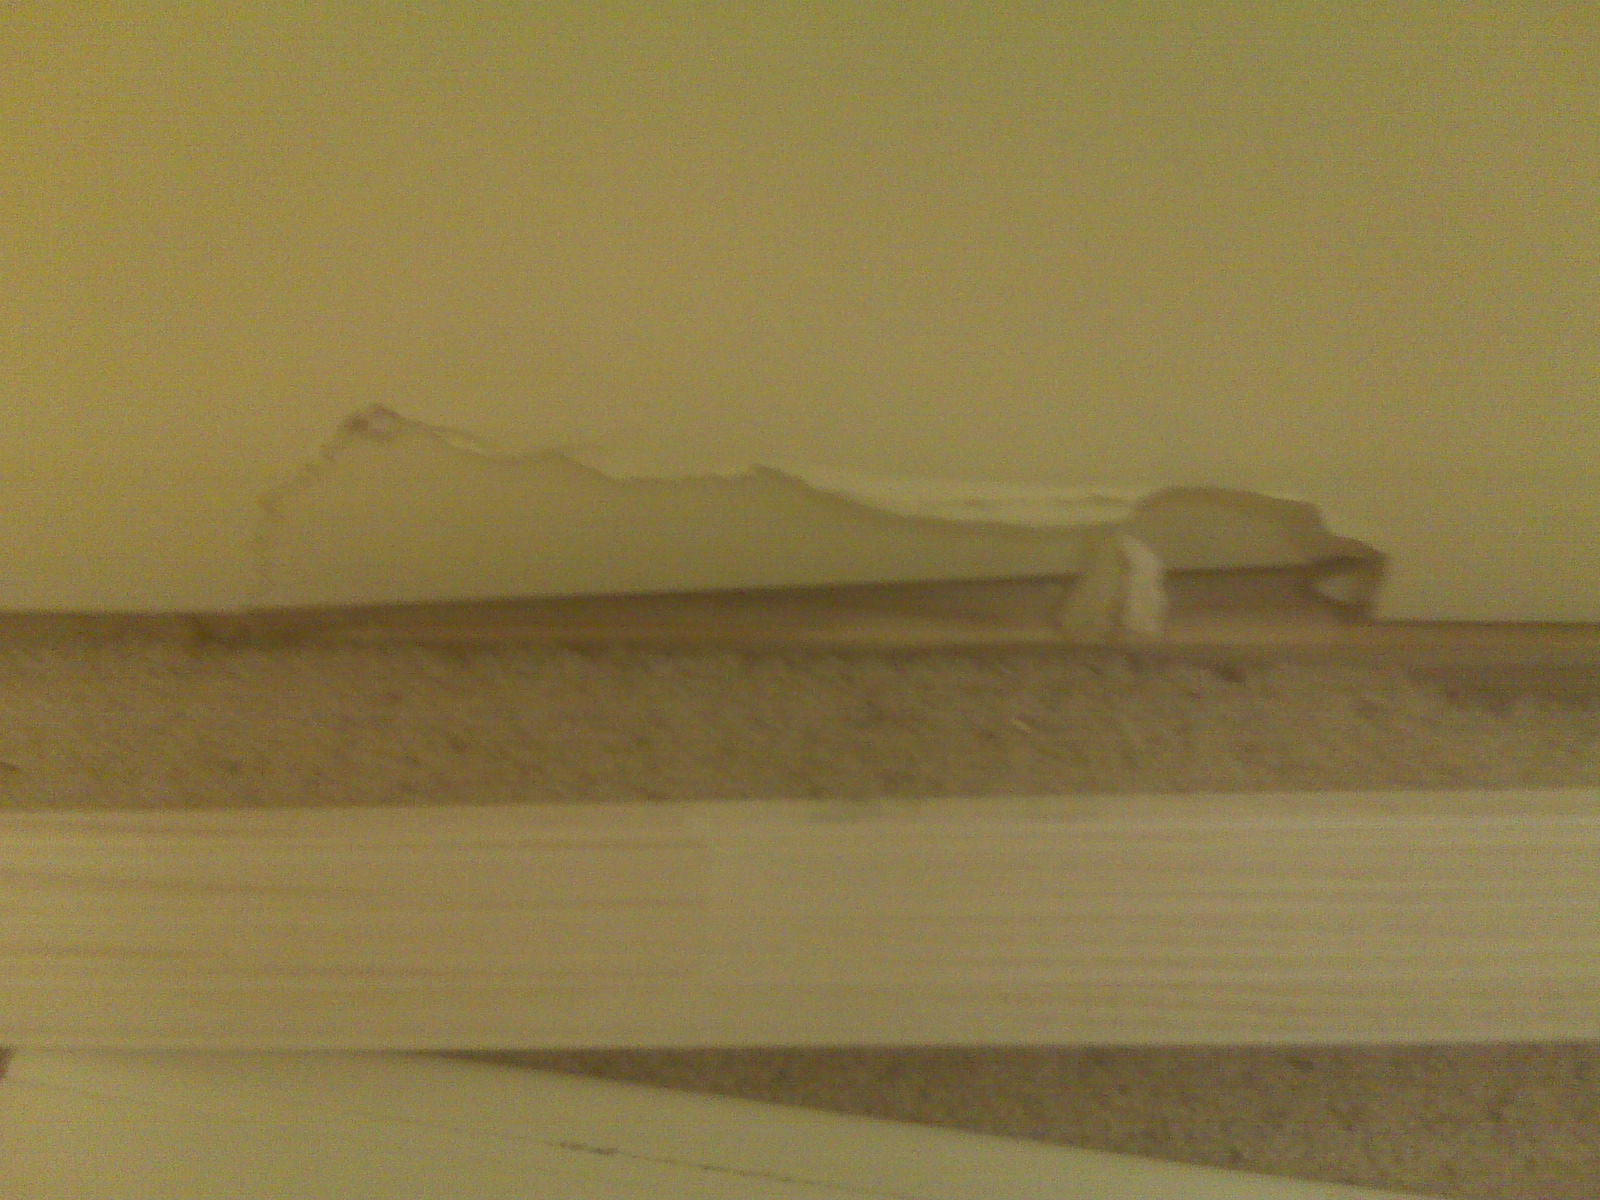
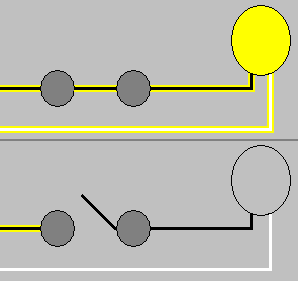
What is an Arc Fault? An arc fault is when current goes through your wires and somehow takes an unintended course that produces a spark, or arc.
Why don’t my regular breakers protect me from arcs? Your breakers protect you, but what an AFCI does, that a regular breaker can’t, is detect a very low level arc. If not detected, that low level arc could quickly become a life threatening event – in your house!
Why do I need AFCIs and GFCIs? A GFCI protects you and others from fatal electric shocks when a ground fault happens, like if you try to make toast while taking a bath and drop the toaster. That would be a ground fault due to water. As explained above, an AFCI protects you and your valuables from a potential fire caused by a low level arc.
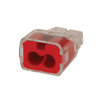
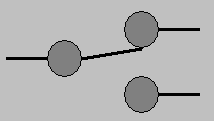
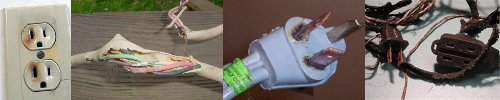
What causes arc faults? Worn or damaged wire; damaged plugs or receptacles; loose electrical connections; screws, nails or staples driven into wires; furniture pinching lamp or appliance cords; broken wire; frayed wires; and even wire chewed on by your pets. Probably anything your kids do when you’re not around. The NEC uses the term combination to describe fault protection. This covers both parallel arcs (two wires arcing together) and series arcs (arc caused by one wire arcing between two damaged areas)
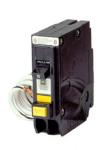
Can I buy AFCI receptacles? Not at this time. Breakers will protect everything downstream from the breaker, but an AFCI receptacle would not protect the wire between the receptacle and the breaker.
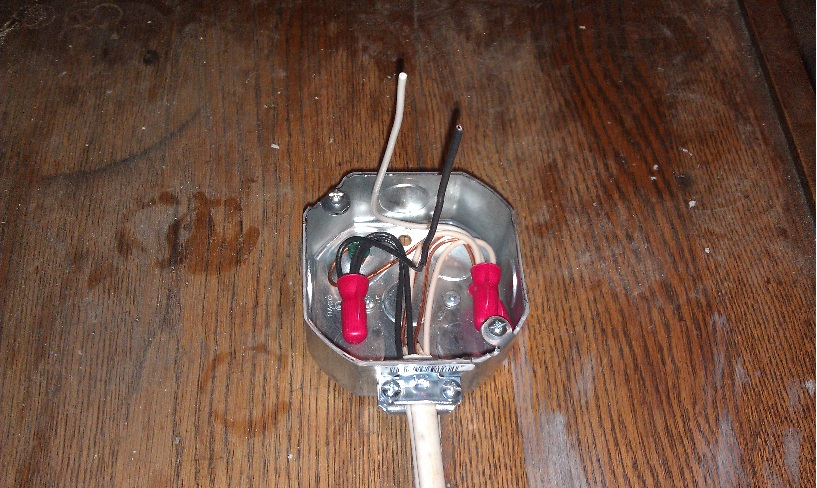
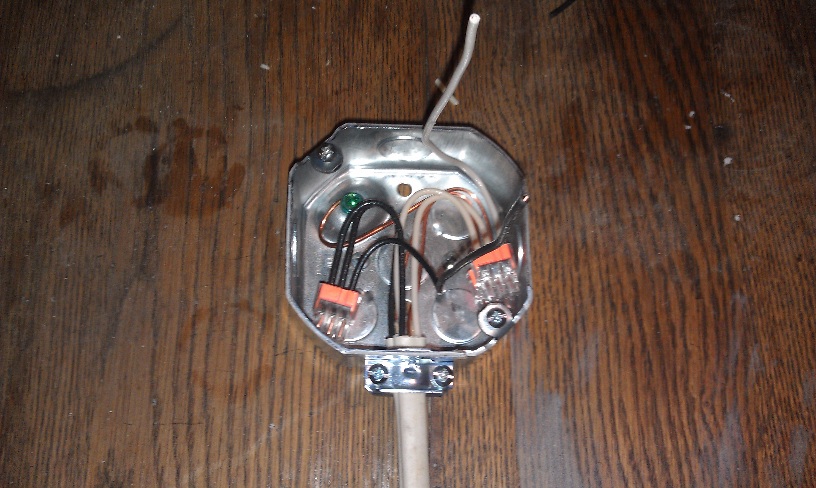
Cause and Effects of Arc Faults
Whether you need AFCIs or not depends on your local codes. Not all local codes have accepted AFCIs as code, and some might accept them but not otherwise be up to the current national code. The current NEC Code, 210.12 says “All 120-volt, single phase, 15- and 20-ampere branch circuits supplying outlets installed in dwelling unit family rooms, dining rooms, living rooms, parlors, libraries, dens, bedrooms, sun-rooms, recreation rooms, closets, hallways, or similar rooms or areas shall be protected by a listed arc-fault circuit interrupter, combination-type, installed to provide protection of the branch circuit.” Even if your local code does not call for it, you still can install AFCIs in your home. Of course, if local code requires AFCIs then they will have to be installed on new homes and remodels.
AFCIs keep improving, just like GFCIs. With these improvements, specifications change and an older AFCI might not pass on a new job, depending on when the permits were issued. Just because a breaker says AFCI on it, that does not mean it will pass inspection. Your electrician will know which ones to use and your local code office will also have that information.

Filed under Electrical, Safety
Tagged: AFCI, Electrical, GFCI


 I’ve been in the electrical wholesale business for almost 30 years and every day I sell light bulbs. For over 30 years lamps basically got better, offering more light output per watt on the newer lamps. But recently somebody started taking my light bulbs away. What am I going to do? What are all the old people going to use to read their papers?