![]()
Lifestyles have changed. In a 1950s Leave It to Beaver world, urban people had very clearly defined roles. Dad would entertain the guests while Mom hid in the kitchen preparing a meal. Design reflected that. Kitchens were viewed as utilitarian areas in which guest were not to enter.
1960s and 70s design at least acknowledged that families would often eat in the kitchen, and more space was provided to accommodate a kitchen table.
Some time in the 80s and 90s the kitchen evolved into a more public space. Guests would gather and even help out in the preparation of a meal. The drawback was that seating was often uncomfortable.
More recently, the trend has been to open concept kitchens. This design philosophy often puts the kitchen right next to a dining/living room without a wall separating them. It allows the guests to sit comfortably on a couch, have drinks and snacks on the coffee table while still allowing interaction with the people in the kitchen working on the meal. It fits in with a more modern lifestyle.
Our house was built in the 60s. We have a 20′ x 10′ kitchen separated from the living/dining room (24′ x 14′) with a central supporting wall. We finally decided that that wall has to go.

One end of the wall to destroy

The other end, with a glimpse of our lovely 80s cabinetry
Also on the list is updating our extremely dated cabinetry, which had been installed by the previous owner, probably from off the shelf cabinets. Hinges are going, finish is chipped. The laminate counter-top is swelling up in the humidity making it nearly impossible to open some of the drawers. Corner Cabinets require me to change into my spelunking equipment in order to find anything. We need an update.
So, the plan is:
- Remove dividing wall.
- Re-tile the floor.
- Replace the cabinetry.
- Re-wire so that we can make coffee and dry our hair at the same time. (Bath and Kitchen are on the same breaker)
- Install a fume hood (requires moving the stove) from an internal to an external wall.
- While the cabinets are gone, stud out the uninsulated exterior wall and put some pink stuff in there.
- Do a fantastic job, as cheaply as possible. Hire experts where needed, DIY where we (I) can.
We shopped out the cabinetry and designed the new kitchen ourselves. Next step. Call an engineer to figure out how to get rid of that wall.
Fortunately, the wall isn’t carrying a heavy structural load, but the ceiling joists are lapped on top of the wall, and they support the ceiling plaster, insulation above, and any light fixtures. So we can’t just knock down the wall, or the ceiling will collapse into the center of the house.
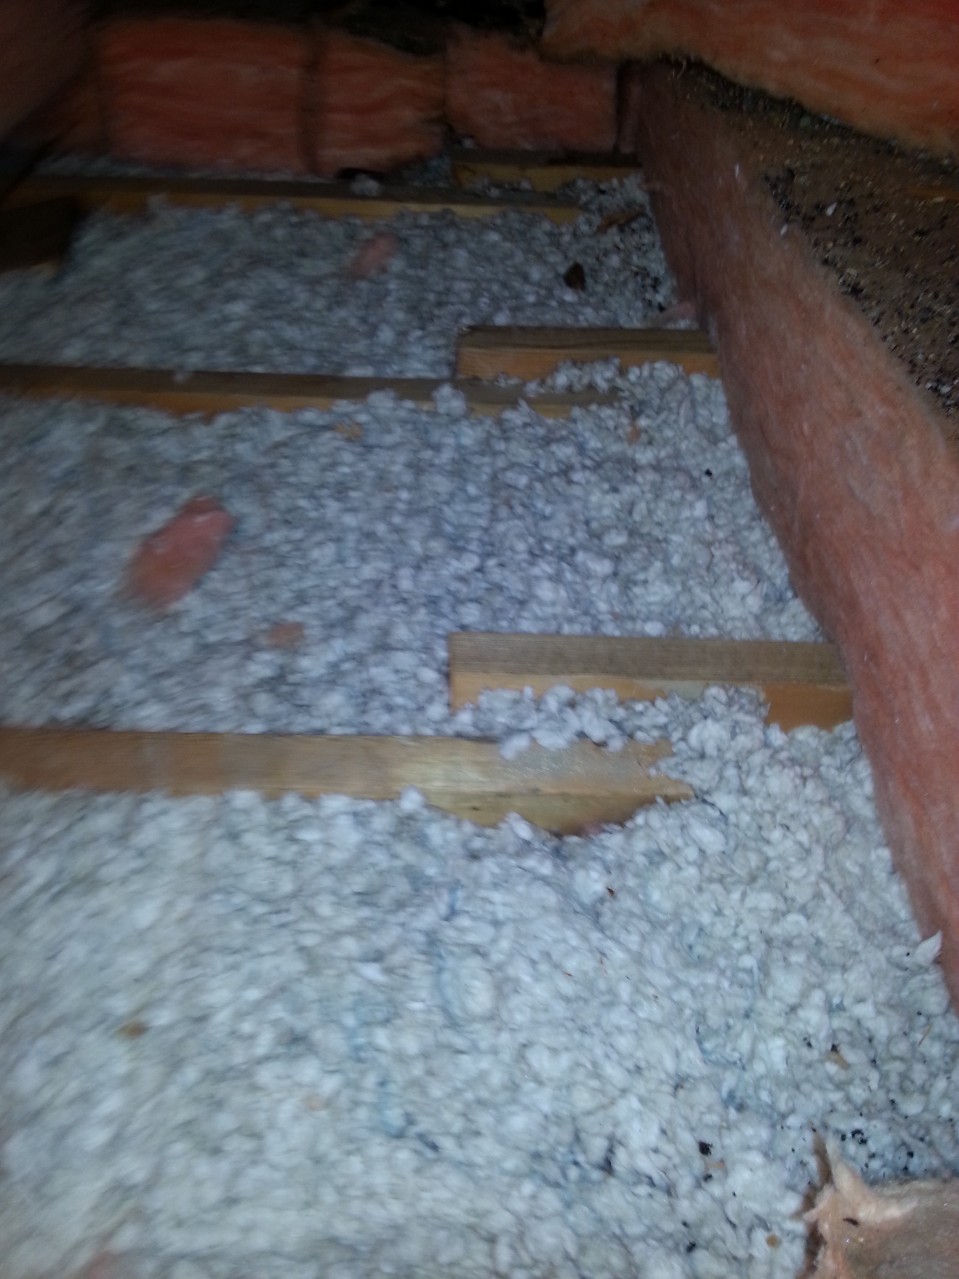
Lapped ceiling joists…
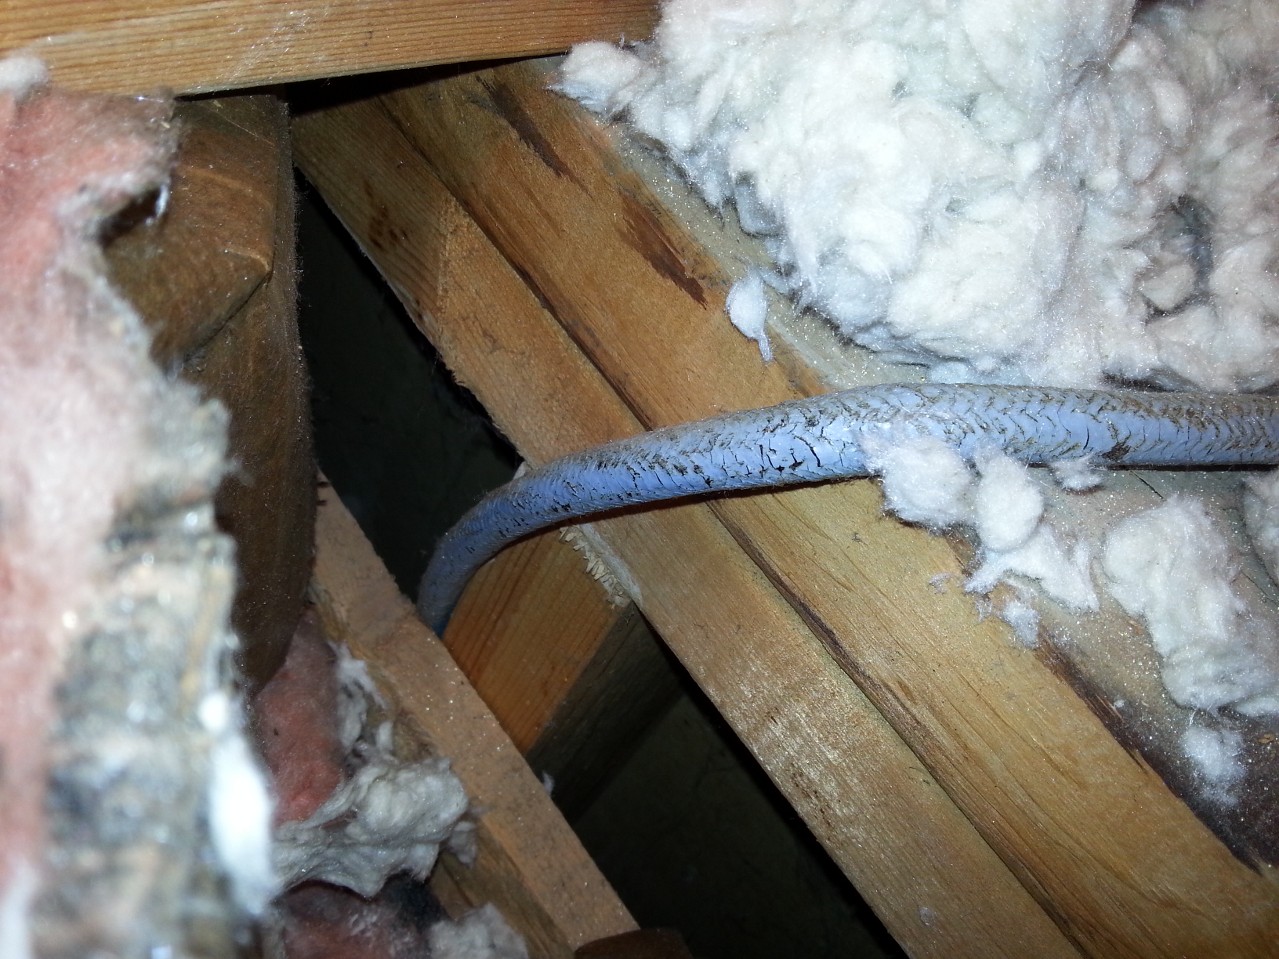
On top of this stud wall
The solution is to install a beam to take the load off the wall, and then knock down the wall. The problem is that the existing stud wall carries a linearly distributed load. A beam, being supported at the ends only, will put the load onto two points. Consequently, these loads need to be tied into the foundation.
Step 1: Footing.
The post at the front of the house is relatively easy. It will rest on the foundation wall, which is (I assume), hollow construction blocks. I’ll simply need to fill them with concrete, a couple of blocks deep, and stick in some column base connectors while the concrete is still wet.
It’s the other end that’s the problem. I need to dig a new footing. The engineer specified a footing of 22″ x 26″ by 14″ inches deep, with a 15 mm @ 4″ spacing rebar grid, 2.5″ below the surface.
Now, digging is traditionally used as an example of extremely unskilled labour. “But the world needs ditch diggers too!” is often used as a rallying cry against sending everyone to university. Unskilled labour? I’m highly skilled at unskilled labour. This is right up my alley, and a job I can save money on.
So I started digging. This isn’t as easy as you think, because the floor is concrete. I made several false starts. I tried drilling holes with a masonry bit to create some break lines. It worked somewhat but was tediously slow.
Next I took out a mason’s hammer, with a pick on one end and just started whacking away at the center of the field. It was slow and tedious, but eventually I managed to break away a hole big enough for my hand. It was about 3 inches thick. Certainly not enough to support a load. I dug out some of the gravel underneath, and managed to whack away with a small sledge. Eventually, with a combination of under-digging and sledging, I got a rough opening dug. Then I used a sledge and chisel to clean up the edges. Concrete went into plastic pails, and were carried upstairs to the dumpster.
Digging out was much more difficult than I had imagined. I’m sitting on top of some of the hardest clay imaginable. In the end, I resorted to picking at it with the pointed end of the mason’s hammer, and scraping of 1″ thick layers with a hand trowel. Soon I ran into a problem. There was an old footing in my way.
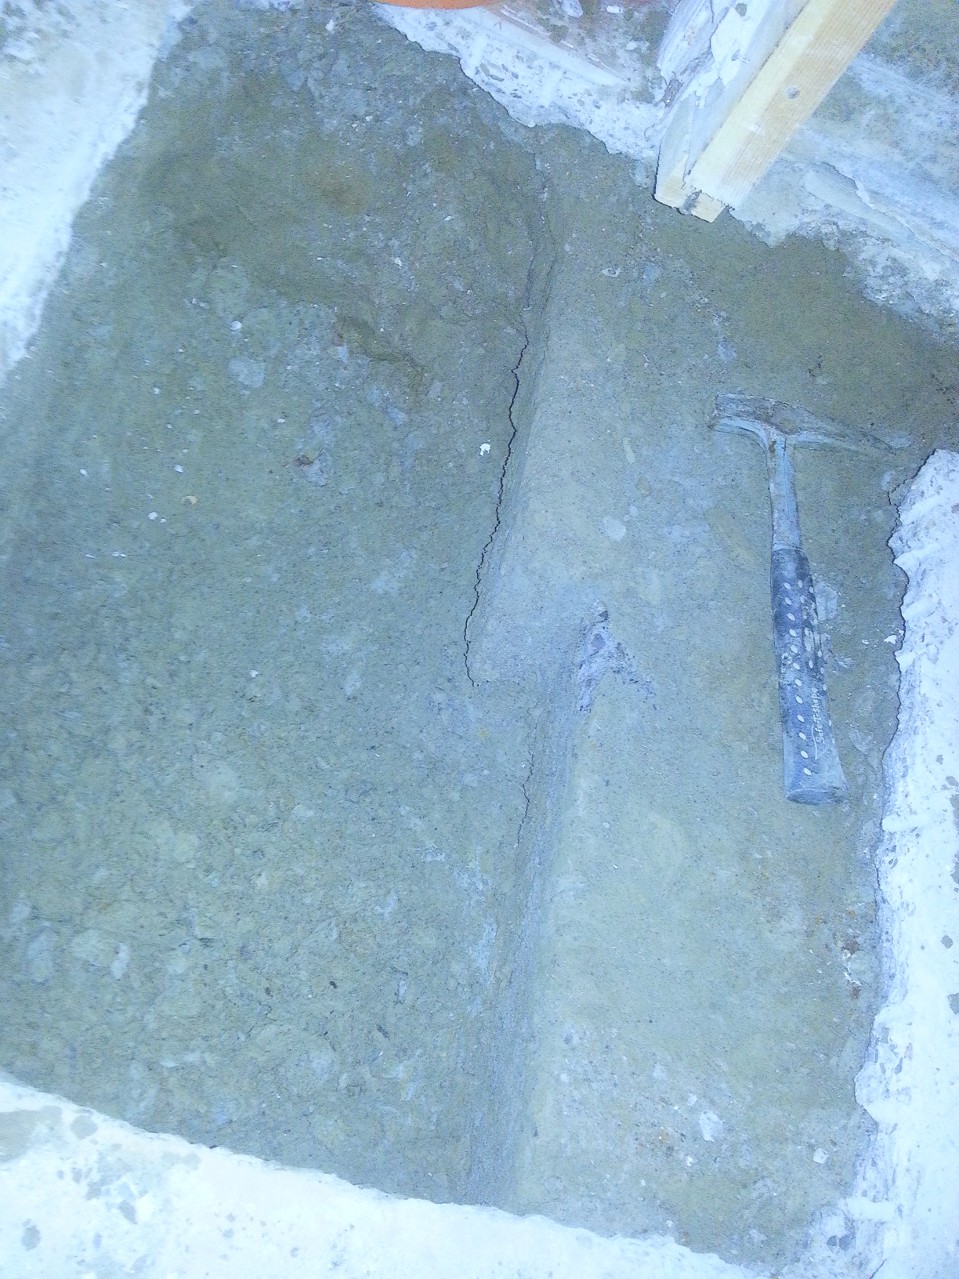
Evil Old footing that is both useless and in the way.
This was 5″ thick, no where near enough for my engineer’s needs and just too thick for me to hack away with with the sledge or mason’s pick. Time for a trip to the rental store. I picked up a handheld demolition hammer (mini-electric-jackhammer) and went nuts on the concrete.
It also did a trick on the clay, allowing me to shovel it out rather than troweling it. Things went mighty smoothly. Fortunately, I had a nagging suspicion that there might be a clay sewer pipe in there somewhere. The last thing I wanted to do was crack it, so I went very carefully, probing with a thin rod, and hand digging around anything solid I found.
There was a clay pipe, and it was in the corner by the hammer head, about 12 inches from the surface. I did not break it. Infantry mine sweeping training comes in handy sometimes.
Next, I lined the hole with 6 mil poly, and threw an inch of gravel on top of that.
Meanwhile, my metal-working buddy was building the rebar for me. The main problem was that the engineer specified 15 mm bar, which is impossible to bend. 10 mm, I could have stuck in a vise, but 15 mm is just too much. He bent it in his massive hydraulic brake.
The rebar cage was made with 10″ legs, as per design. However the design also specified that the top of the cage should be 2.5″ from the surface. When I stuck it in the hole, It ended up 5 inches too low. In order to solve this problem, I ran a couple sticks of scrap lumber across the hole, and suspended it from them with mechanics wire. Good plan, as it allowed me to finely adjust the height.
Some time earlier, I put the call in to the inspector. In my jurisdiction (Toronto) All holes must be inspected by a city employed hole inspector before you make them not a hole anymore. This is actually a good idea. The building department’s job is to verify that you are following the plan. The only way they can tell, is if they see the hole as a hole. If it’s full of concrete, they have no way of knowing whether it is the proper depth, or if the rebar is even there.
Shortly after I wired the rebar in, the inspector showed up, looked at my plans, said “Yup, It’s a hole. You’re good to pour.”
After 7 paragraphs of my regaling you with tales of my hole emptying experience, you probably can’t handle that many of my hole filling experience. So I will be brief. 11 bags of concrete were mixed 2 at a time, carried downstairs, and dumped into the hole. A piece of scrap rebar was used to jiggle and poke it so that it got into the corners. I smoothed off the top, and inserted my column base. And my footing was done:
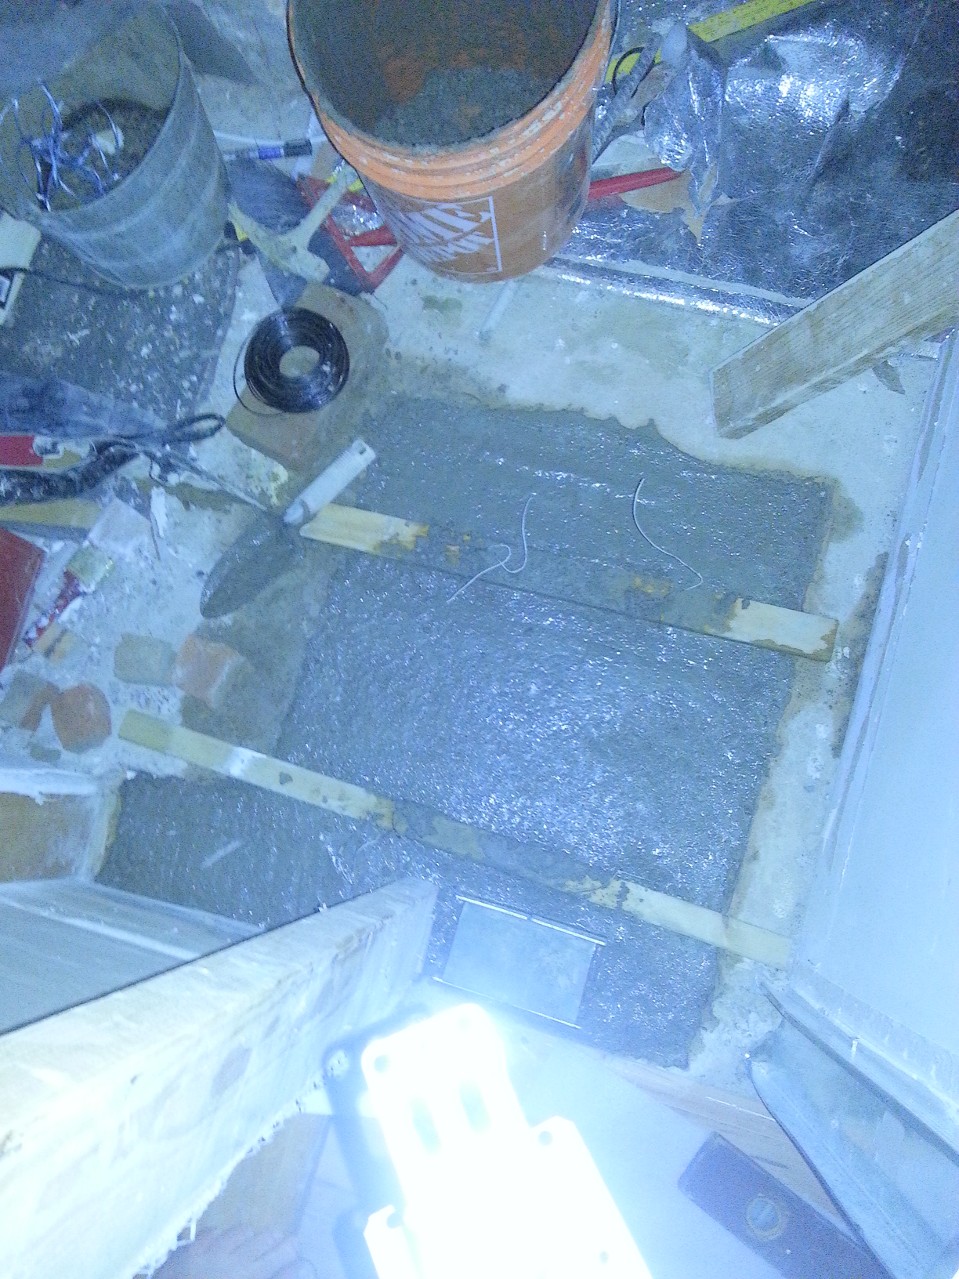
Finished footing
Next on the list: Attach the columns and smash plaster off the wall.
I’ll keep you posted.

Filed under Projects
“Yup, it’s a hole” This cracked me up! Still snickering at the thought.
Aside from this, great work, mr. Cudmore! One can surely see you are doing things yourself with love and patience.
Cheers!
Half the fun is learning something new, even if it is at the expense of a few bruises, a good bit of wasted time but hopefully no irreversible errors (so few of them are). Good tale.
Kitchen is the most essential piece of our home. Each one needs to look their kitchen wonderful and appealing so they utilize tiles with various style and design.All the data given on this post are so profitable.
Regards Annabel
with The help of your steps i renovated my kitchen, and now it looks awesome.Thanks a lot.
According to your idea, I have renovated my kitchen but this hole is looking awkward.