Archive for March, 2013
How to Build Sturdy Garage Shelves
I’ve done some finish carpentry in the past, but I’m really more of a framer because I like to just throw things together quickly and make them as strong as possible. With garage shelves, in my opinion, they don’t need to look fancy, but they do need to be sturdy – I’ve seen far too many saggy garage shelves that look like they’re going to come tumbling down at any moment. In fact, I’ve actually had a pet killed by some pre-built garage shelves that collapsed.
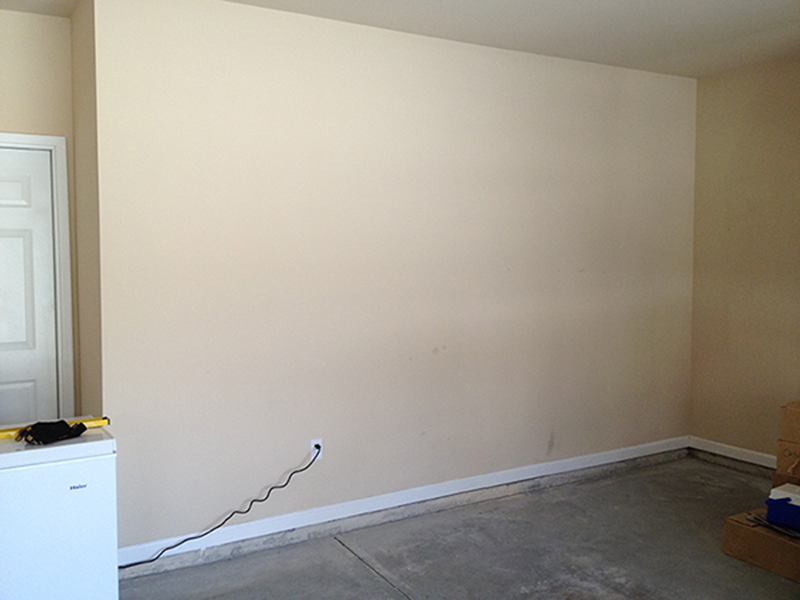
I recently built some new garage shelves in the home we have been living in for a couple years now. I had always planned to build some, but only got around to it a few months ago. I wanted to share my experience to give other DIY-ers an idea of a simple shelving design that is built to last. The pictures in this post are only of one of the walls I built shelves on. The total cost for wood, nails and screws for both walls was just under $200.00. My goal was to build the strongest shelves as possible, without spending too much money. For the amount of sturdy shelf space we now have in our garage, $200.00 was well worth it.
Tools Needed:
- Hammer and nails (preferably a nail gun if you have one)
- Screws and a screw gun. I used 3 ½ inch wood screws.
- Some kind of saw. a chop saw would be best for this, but technically you could use a skill saw, a jigsaw, a table saw, or even a hack saw if you had to.
- Tape measure
- Stud finder
- Long level (at least 4 feet)
- Pencil
- Small ladder
- Chisel (if you have baseboard in your garage)
Prep Work
Measuring
- Know what you’re going to store on the shelves and their dimensions. Once you know the height of the tallest item you plan on storing on the shelves,
- Measure the distance between the floor and the ceiling. Divide this distance by the height of the tallest item you will be keeping on your shelves. For example, if you have a cooler that is 20 inches tall, and the distance from your ceiling to your floor is 108 inches tall, you would divide 108 by 24 1/2 (I’ll explain why it needs to be 4 ½ inches taller than your tallest item later). This would equal roughly 4.4, which means that you have enough room for 4 rows of shelving with 21 inches of usable height.
 Obviously you don’t have to make all the shelves be the same height, but make sure to have at least one of two rows of shelving tall enough for all of your tallest items. I made our bottom two shelves taller to hold the larger, heavier items (like food storage), and made the upper shelves a little bit shorter to hold the smaller, lighter items. I would also recommend storing all of your DIY chemicals like herbicides, pesticides, or cleaners on the top shelf, so your children cannot reach them (easily…).
Finding and Marking the Studs
- You will need a stud finder for this part. What I did was mark all the vertical and horizontal lines that my shelves would follow. Take your stud finder across the wall horizontally (twice), once up higher, and once down lower and mark each stud. Then take a 4 ft (or longer) level and trace a straight vertical line between the upper and lower marks. Use that line to extend the vertical line all the way up the wall. This vertical line will be your guide to help you see where to screw the boards to the wall.
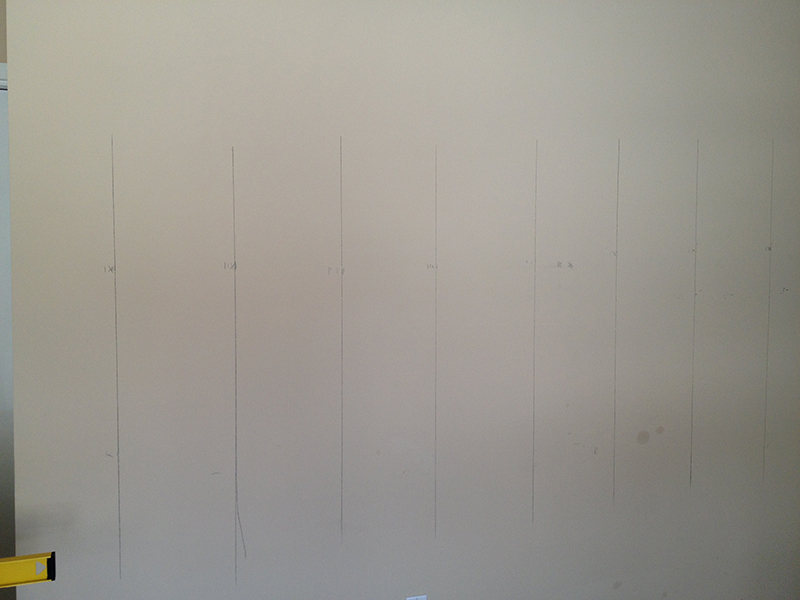
- Next draw the horizontal lines by measuring from the ground up. If your bottom shelf will have a 21 inch space under it, measure up 24 ½ inches and use your level to draw a horizontal line all the way across the wall. The next horizontal line should be 24 ½ inches above that line (assuming all of your shelves will be the same height). The reason you have to go up 24 1/2 inches to build a 21 inch space is because you have to account for the 1/2 inch plywood on top, and the 3 inch tall frame board.
Calculating Amount of Wood Needed
- Given the length of the walls I was building my shelves on, I bought my wood in the 8 foot lengths. I used a combination of 2x4s (for the vertical support posts), and 2x3s (for the main horizontal framework, including the boards tacked to the wall). I also used ½ inch thick plywood for the shelving surface, with the smoother side of the plywood facing up. Lowes will rip cut the 8×4 ft sheets of plywood for you to save you some time. My shelves were about 21 inches deep so I was able to get two, 8 foot long pieces out of each sheet. I found this depth to be good for most tubs and other large items you would store, and plenty of room for storing several smaller items.
- The wall I built these shelves on was about 14 feet long, so I needed two 8 foot sheets of plywood for each row. I had to cut off the extra two feet with my chop saw.
- Once you know the length of the wall, it’s fairly straightforward as far as counting up how many 2x3s and sheets of plywood you need. For a 14 foot wall, I used 5 2×4 vertical posts, two on the end and three in the middle, each spaced about 3 ½ feet apart. You can do whatever you want here, but make sure you don’t go too far between the posts so you have enough strength.
Building the Shelves
Once you have all of your lumber, it’s time to start building. This is the fun part and if you’ve already measured and marked everything, the building portion should go fairly quickly (with this design).
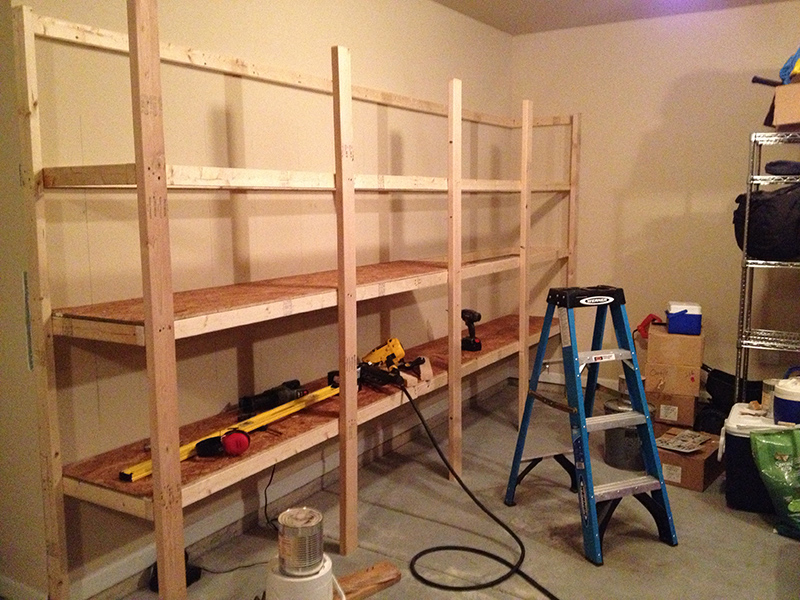
- The first step is to tack the 2x3s to the wall. Place them over the horizontal lines you drew and put a nail in at each vertical line (where the studs are). I used both screws and nails for this part. Screws offer the horizontal strength, and nails provide the vertical strength.
As you can see in the picture below, I also used the perpendicular wall for increased support. I would recommend this as it provides horizontal strength.
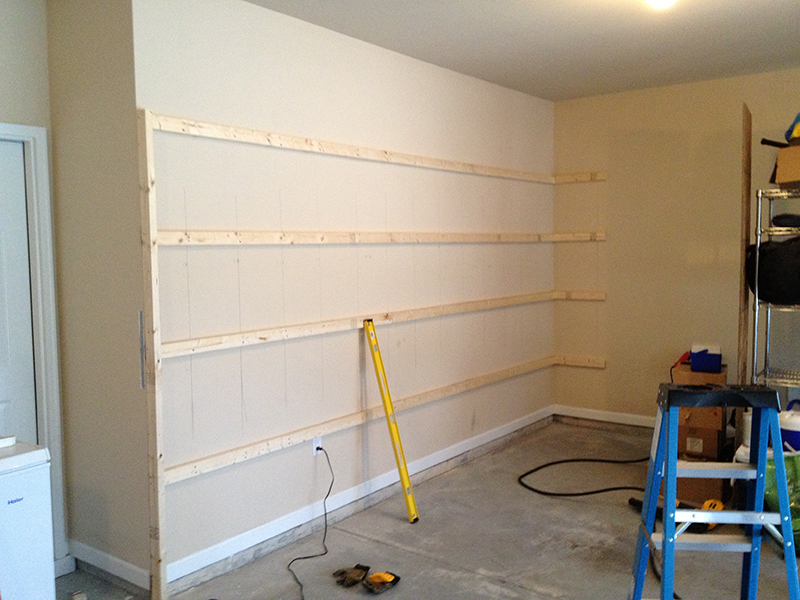
- After screwing and nailing the boards up on to the wall, you can put up the end boards (2x4s). Measure and cut these boards (and all the other vertical support 2x4s) to be ½ inch taller than the highest board against the wall. This is so that when you lay the plywood down on the top shelf it will fit into the frame for additional support.
- For those with some kind of baseboard in your garage, you will need to take a chisel and notch out a spot for the vertical 2×4 boards that will go on the ends, against the wall. You can also notch out a space on the support beams themselves, instead of the baseboard.
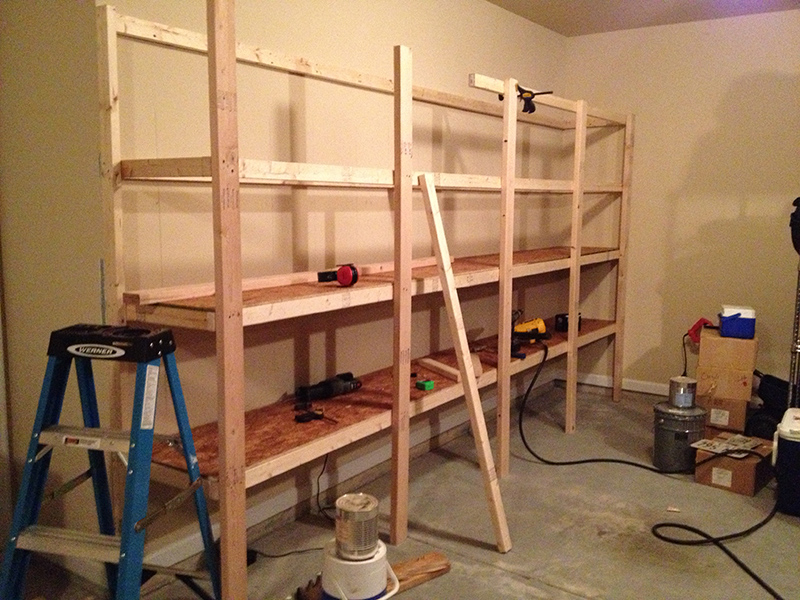
- The next step is to put up the outer 2×3 boards on each row. Start at the bottom and place something under one end, while you nail the other end to the perpendicular board that is against the wall. Replace whatever you were using to support the other end with the first vertical support 2×4. Nail it into place with only one nail so you can still pivot the board side to side and level it. See image below.

- Continue moving across, putting the next horizontal 2×3 into place and nailing the next vertical 2×4 to it.
- Repeat this process with the next row up, but before you nail the vertical 2×4 to the second row, make sure to level it vertically with your long level. After you have leveled the 2×4 and nailed it to the second row, the remaining rows will go quickly. I would still check each row with the level as some boards can be warped and will need to be bent into place.
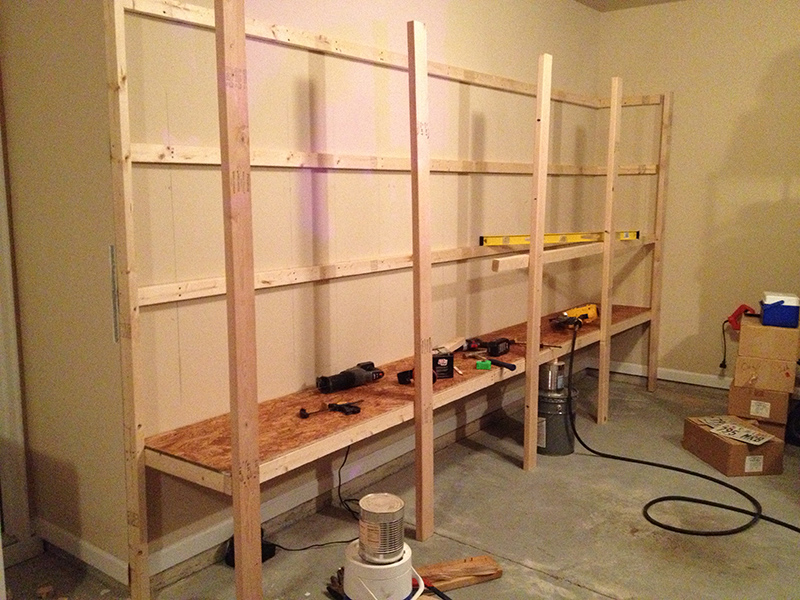
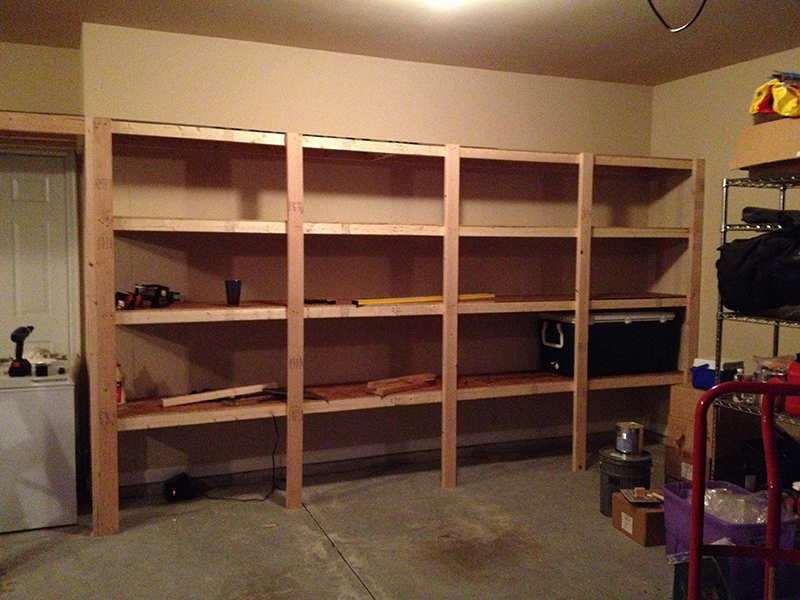
It’s a little difficult to see in these pictures, but I have also tacked in some support boards between the horizontal beams, coming out perpendicular to the main wall.
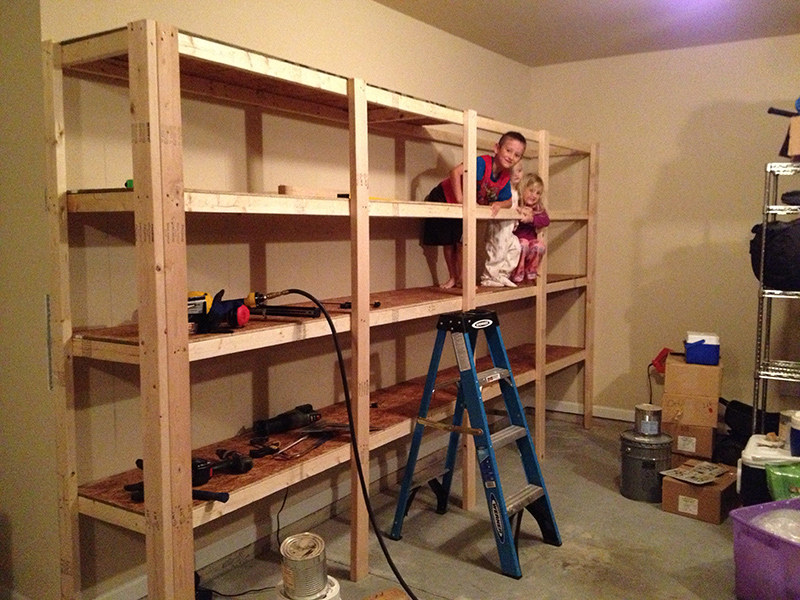
The final step is to lay in the plywood pieces. They should fit right into your frame and once nailed down will offer additional strength coming out of the wall, as well as side to side. I nailed them down roughly every 12 inches.
As you can see in the picture below, your garage shelves should be strong enough to double as a jungle gym for your kids!

First Time DIY: Carpet vs Hardwood
When my wife & I decided to buy our first house I had never thought about whether I wanted hardwood floors or not. My wife on the other hand, LOVED them. After we had picked out our house, we were doing a walk through to determine what things needed to be fixed by the sellers (a sampling):
- Repair the moldy bathroom
- Find and repair the gas leak
- Clean the carpet
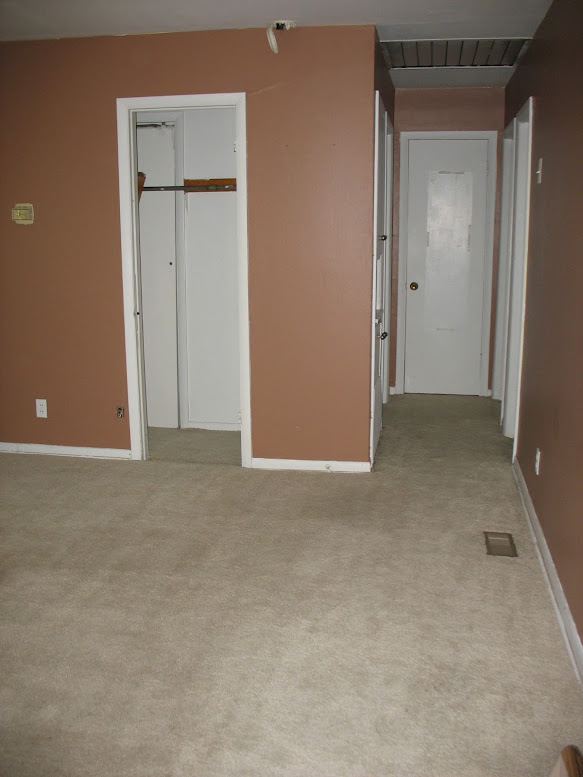
We walked into the now guest bedroom and I saw that there was no molding in the closet and that the carpet was loose. Instead of just marking it down as something for them to fix, I was curious and pulled back the carpet. To our surprise, we found original hardwood floors! My wife flipped.
After pulling back the closet’s carpet completely, we saw that it looked almost as if the floors had been refinished and then someone laid carpet on top of it. What a shame.
Once we found the flooring, the repair list looked more like this:
- Repair the moldy bathroom
- Find and repair the gas leak
Clean the carpetWhatever you do, do NOT clean the carpet!
But, what the sellers heard was:
- Don’t worry yourself about the mold in the bathroom, just knock a couple hundred off the price
- Gas leak? *sniff* What gas le–…. *passes out*
- Ignore our requests and please clean the carpet and leave it wet
Pay ZERO attention to this!
Home Improvement Blog on Google+
Home Improvement Blog on FaceBook
Bloggers Wanted
Latest Articles
Topics
- Electrical (8)
- Introductions (7)
- Plumbing (3)
- Projects (13)
- Repair (4)
- Safety (5)
- Tips and Tricks (5)
- Tool Review (5)
- Tools (6)
- Uncategorized (5)