![]()
Some years ago, after our finished (not by me) basement flooded for the third time, and we decided that the carpet posed too much of a health risk to spend serious time down there until we redid it (a project that’s still not finished, FYI), we decided to convert the 3rd bedroom in our house to an office.
This project involved a lot of learning experiences for me, but one of the best was learning the value of the phrase, “old but good”.
A little history. House was built in 1940. We are the third owners, if I remember correctly – fourth at the most. At one point, the house was converted into two apartments, and so the 3rd bedroom had a history – at one time, it had been a kitchen.
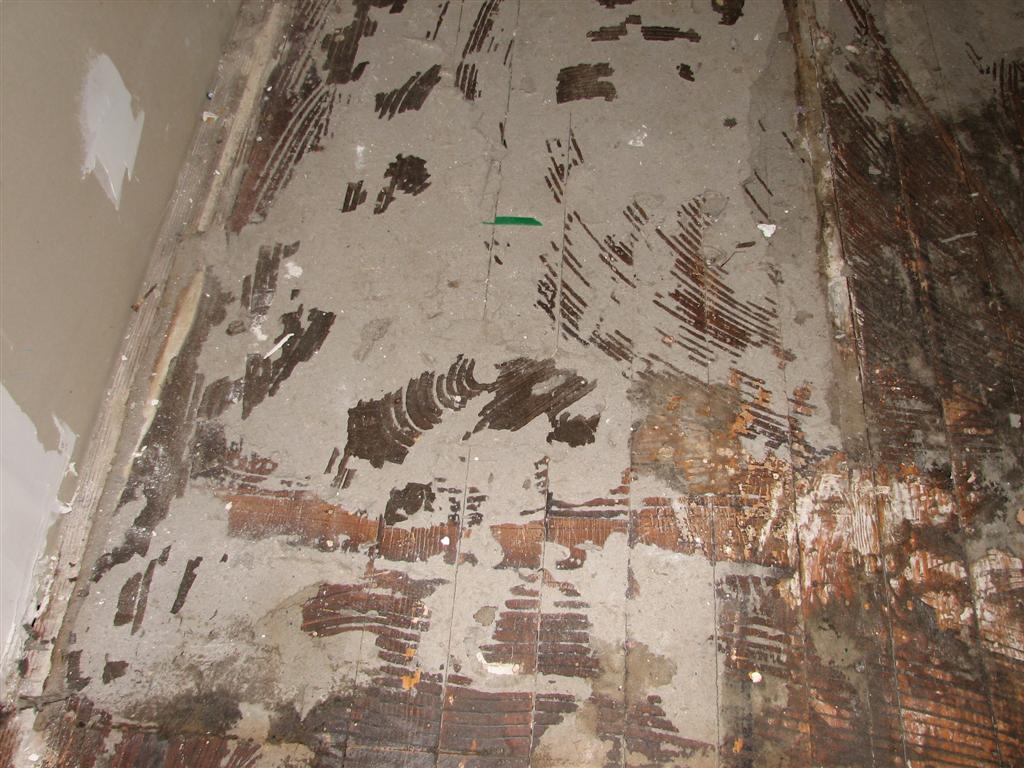
So that probably explains why the flooring we found under the carpet (the same forest green carpet that filled the house when I bought it) looked like this: 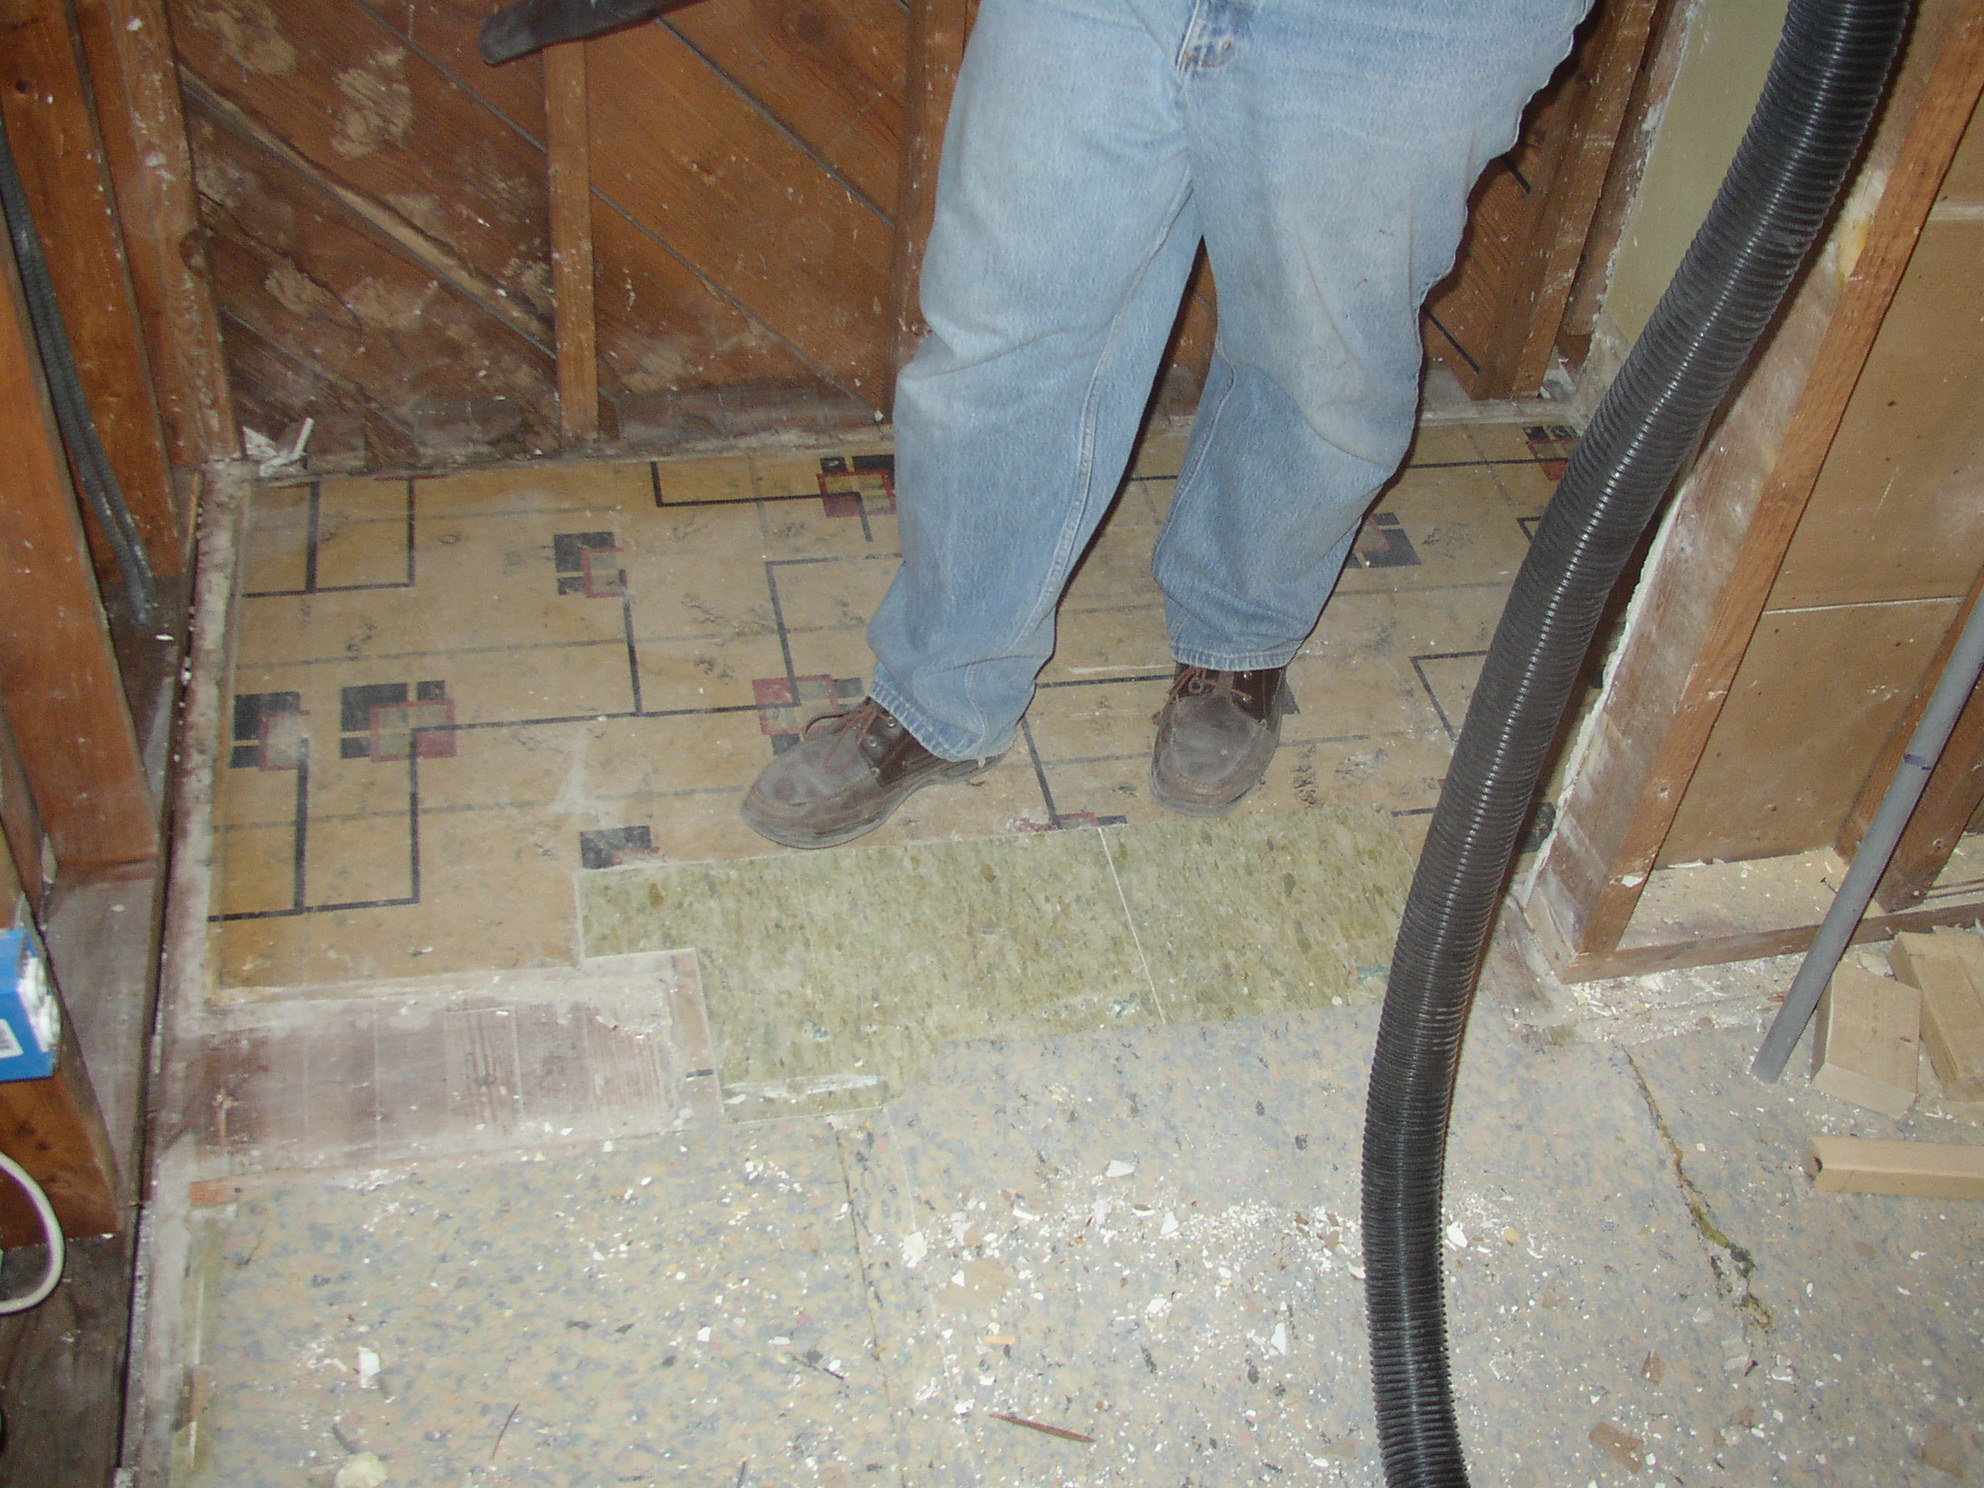
(Stop staring at my sexy legs!)
Well, of course, being the meticulous and conscientious DIYer that I am, and as a big fan of Mike Homes’ “Do It Right!” philosophy, I couldn’t just cover this floor up again. So, the work began:
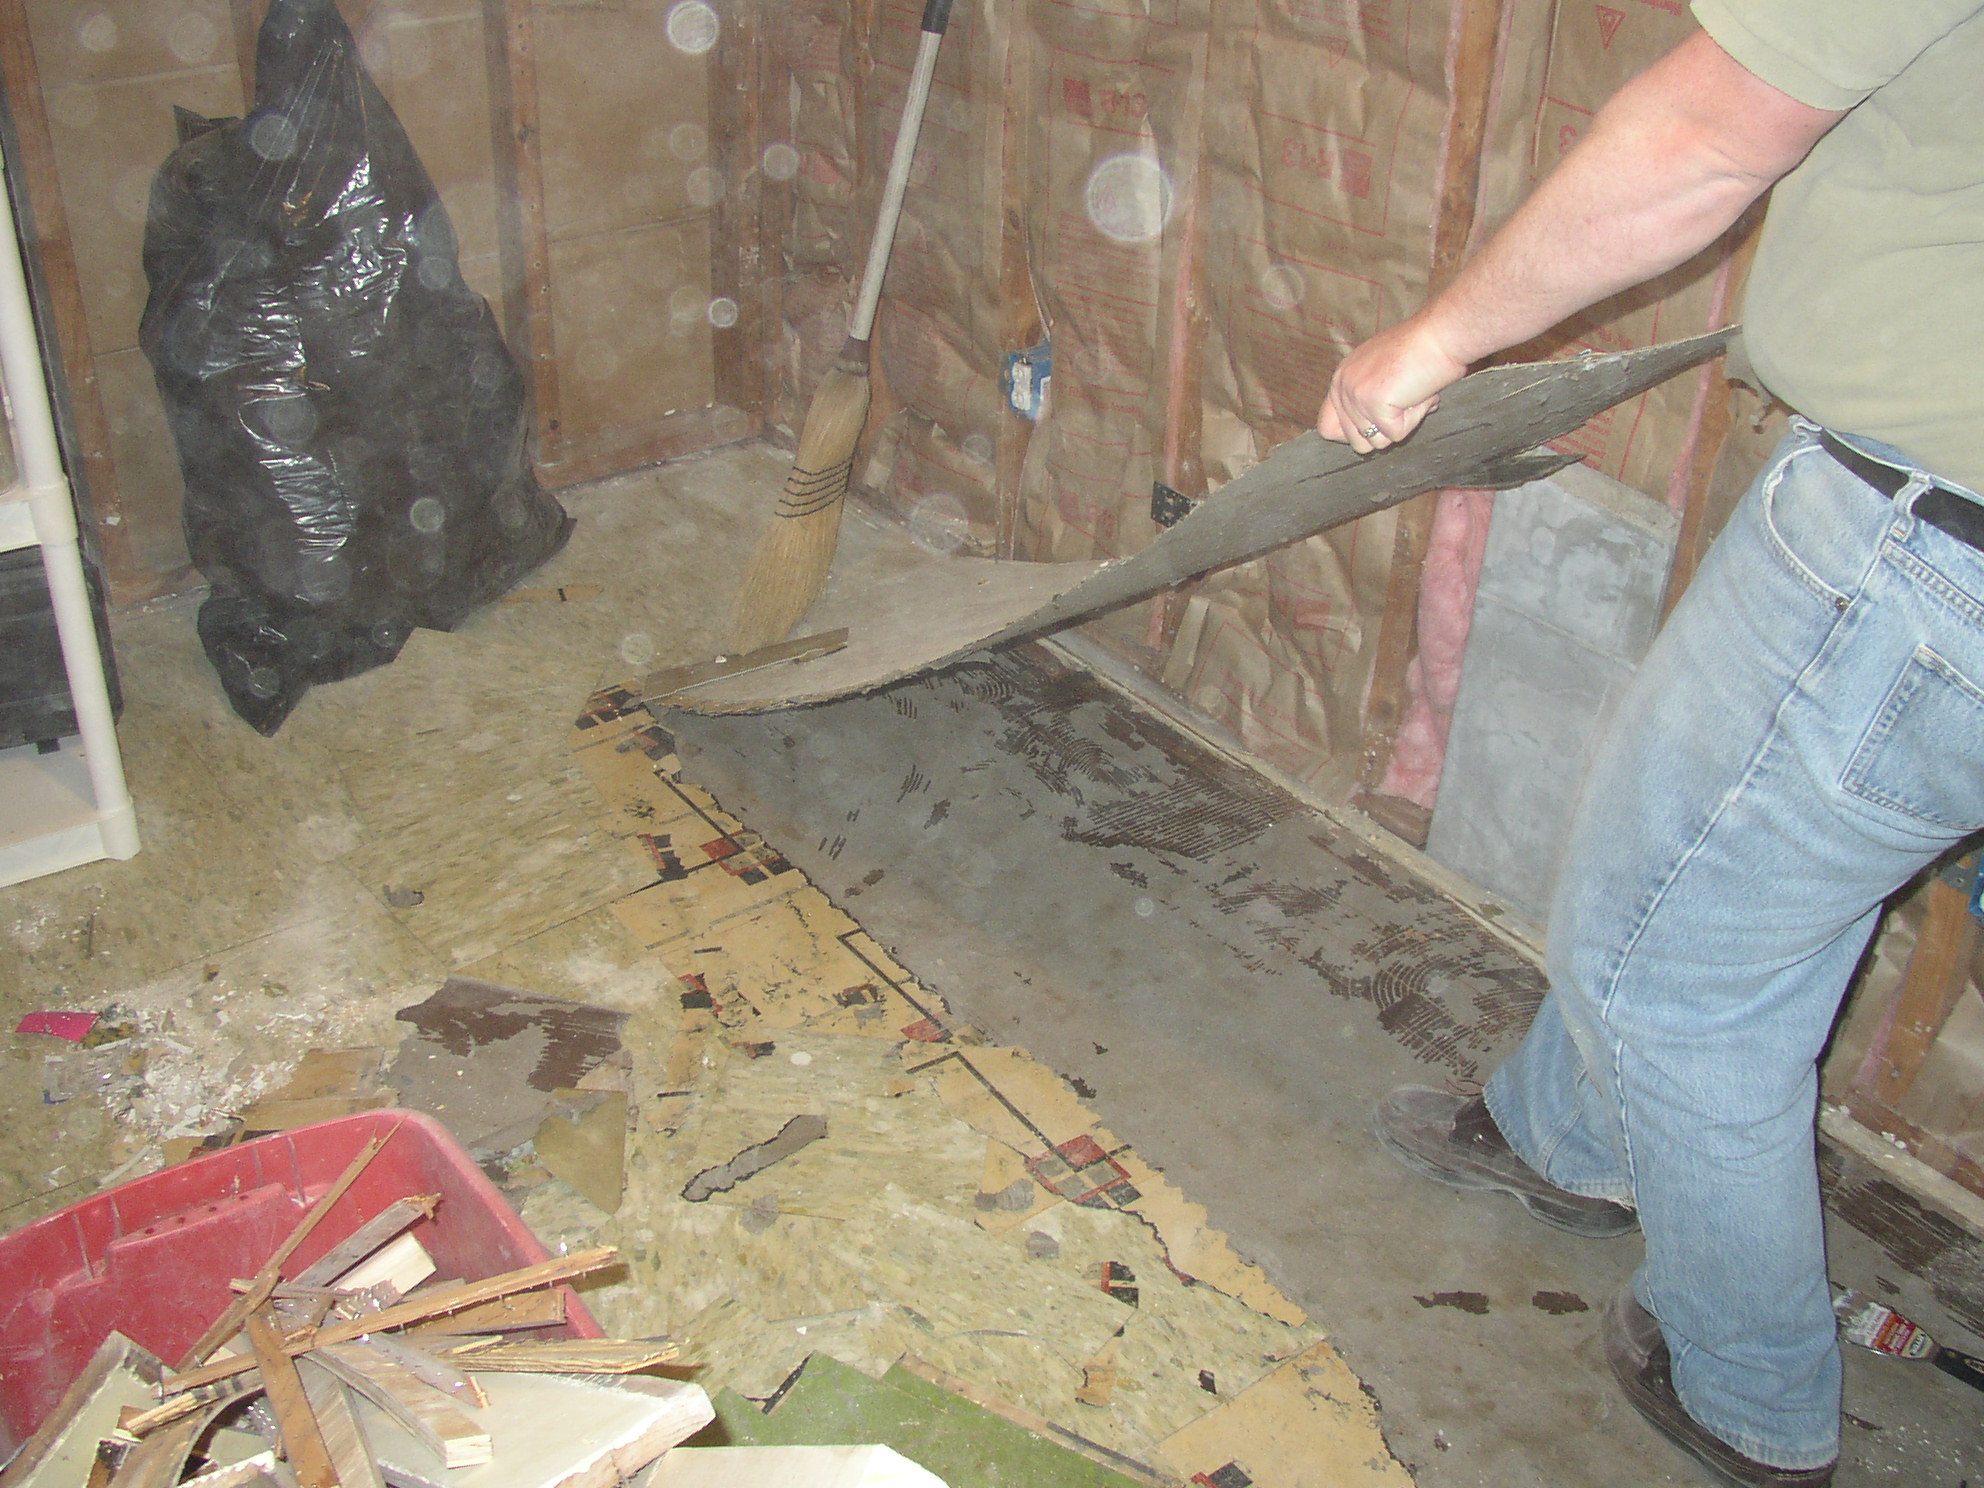
And continued…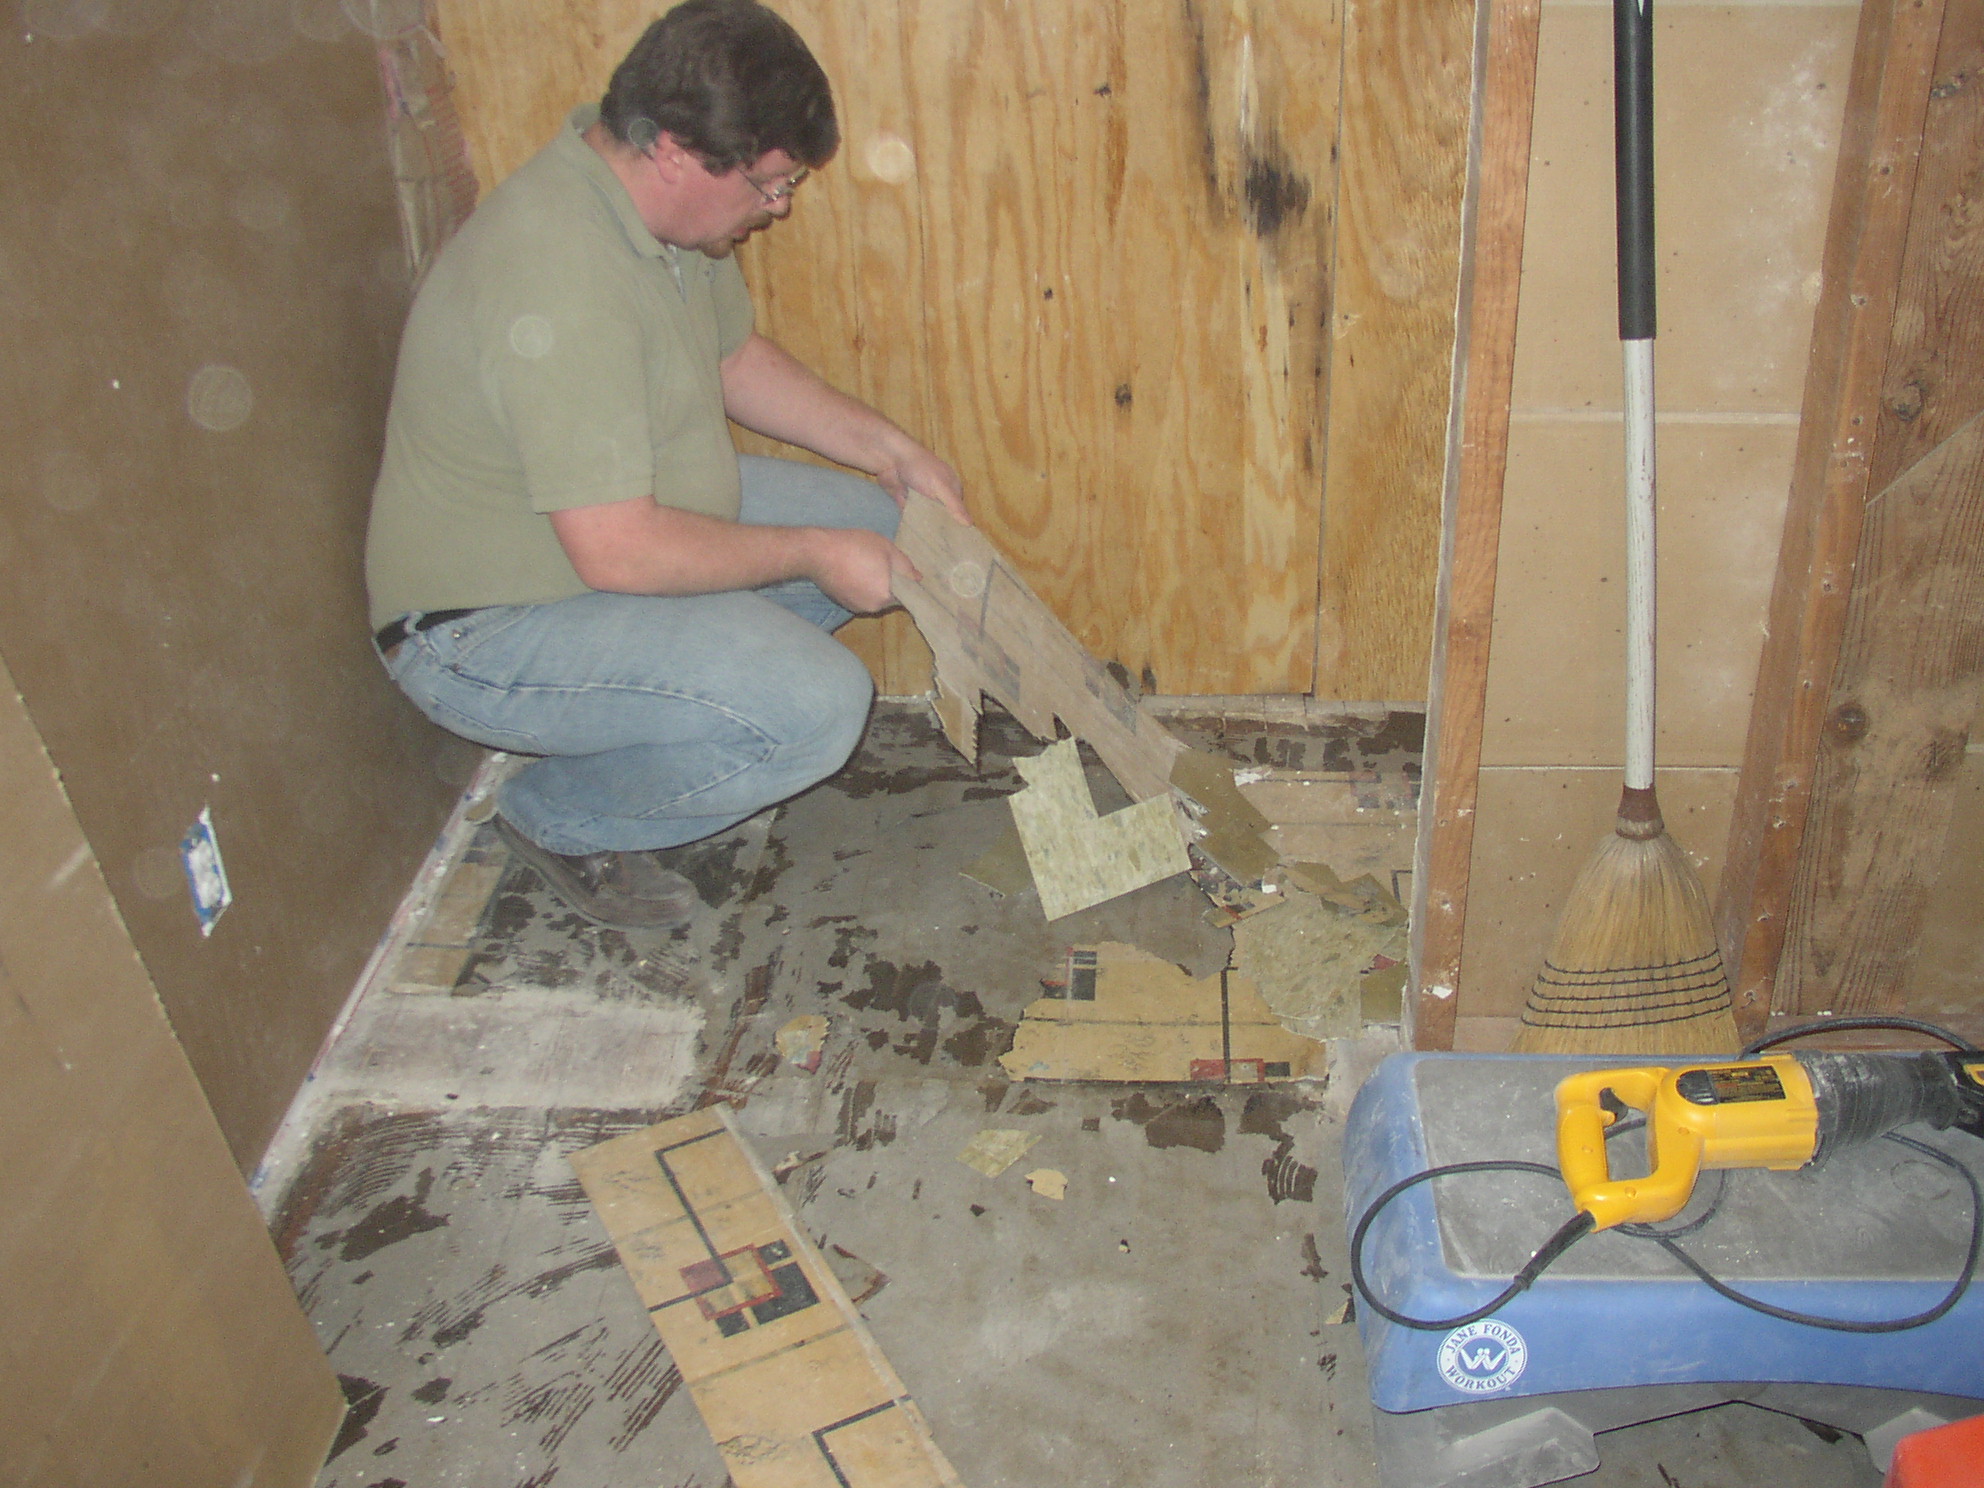
And boy was there a lot of mess – layer upon layer!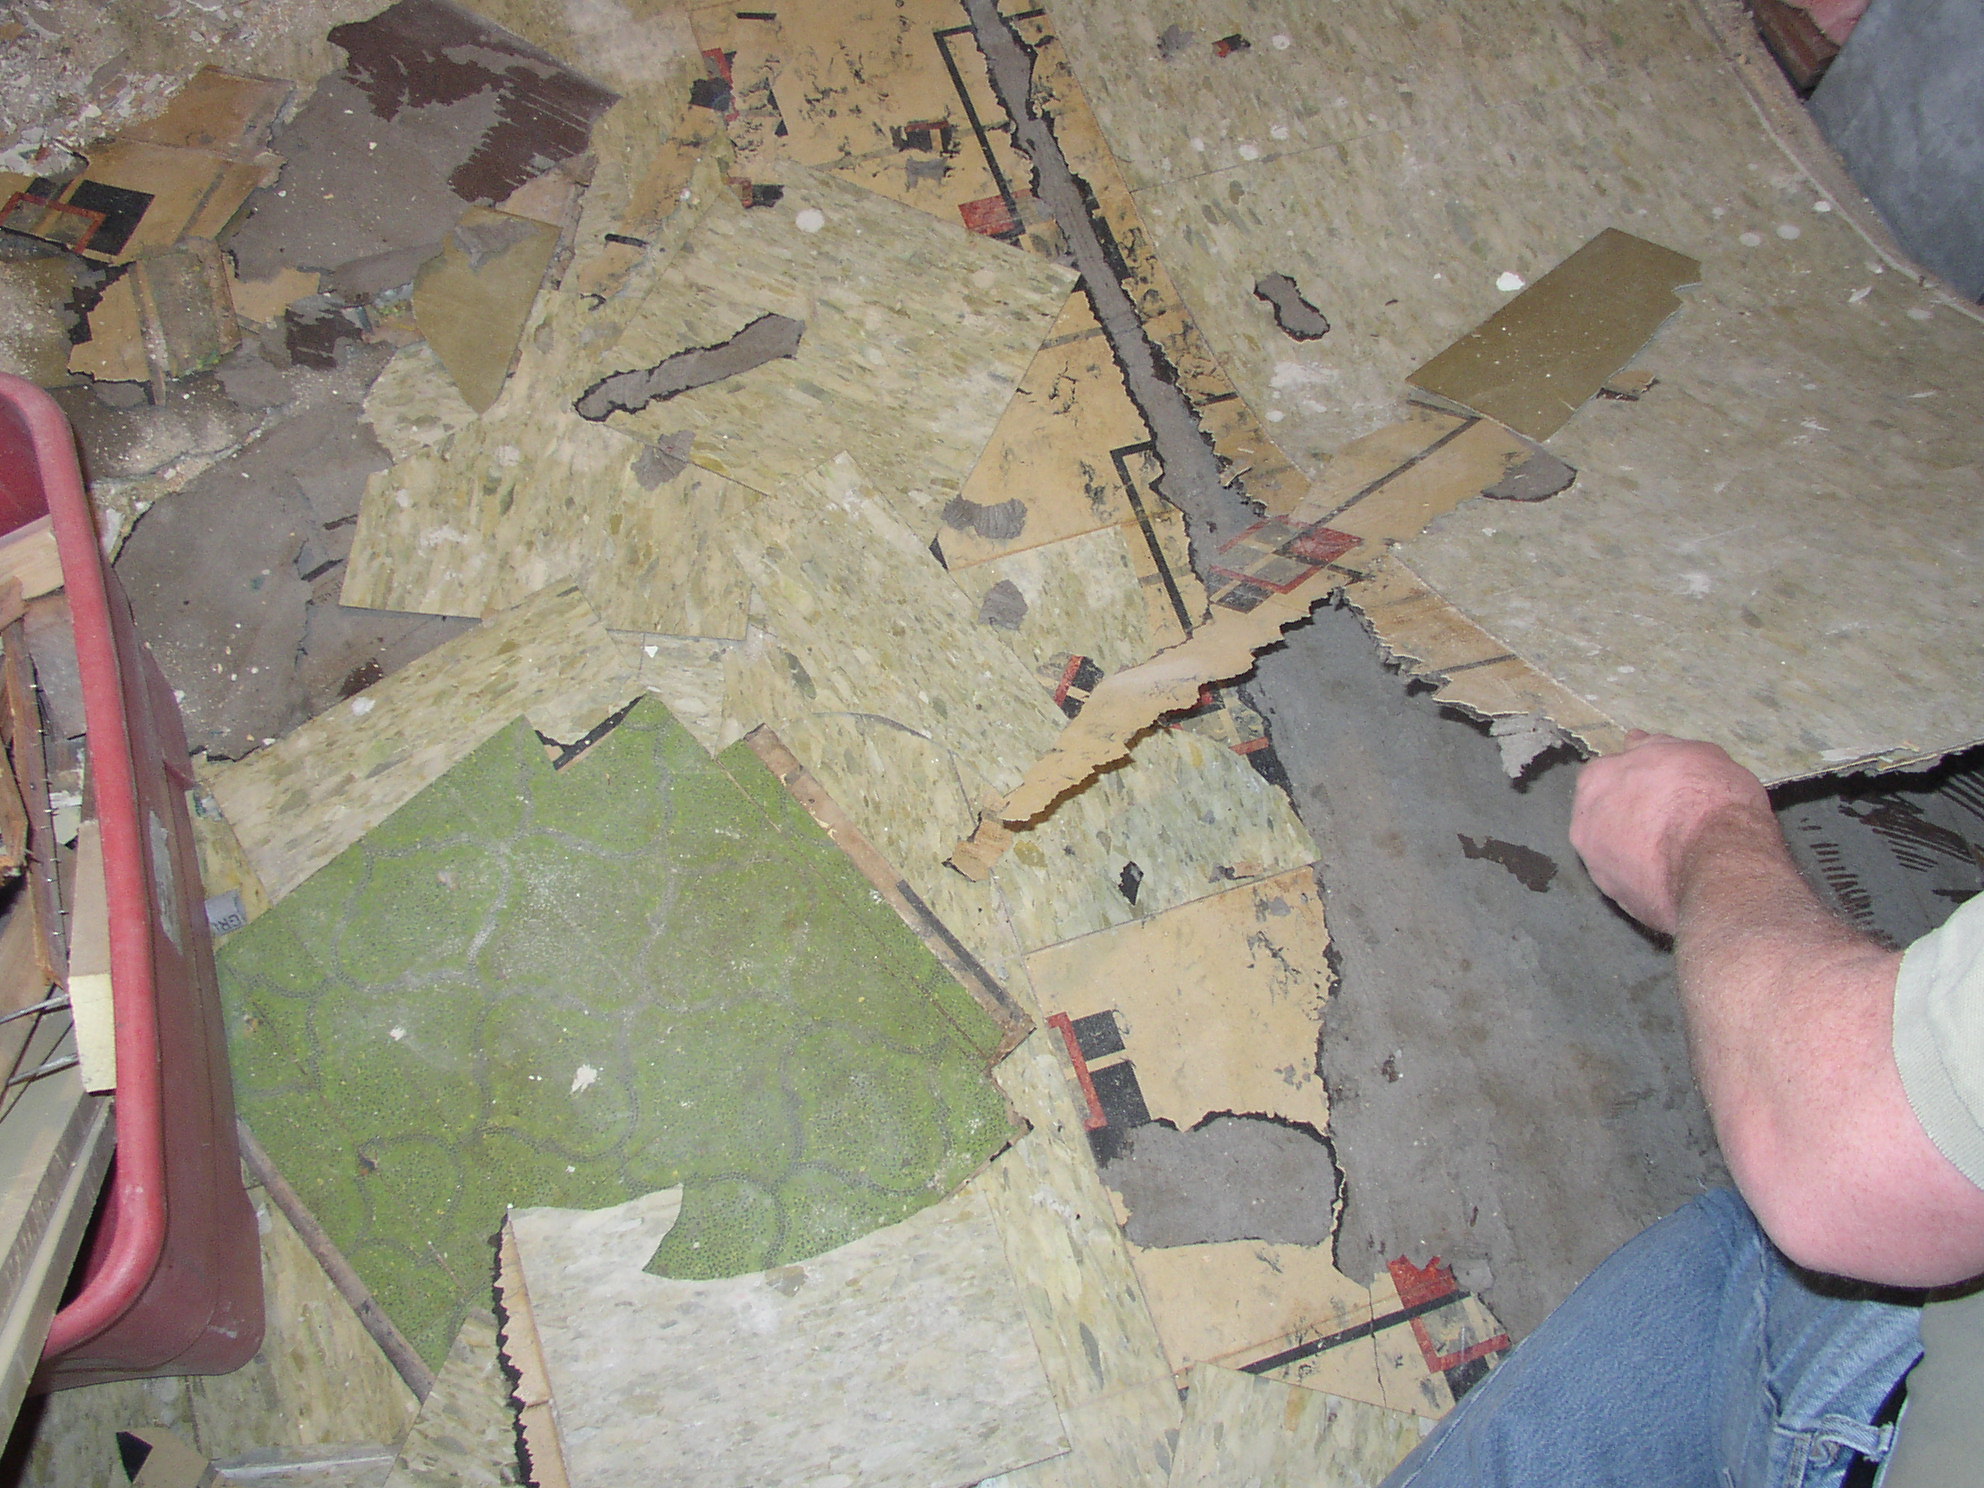
BUT – finally we got to the bottom of the pile, and this is what we found underneath… which wasn’t exactly heartening…
(Sorry, we didn’t take a pic of the whole floor after we pulled the layers – we were just too tired to think of it)
This was a real mess – the whole floor looked like this – a layer of some kind of rosin paper (I think) and adhesive. So now it was time for some serious elbow grease…
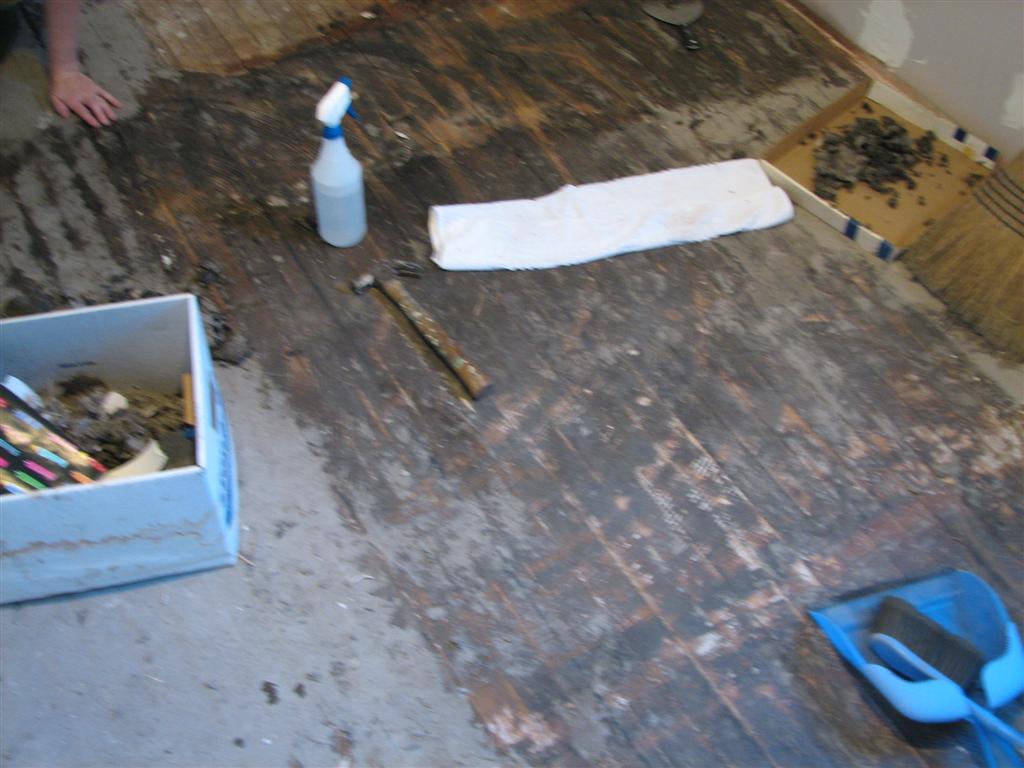
To remove the top layer of gunk, we used very simple tools – 3″ metal scrapers (not putty knives – as I’ve learned to my chagrin there’s a big difference) and spray bottles of water. We would soak a section of floor with the water, let it set in for a minute, and then apply the good old fashioned “wear your fingers to the bone” technique with the scrapers. (Often almost literally, since we banged the floor with our hands more than once).
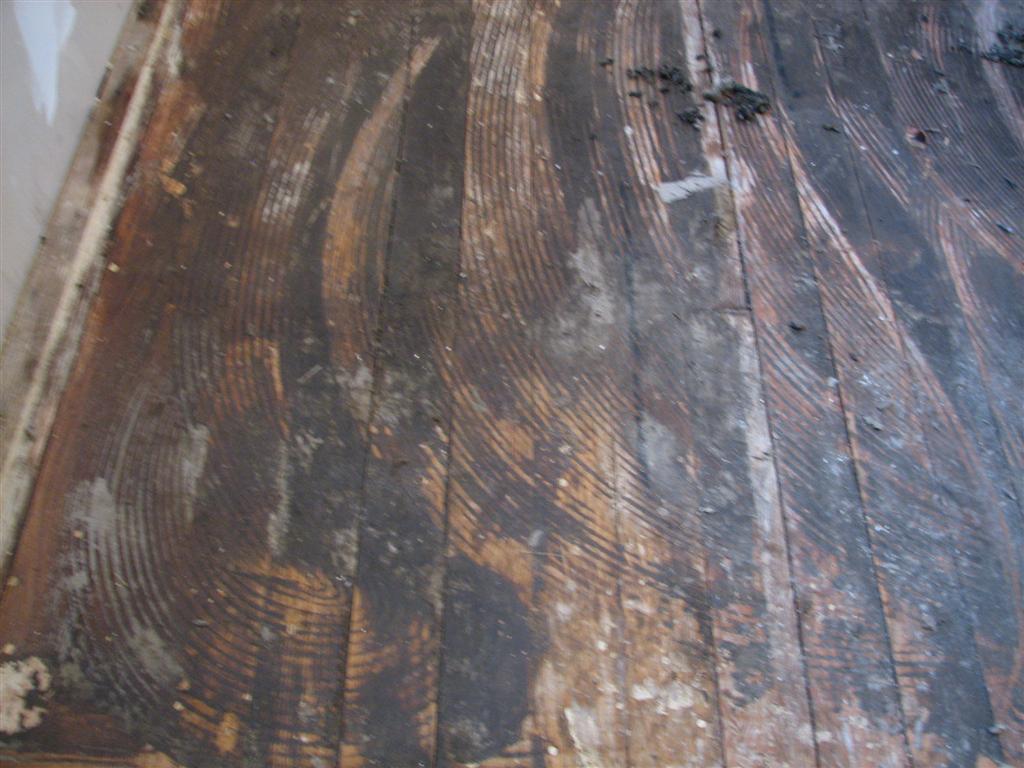
In the end we got the floor looking like this:

Now we were ready for the next step – the power sander! Now this is a step that, quite honestly, should not be undertaken by the faint at heart, or the inexperienced, when you really care about how the floor ends up looking. In our case, the floor was original 1940 hardwood and we figured a little damage was “character” (hey, at 67 years old, see if YOU look this good!). It’s a good thing we didn’t mind to much because learning how to handle a drum sander takes a bit of getting used to.
I didn’t get a picture of it, and it’s right in the corner so it’s not a BIG deal – but there is a place in the floor where I let the sander rest too long a couple of times, and so the surface ended up looking a bit like waves in the ocean. But still, ALL in all, it was a good experience.
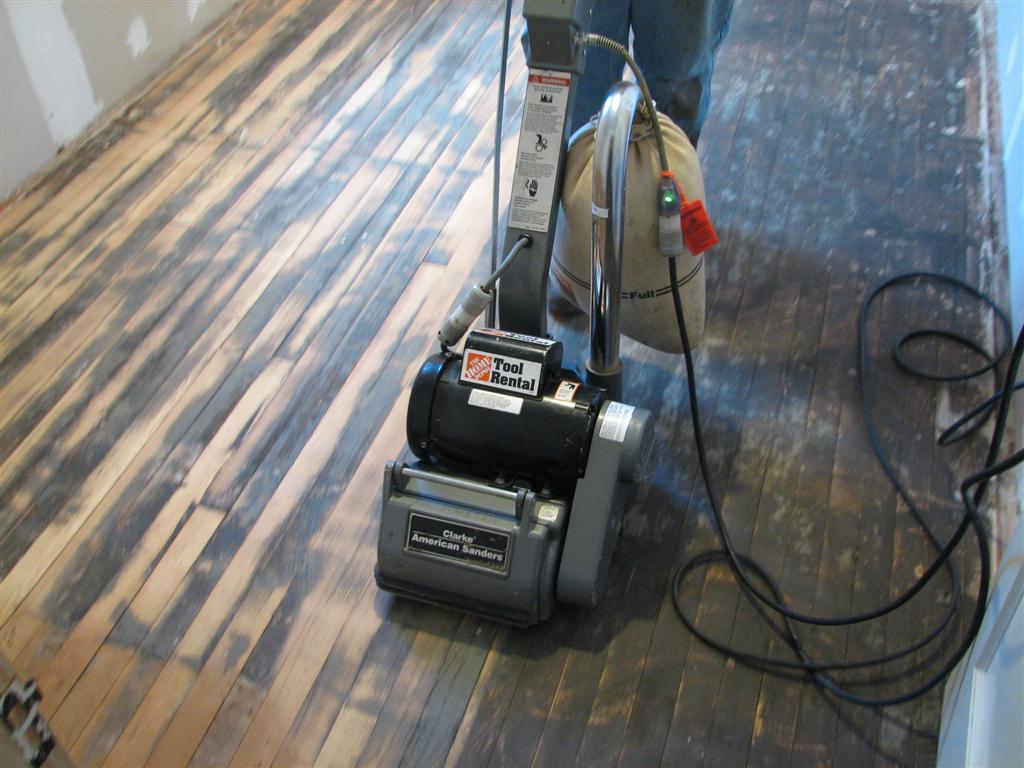
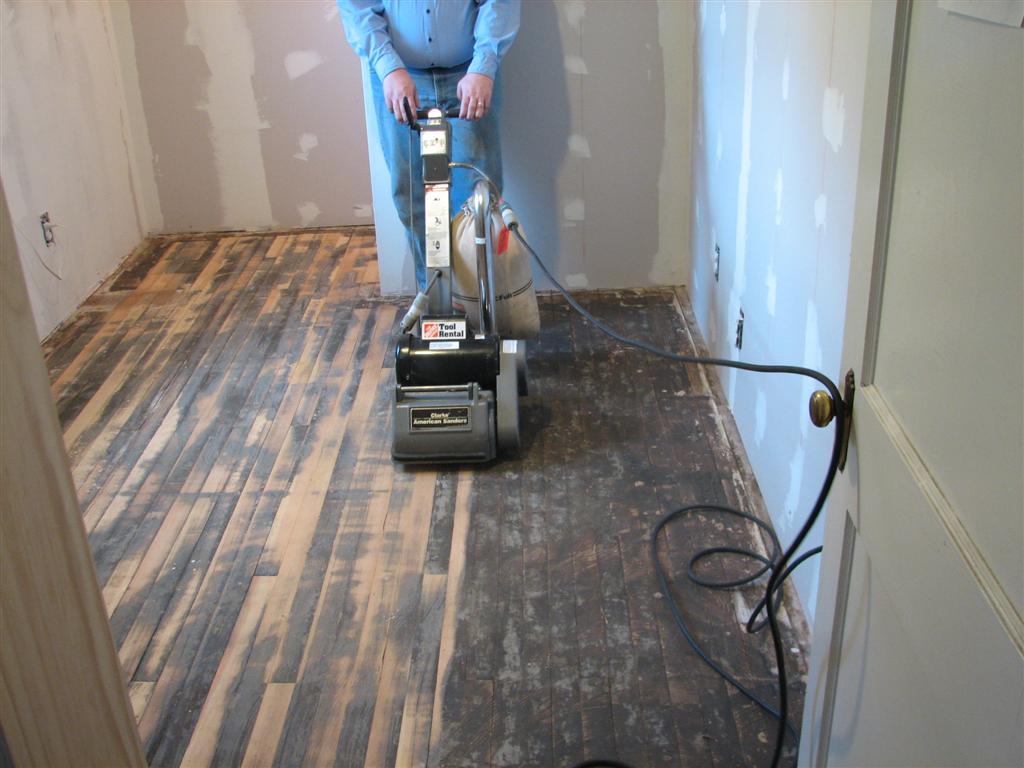
If you want to know, it’s the corner in the back right, not yet sanded here, that ended up wavy…
Even with the first pass, we could tell that the finished floor was going to look really good. With a couple more passes of 80 grit sand paper and cleaning up the edges, here is what we found under all that gunk!
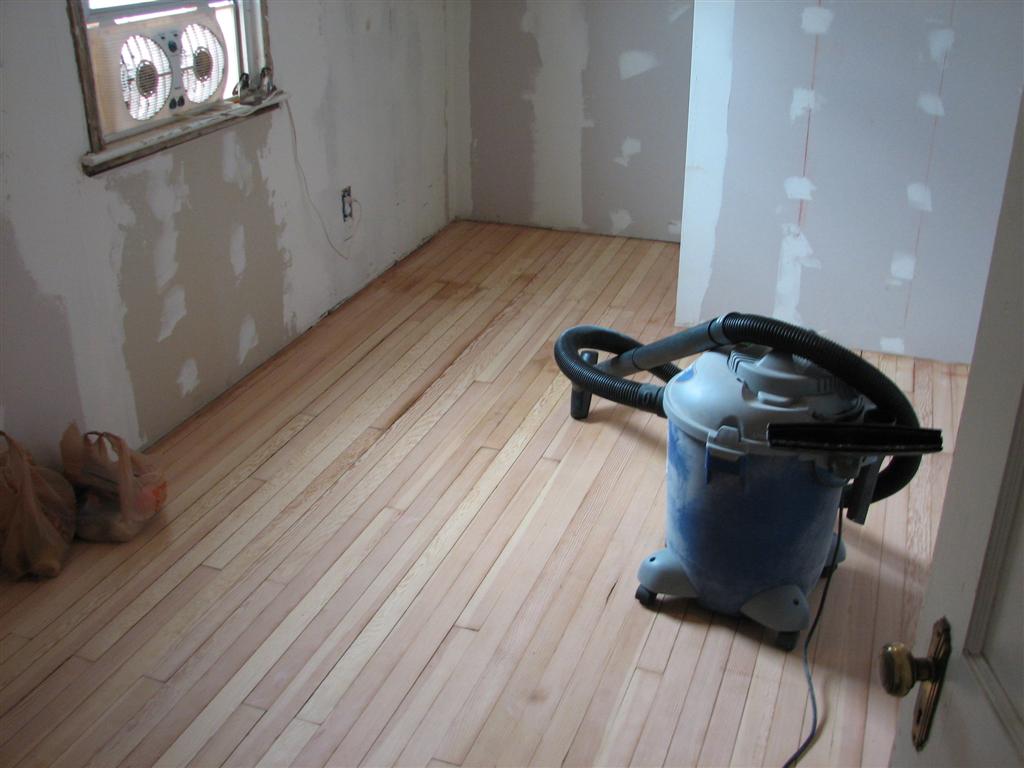
FYI the dark spot just past the window is from where we removed the closet wall and turned it into an alcove. Behind the back drywall is 3/4 plywood – we could mount a jungle gym against that wall if we wanted.. (instead the alcove is filled with Ikea modular shelving…)
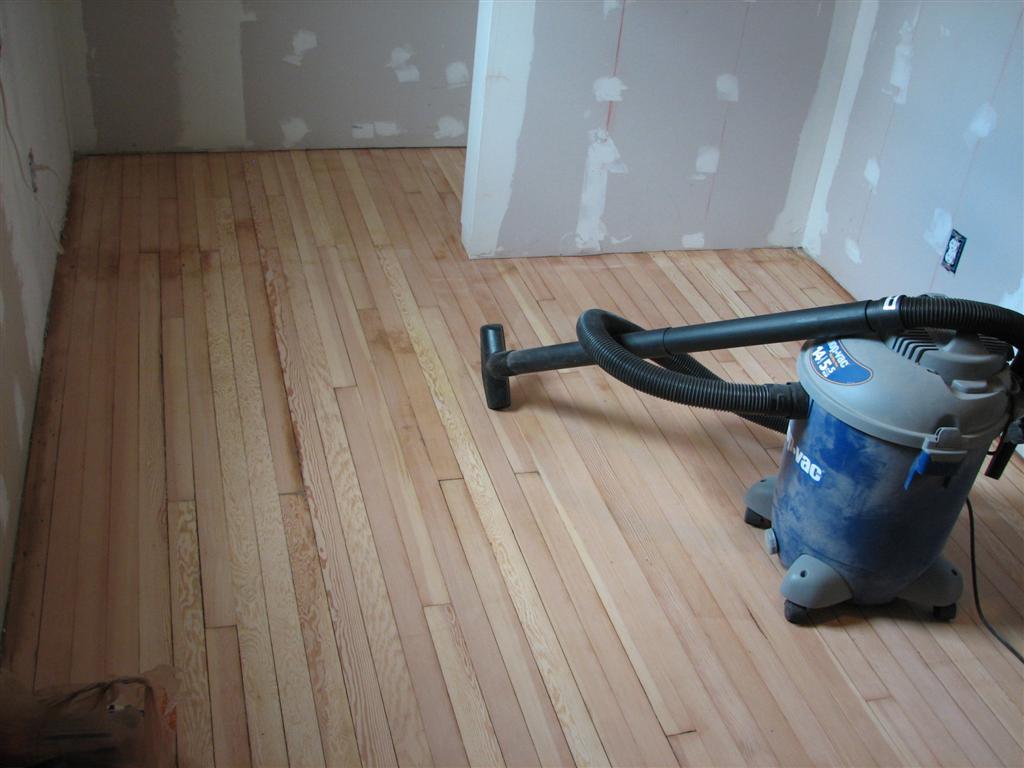
See the ripple? Back right corner, past the shop-vac… sigh And no, the edge sanding wasn’t done yet at this point.
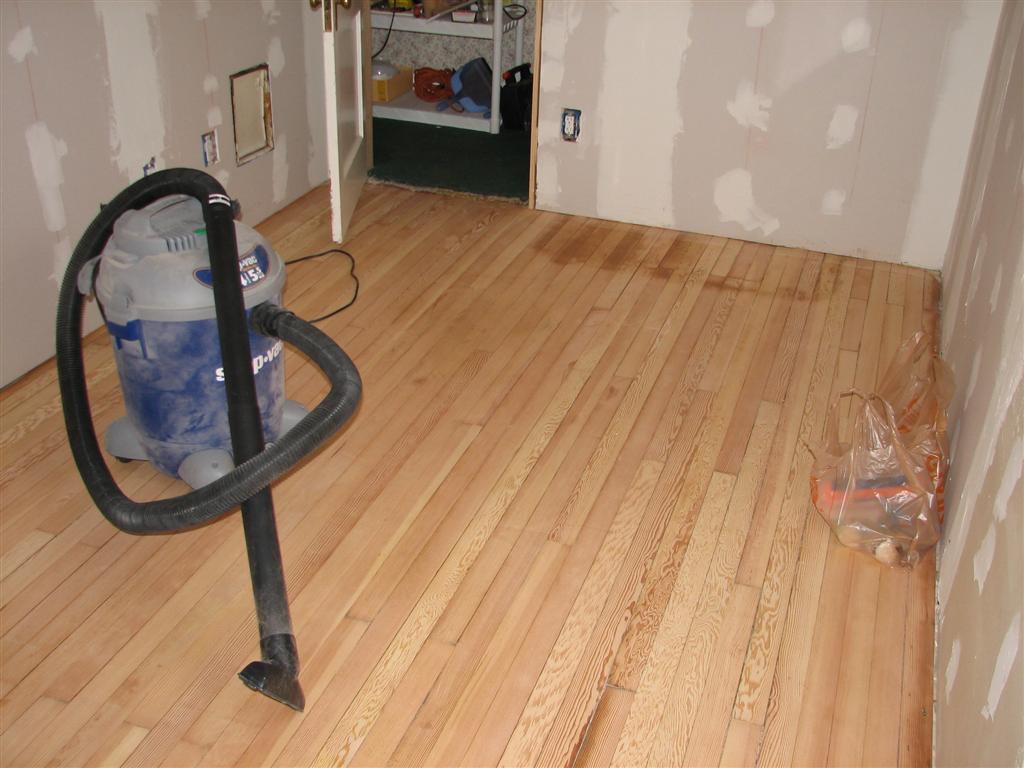
So sure, it’s got some water stains from where the old sink must have been (we know this because we found the water pipes and the old (unsealed) drain stack) but from 1940, covered in three layers of flooring and then carpet, and finally revealed and recovered in 2007, this floor looked pretty damn good!
So if you’ve got an old hardwood floor that’s ugly, maybe even a little damaged – don’t just rush to cover it up. With a little elbow grease (and some rented tools from Home Depot) you can end up with an absolutely beautiful floor again.
(Now please don’t be mad, but we never did take pictures of the final final product – we used a light natural stain and then applied two coats of polyurethane to finish – right now the office is a total mess so if I took a picture and showed it here, my wife would kill me. Sorry…)
Hammer safely!
G

Filed under Projects
Tagged: Flooring, Hardwood, Restoration
Great project and a great message.
Your photo journalism has all the appeal of a book missing the last page, however 🙂
I know, I know – I feel awful that we don’t have a “grand finish” shot. But now the floor is pretty much hidden under walls of modular shelving and an area rug. 🙁
I love hardwood flooring, and am really enjoying the vicarious joy of seeing your home renovations unfold, Greebo. Reminds me of when I helped take tongue-and-groove hardwood flooring off the floors of an old CPR (Canadian Pacific Railroad) train station. We bleached a few dark trouble spots to match the colour. Aahhh; beautiful! Well done, Greebo and Ceashels!
One question: why didn’t you finish the walls and paint them before doing the floor? I guess you’ve got a really good dropcloth, eh?
My wife may remember – I don’t recall exactly but I’m sure we protected the floor before painting – probably with (ironically) rosin paper from a hardwood install we did previously.
That green vinyl tile….we had the exact same pattern in our downstairs kitchen at one time!
Pretty tough job and you did great furnishing the floor!
Some brilliant tips for if you want to keep and restore a characteristic old hardwood floor. Trying to restore some Engineered Wooden Flooring at the moment and it’s been great to see a step by step guide.
Did the same one 100yr old floor…use to be a school house…and your right elbow grease. ..lots of hands and knees ..making sure we counter sunk nails so the sandpaper didn’t get torn…trial..error. .and polyurethane and wow….we didn’t even stain it….the clear poly brought out beautiful golden to golden red natural colors in the wood….it’s worth the work.